A good photo sells. On the webshop, your customer sees each product twice: as a tile in the product overview (square, 1:1) and large at the top of the product window that opens when they click it (widescreen, 16:9). You don't have to take all those photos yourself: the Unipage photo library contains hundreds of professional photos of chips, snacks, sauces, drinks, sandwiches, burgers and bickies, pizzas, dishes, soups, desserts and ice creams. You choose them per product on the product page, or you have them suggested in one go for your whole range.
Fit or fill#
Each photo has a display setting per frame:
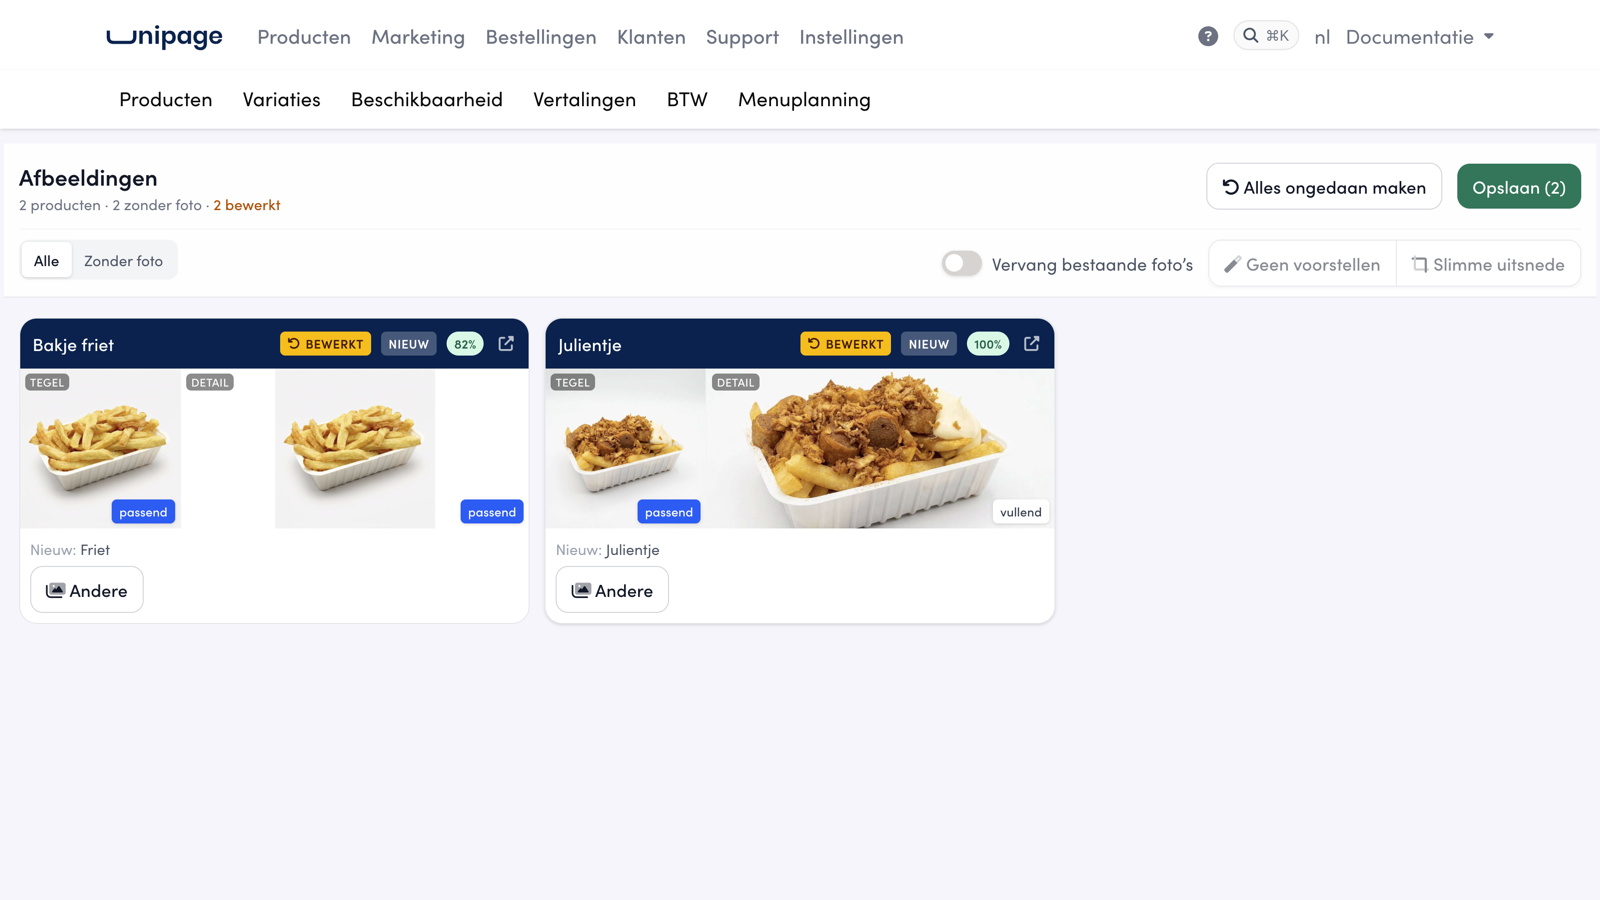
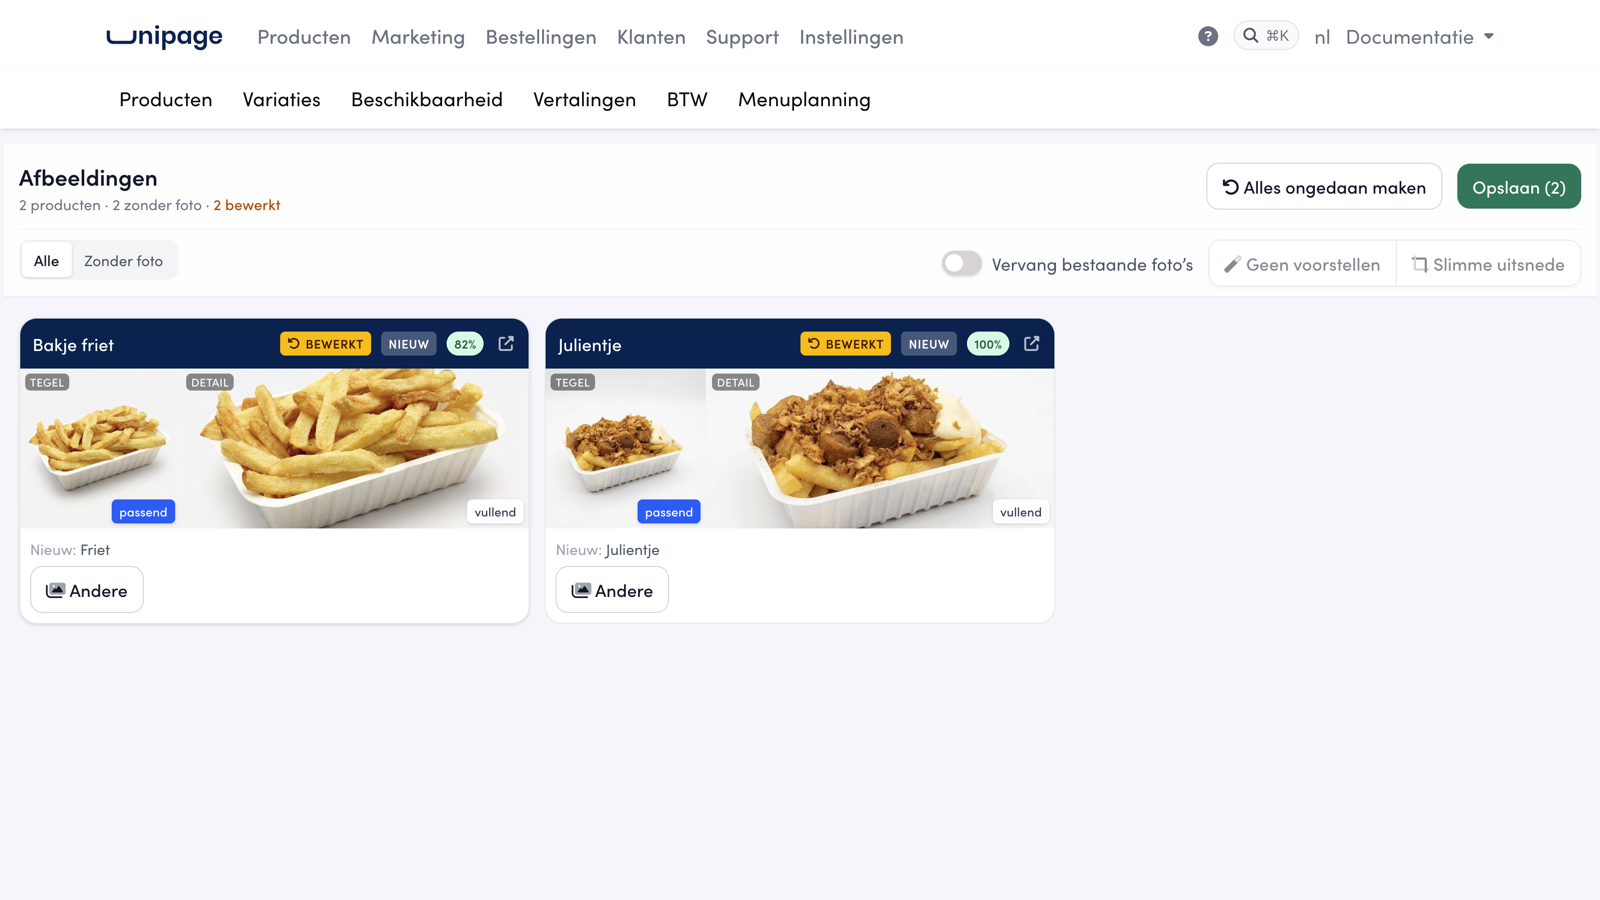
Fill: the photo fills the whole frame and is cropped at the edges. Nice for atmosphere photos, such as a plate of beef stew on a table.
Fit: the whole photo stays visible, with white space where needed. Necessary for cut-out product photos on a white background (a can, a frikandel): fill would cut off the top and bottom in the widescreen frame.
You set this separately for the tile and for the detail page. If you choose a photo from the library, the product immediately takes over the correct display setting of that photo.
Choosing a photo on the product page#
Open Products on the management page, click the category and then the pencil icon next to the product.
Hover over the photo in the preview on the right (Right) and click the library icon (Choose from library). The Library window opens, with the photos that best match the product name at the top, followed by the rest of the library.
Search by name (for example frikandel, pizza, cola), filter by category, or switch the supplier lists Bicky, Mora and Vanreusel on or off.
Click a photo. It appears in the preview straight away, together with its display setting.
Click Save.
If you want to adjust the display setting yourself, click Crop (Uitsnede) above the photo. You see the tile and the detail page side by side. Click a frame to switch between fit and fill, then save the product.
Photos for your whole range#
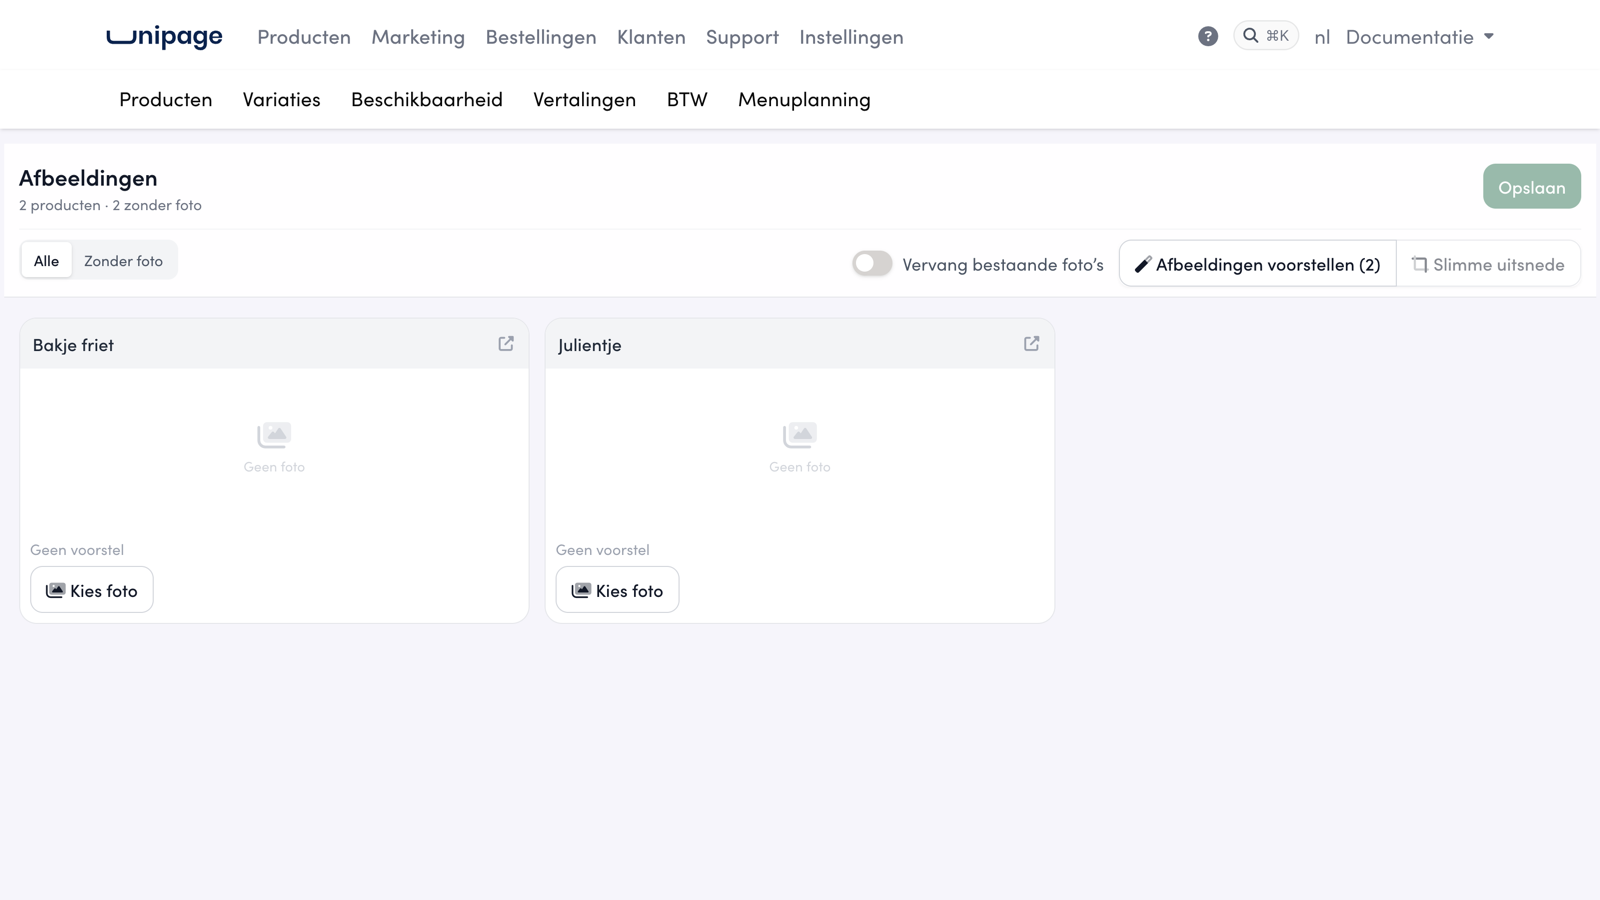
On the Images page, you do the same for many products at once. You can open it in two ways from the product overview:
Click Assign photos (Foto's toekennen) without ticking any products. You get all products without a photo from the category that is open on the left, or from your whole range if All products is open.
Tick products, click the three dots and choose Images. This way you also include products that already have a photo.
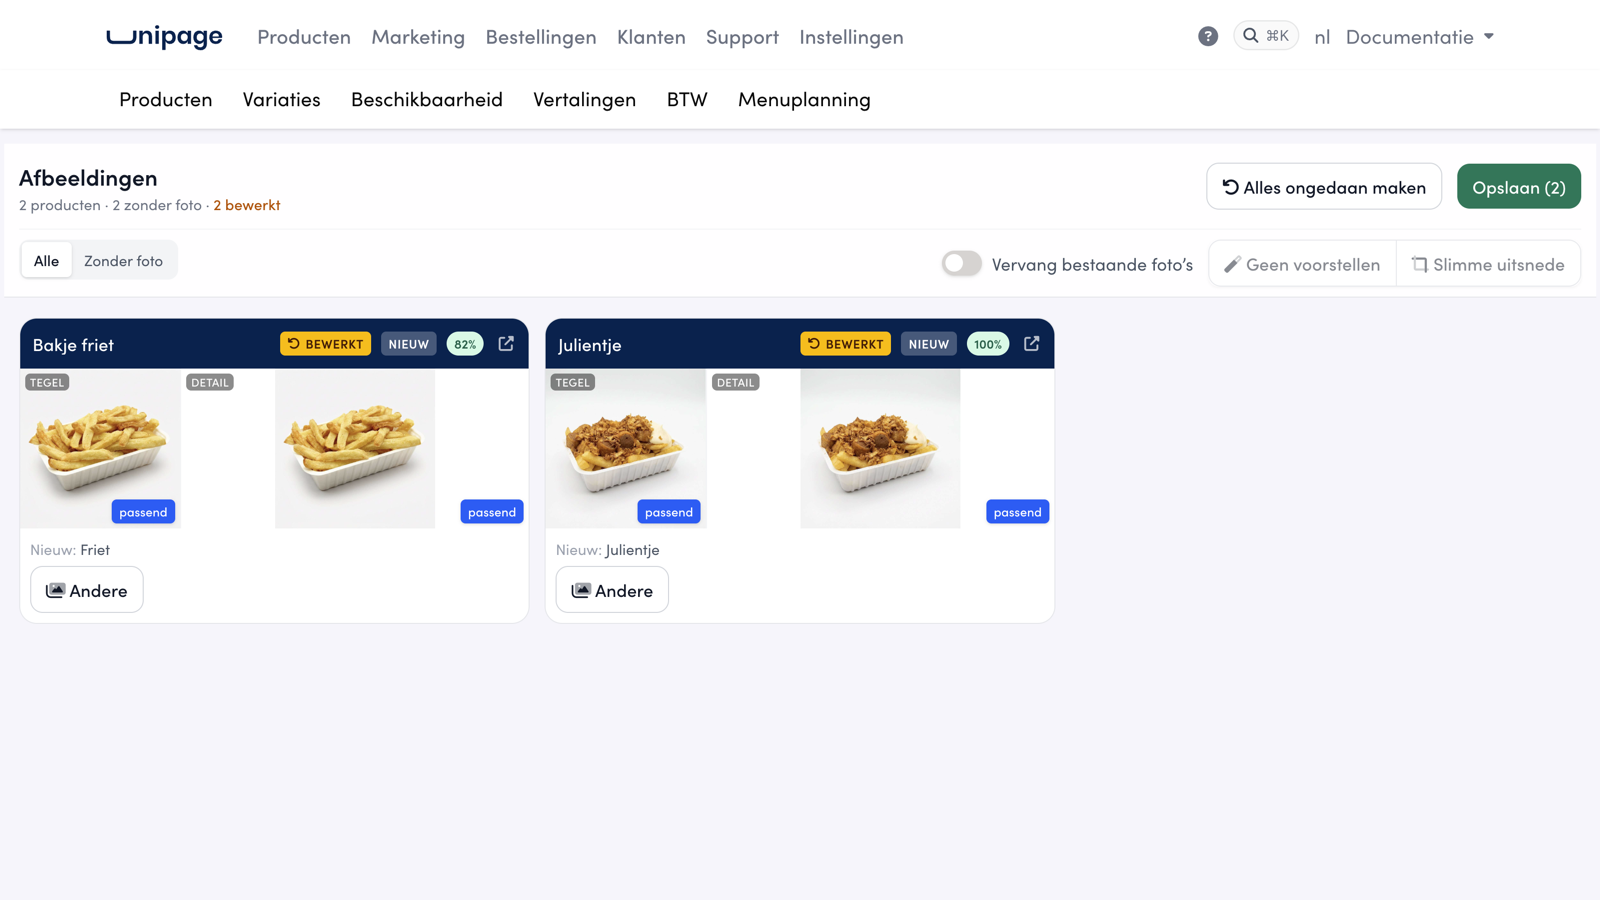
Each card shows one product: the title, the photo as it appears on the tile and as it appears on the detail page, and the actions at the bottom. Opening the page doesn't change anything in your products.
Click Suggest images (Afbeeldingen voorstellen). For each product for which the library has a certain match, that photo appears on the card with the label New and a blue title bar. By default, this only happens for products without a photo. Turn on Replace existing photos (Vervang bestaande foto's) to also have products with a photo replaced.
Check the cards. Click a tile or detail frame to switch between fit and fill. If you want a different photo, click Other (or Choose photo (Kies foto) for products without a suggestion) and choose from the library. Use the bin icon to remove a product's current photo.
Each card with a change has the label Edited (Bewerkt). Click it to reset that card, or click Undo all (Alles ongedaan maken) at the top.
Click Save (or press Cmd+S / Ctrl+S). Only then are the photos and display settings saved. The cards turn green.
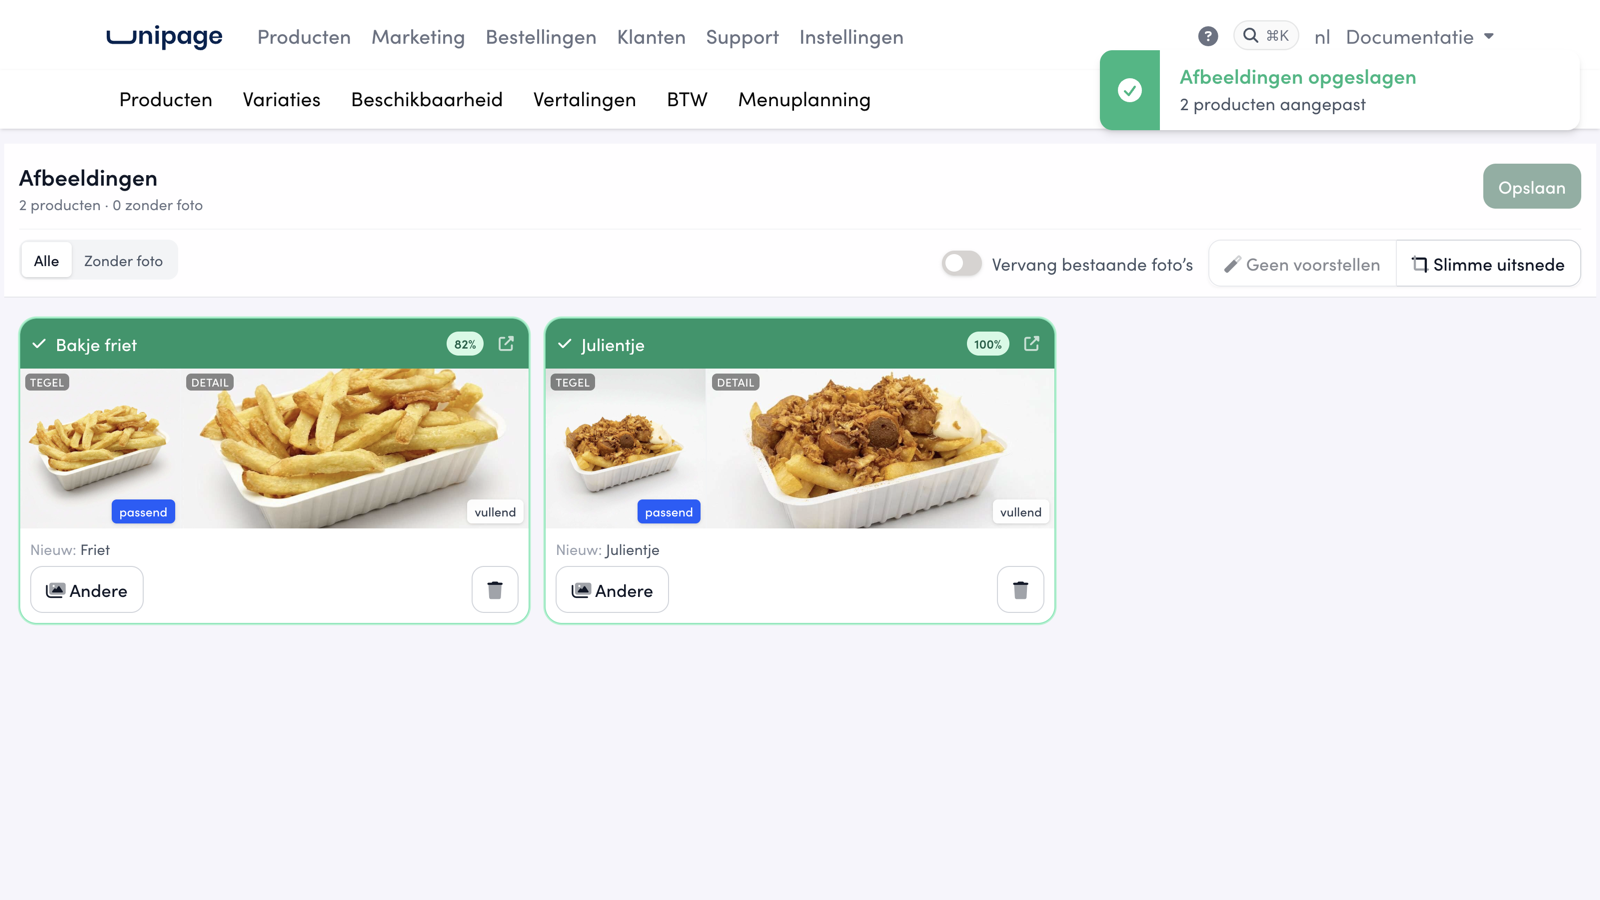
With Smart crop (Slimme uitsnede), you let the display setting of your existing photos be determined automatically: a cut-out photo on a plain background becomes fit, an atmosphere photo becomes fill. This is also only final after Save.
How the suggestions are made#
The library searches on the product name (Dutch and French), and takes the category and the product info into account. A few examples:
"Kleine friet", "Friet klein" and "Frietjes S" all find the same photo; "Curryworst" and "Frikandel" do too.
"Mexicano" in the Snacks category gets the snack, in the Sandwiches category the sandwich.
A product marked as vegetarian or vegan never gets a photo with meat or fish.
If a product already has the best matching photo from the library, no new suggestion appears.
If you get no suggestion or a wrong one, a clear product name helps most ("Frikandel XXL" instead of "XXL"), together with the right category and the right vegetarian marking under Allergens and product info. You can always choose a photo manually via Other.
Good to know
Nothing is saved on the Images page until you click Save. Until then, you can undo suggestions, crops and removals per card or all at once.
You can read more about categories, product pages and the other fields in Product management. You set the vegetarian marking and allergens as described in Allergens and product info.