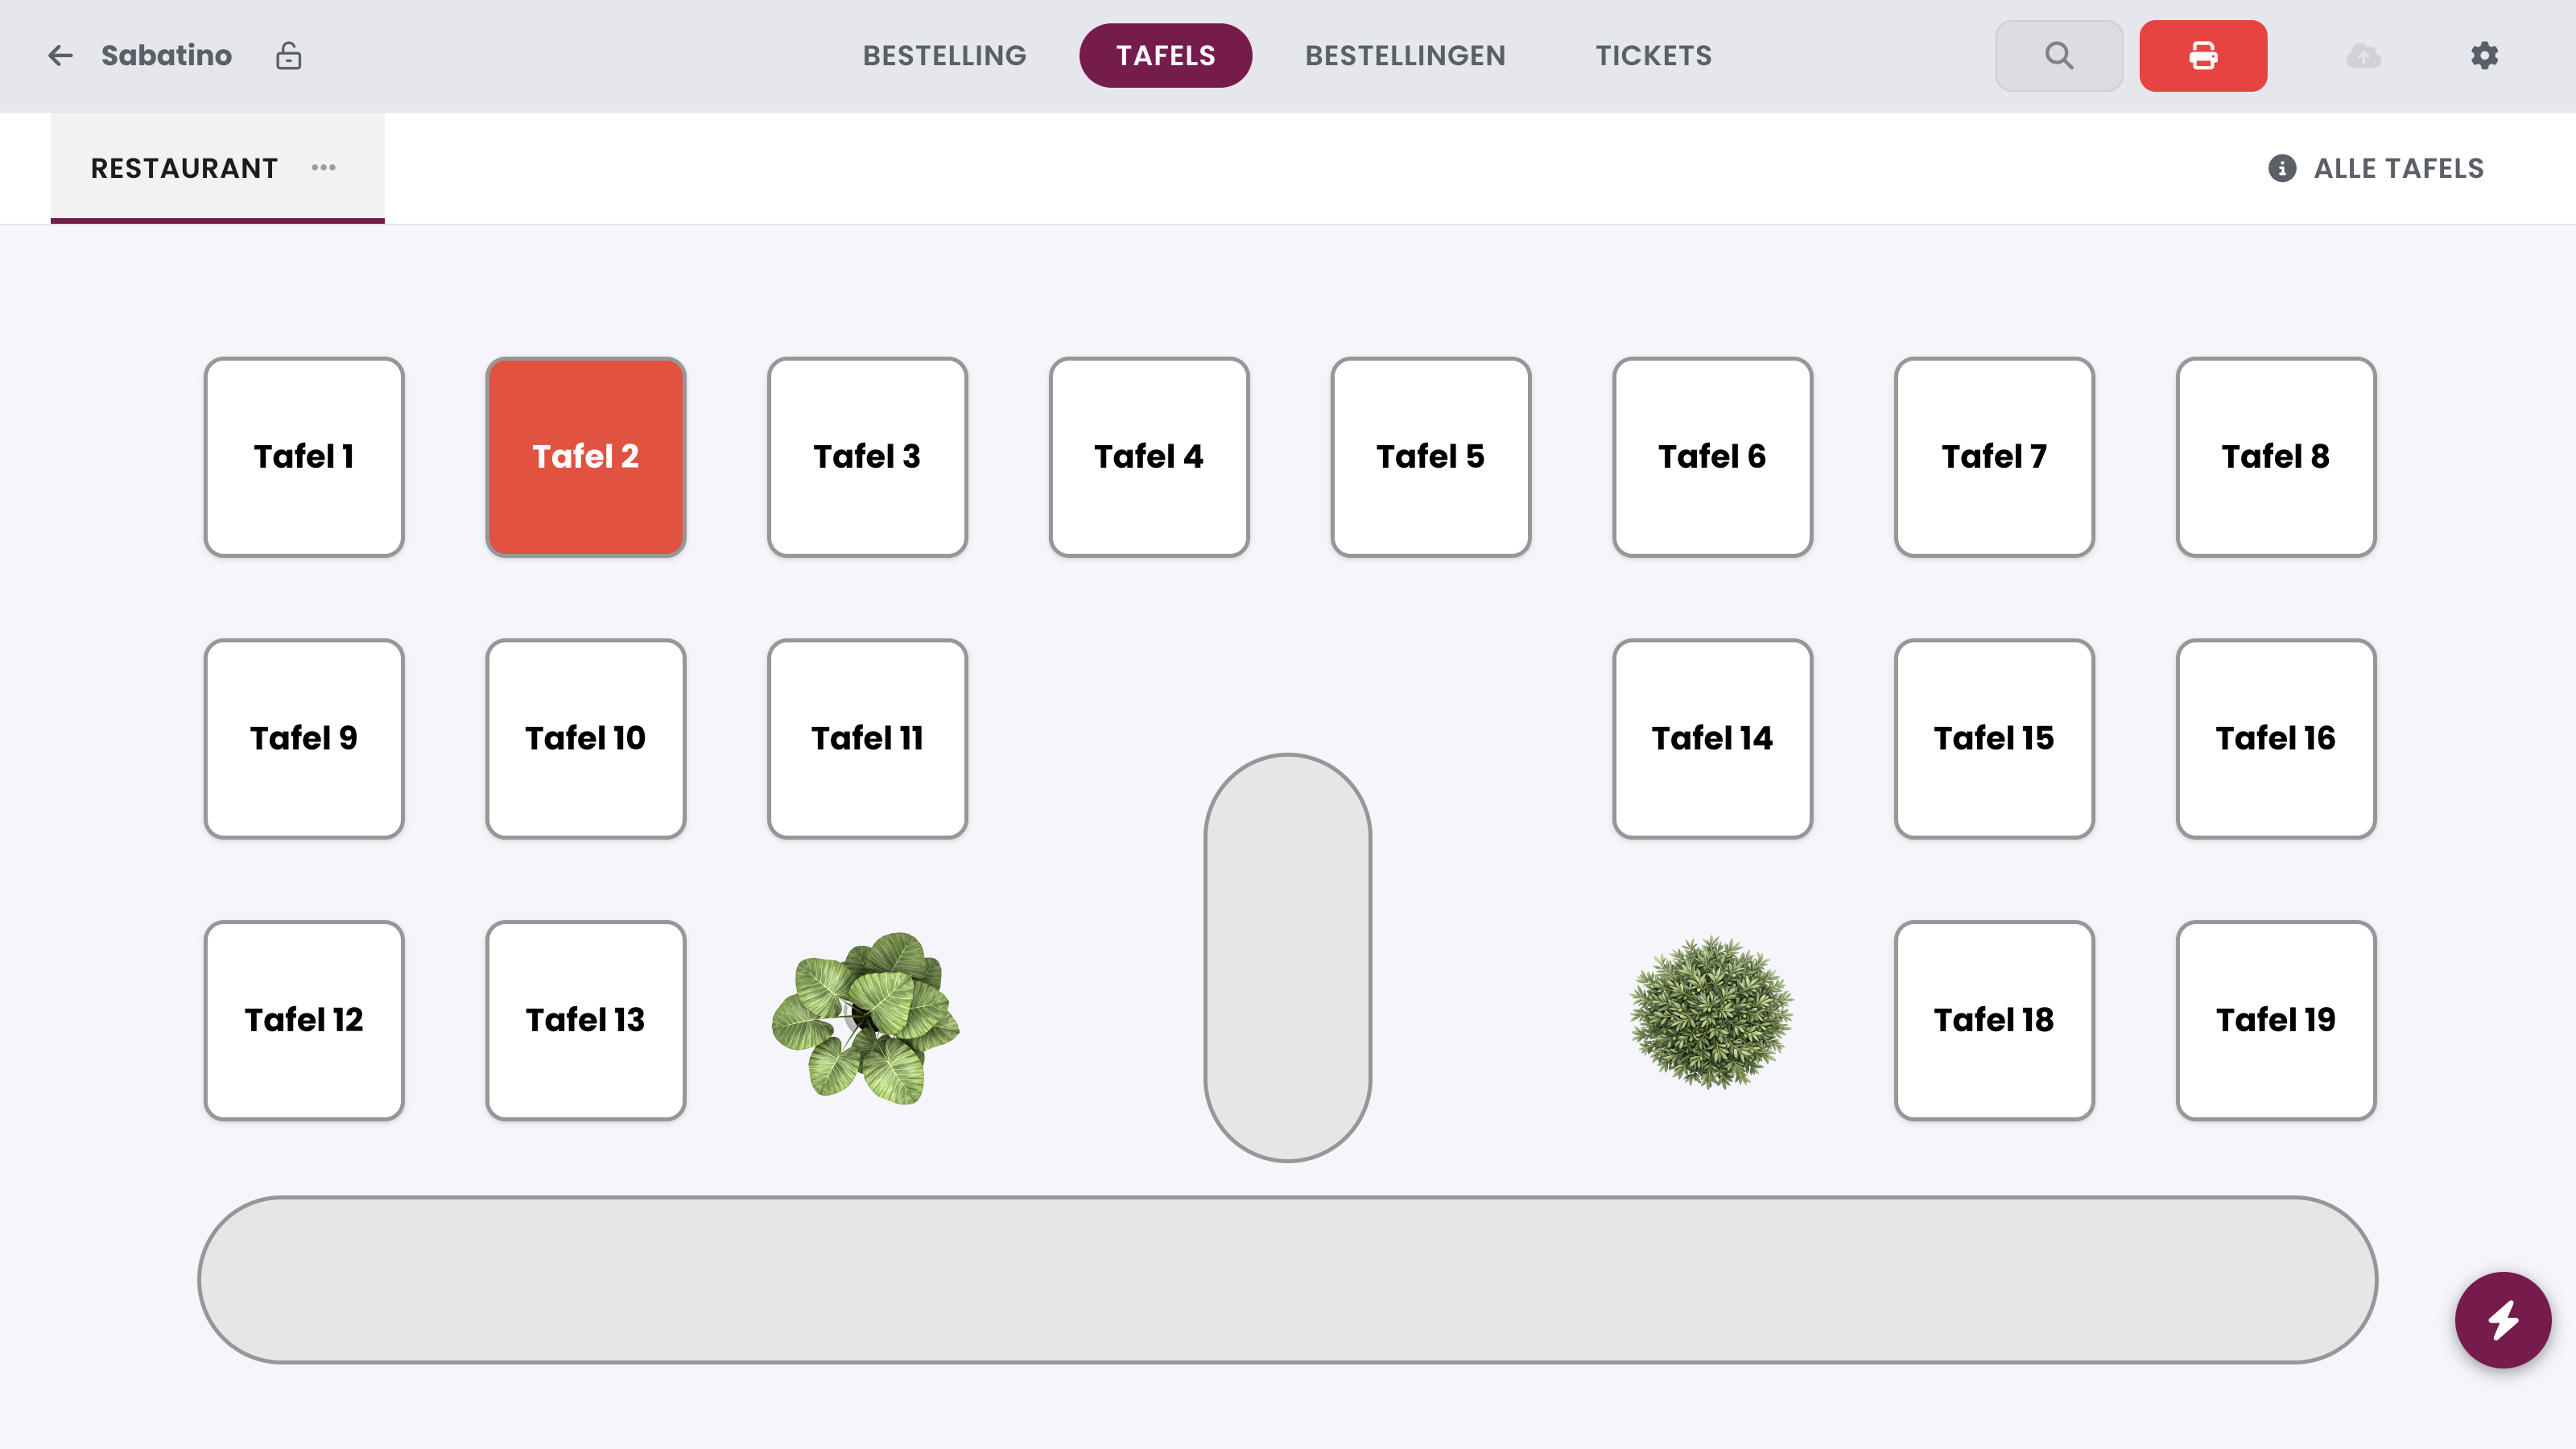
Use Tables (Tafels) in the navigation bar to open the table overview. It shows your table plan the way you set it up, with the current status of each table. Tap a table to open it and keep ordering.
What you see#
Your table plan with all tables. Use All tables to switch to the full list, including tables that are not on the active plan.
An indicator next to tables that have an order ready.
Do you work with several rooms or floors? You choose per device which layout of the table plan it shows: the screen at the bar shows the dining room, the handheld terminal on the terrace shows the terrace.
 1Open table2All tables3Quick actions
Choosing the layout per device#
Do you work with several rooms, or did you draw a separate layout for the handheld terminal? Tap the three dots next to the name of the area. You see the Main layout and every extra layout of that table plan. The label Default marks the layout that the terminal settings prescribe. Tap a layout to show it. Tap the lock to fix that layout on this device. Without the lock, the device follows the terminal settings. With Start floor plan on this device, this table plan is the first one to open on this POS from now on.
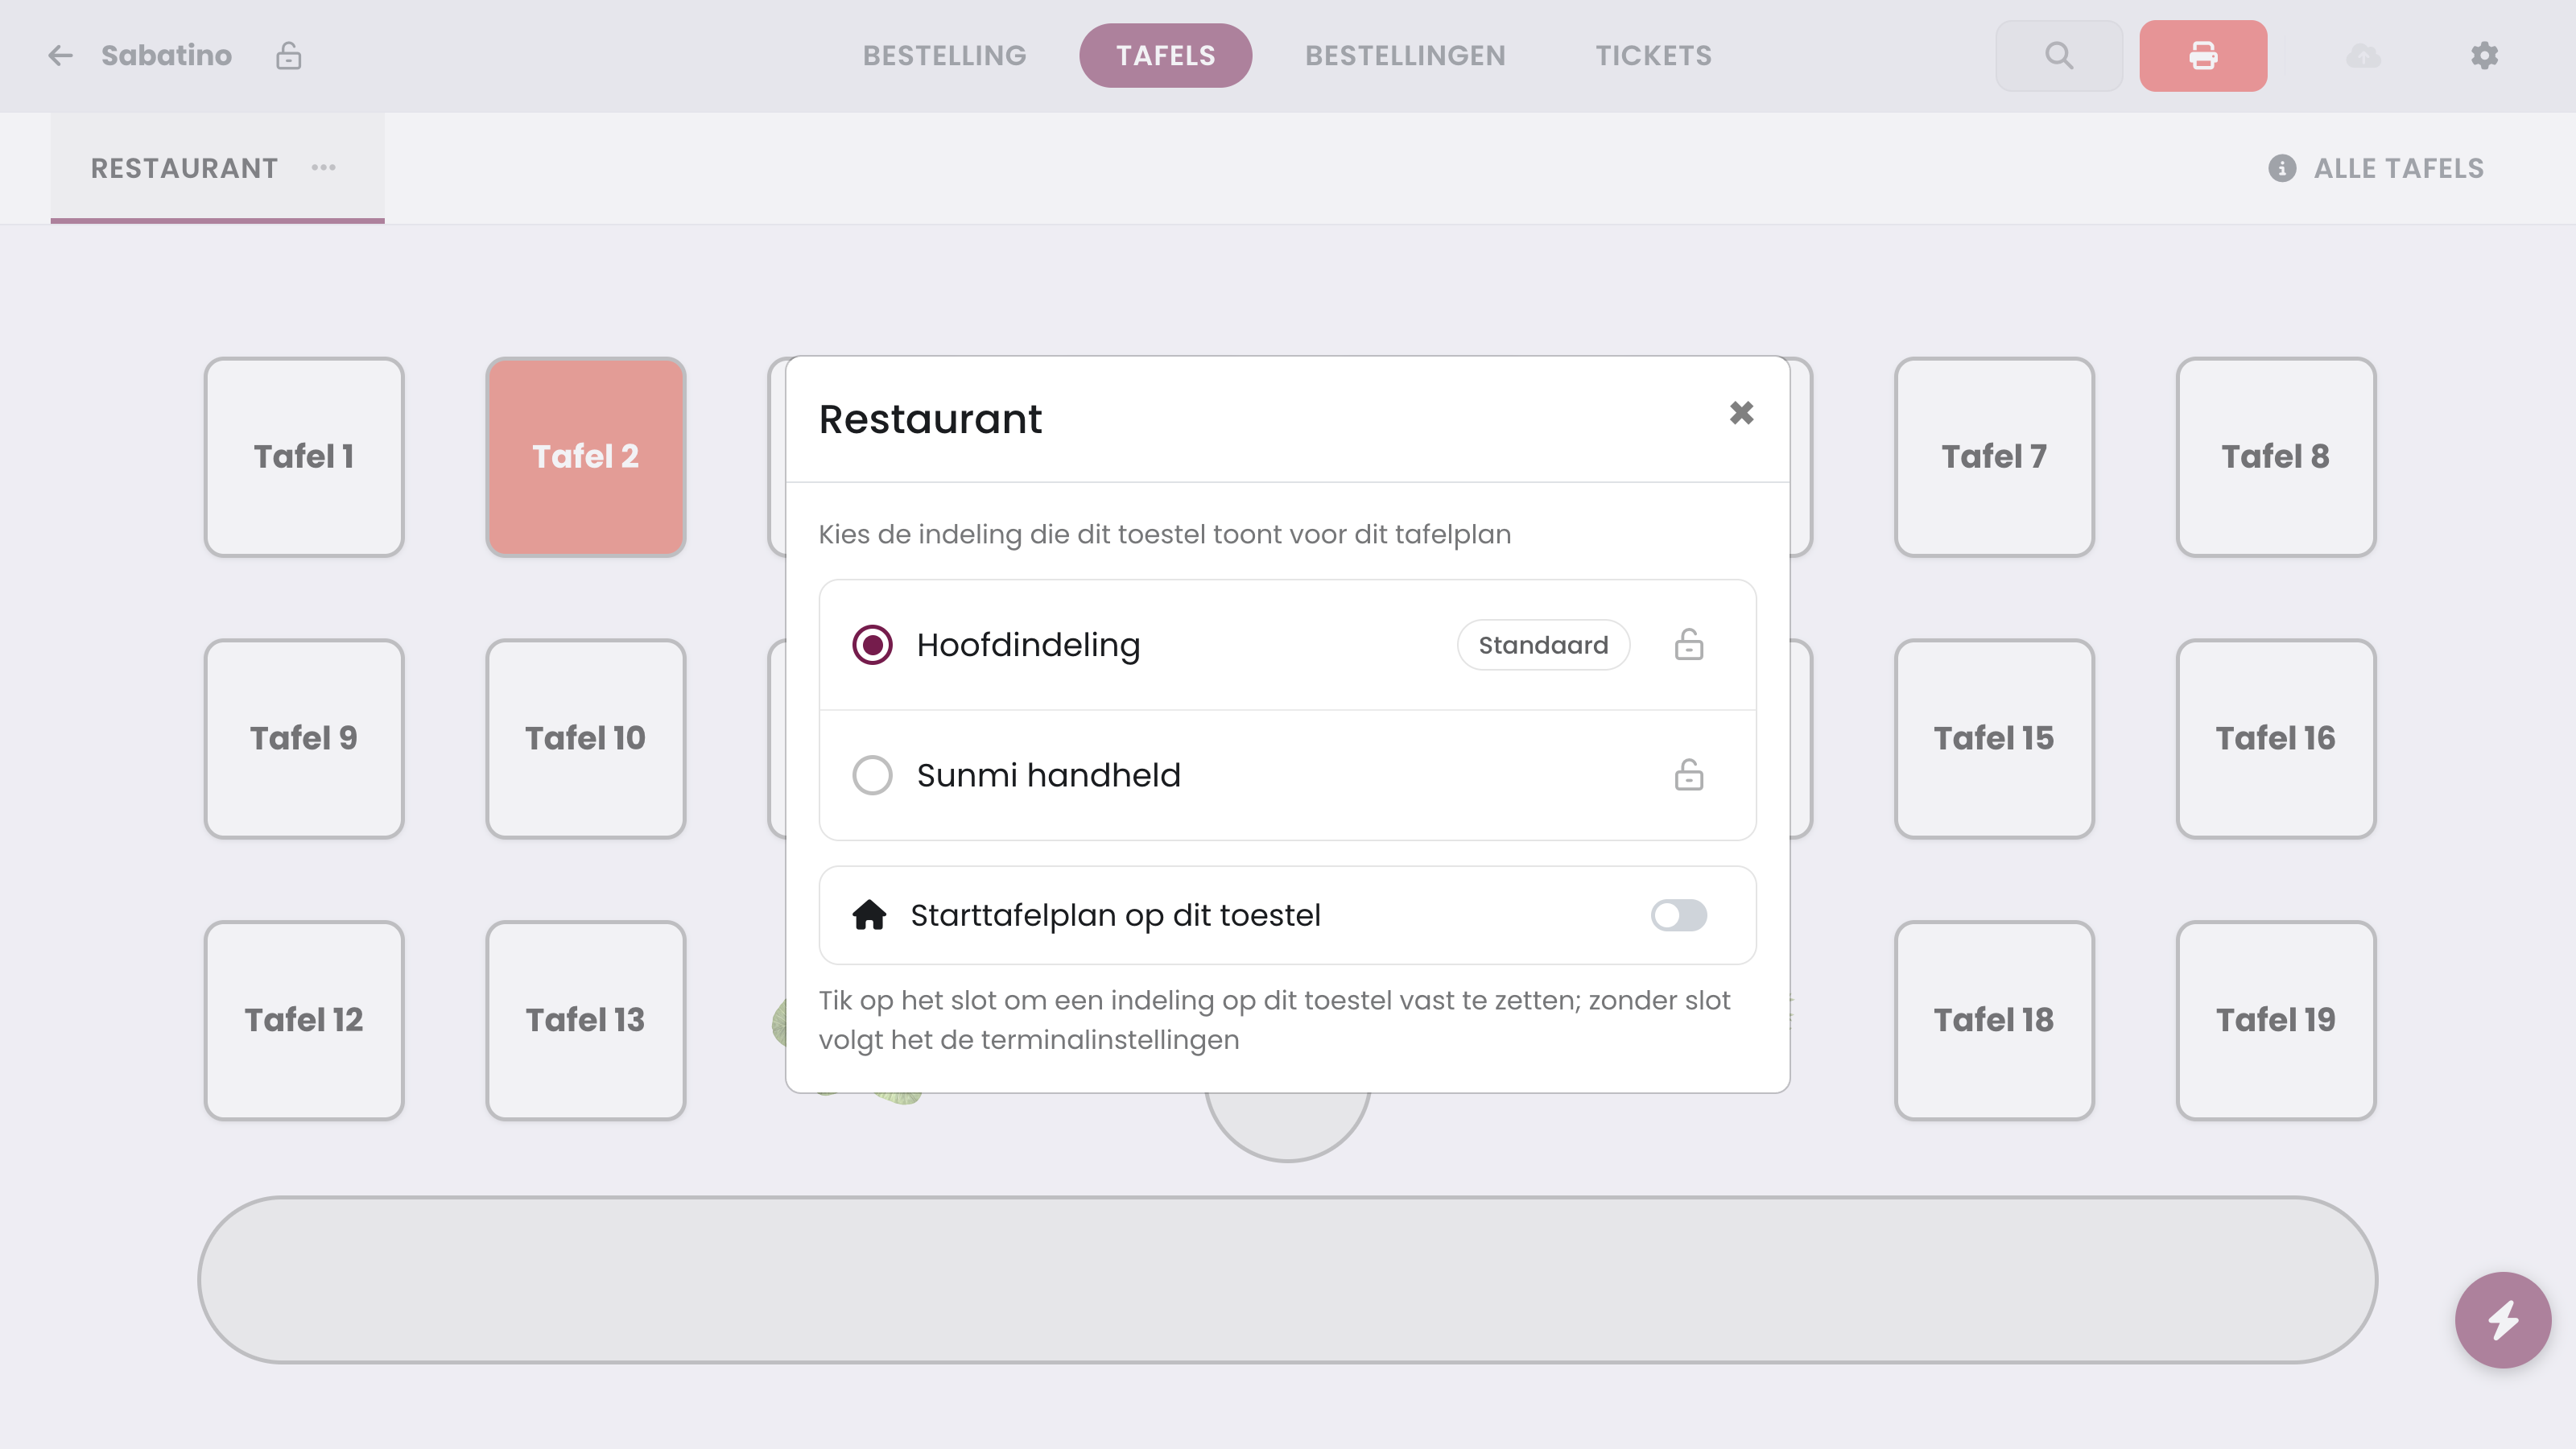 1Default: follows the terminal settings2Lock: fix on this device3Start floor plan on this device
Quick actions#
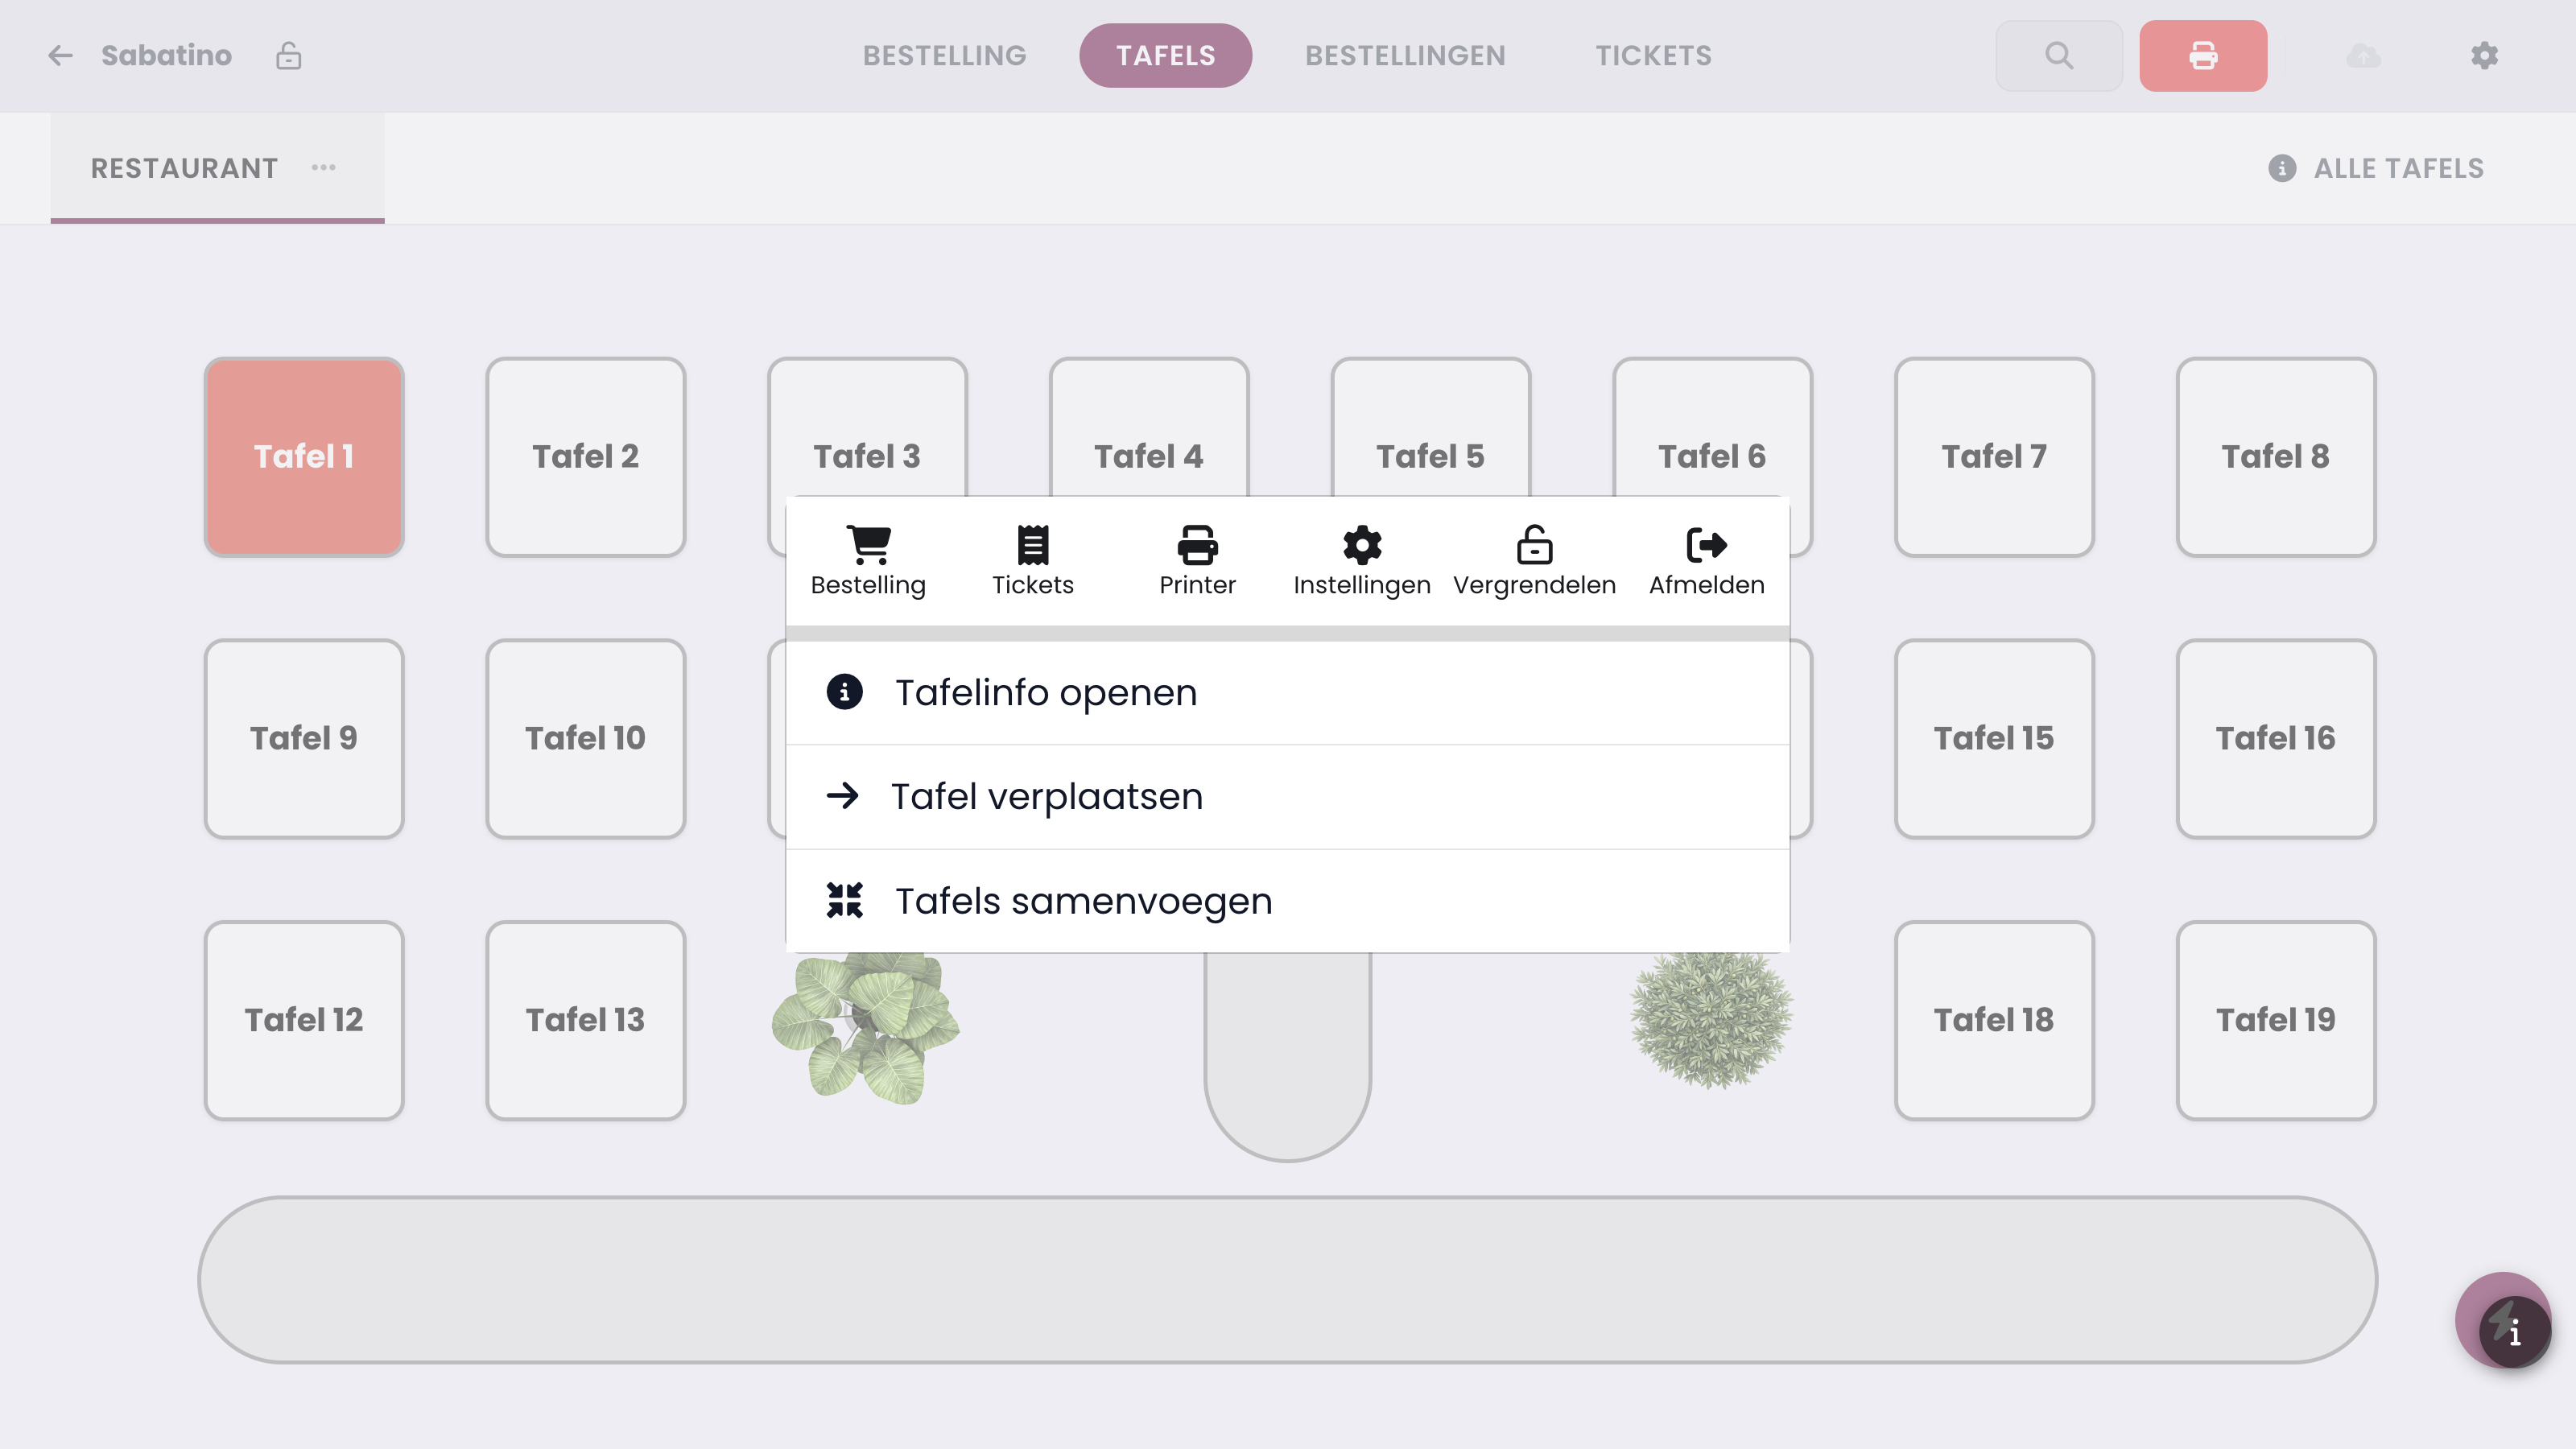
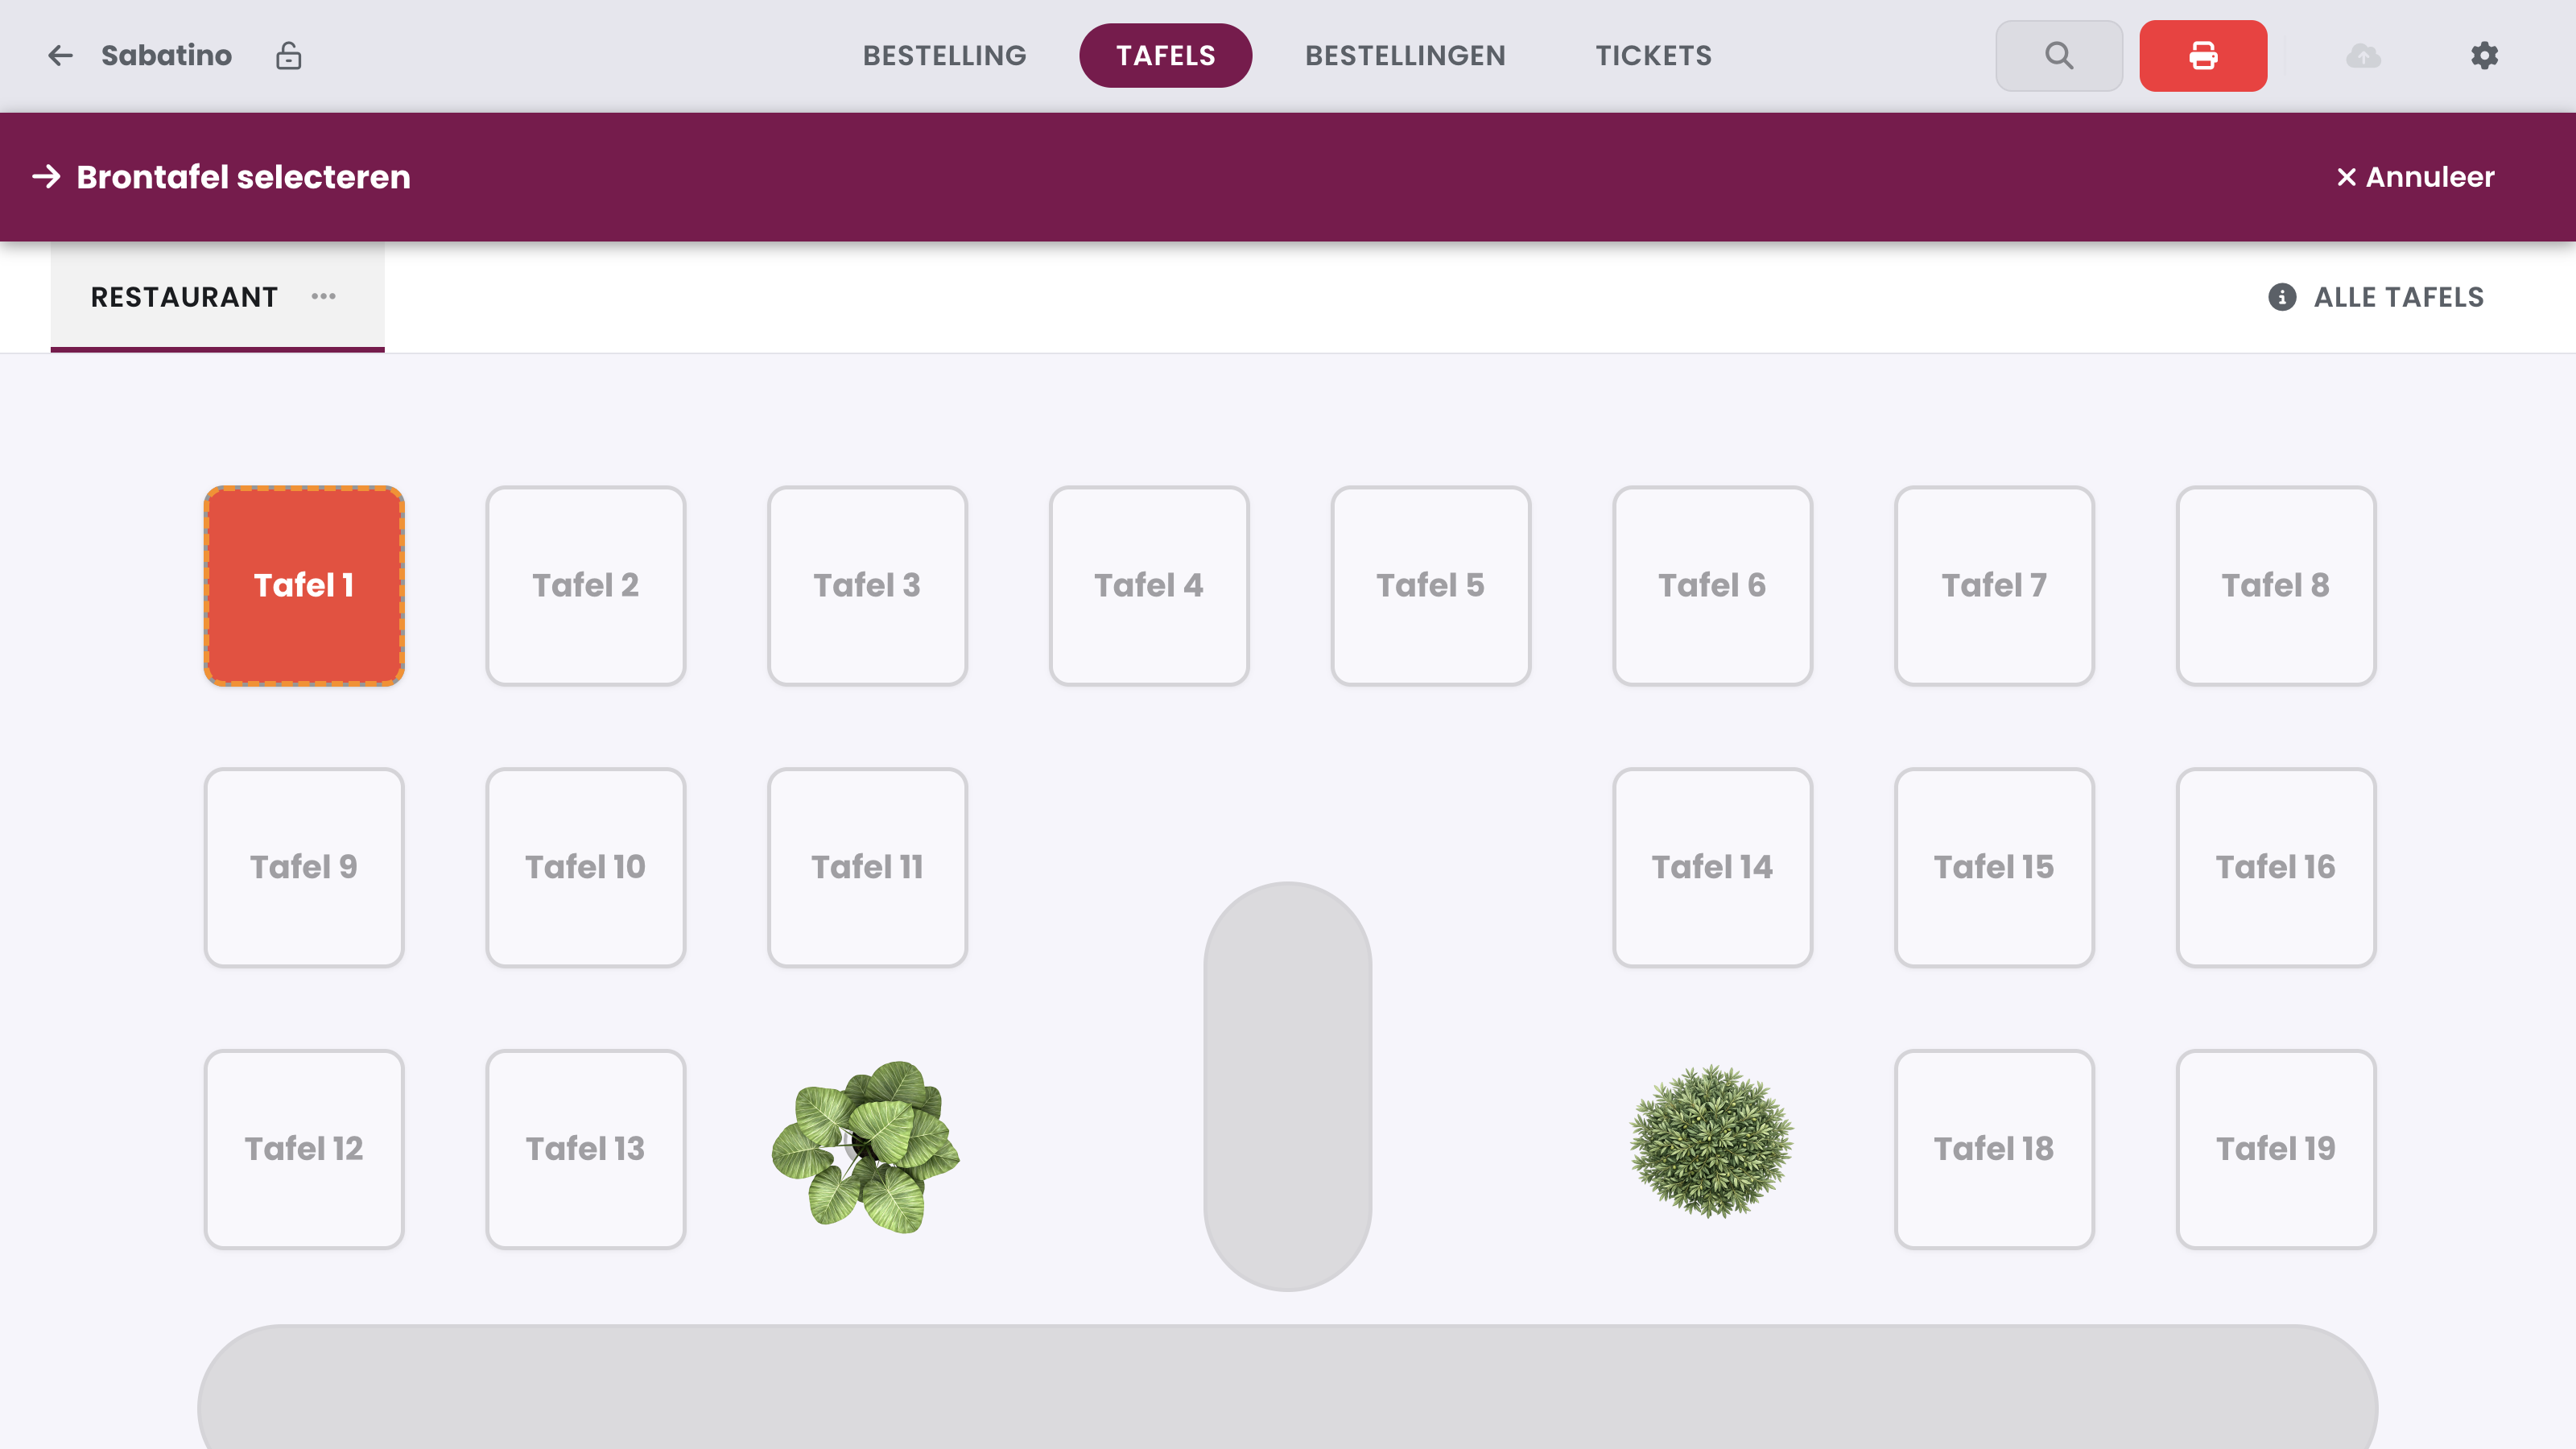
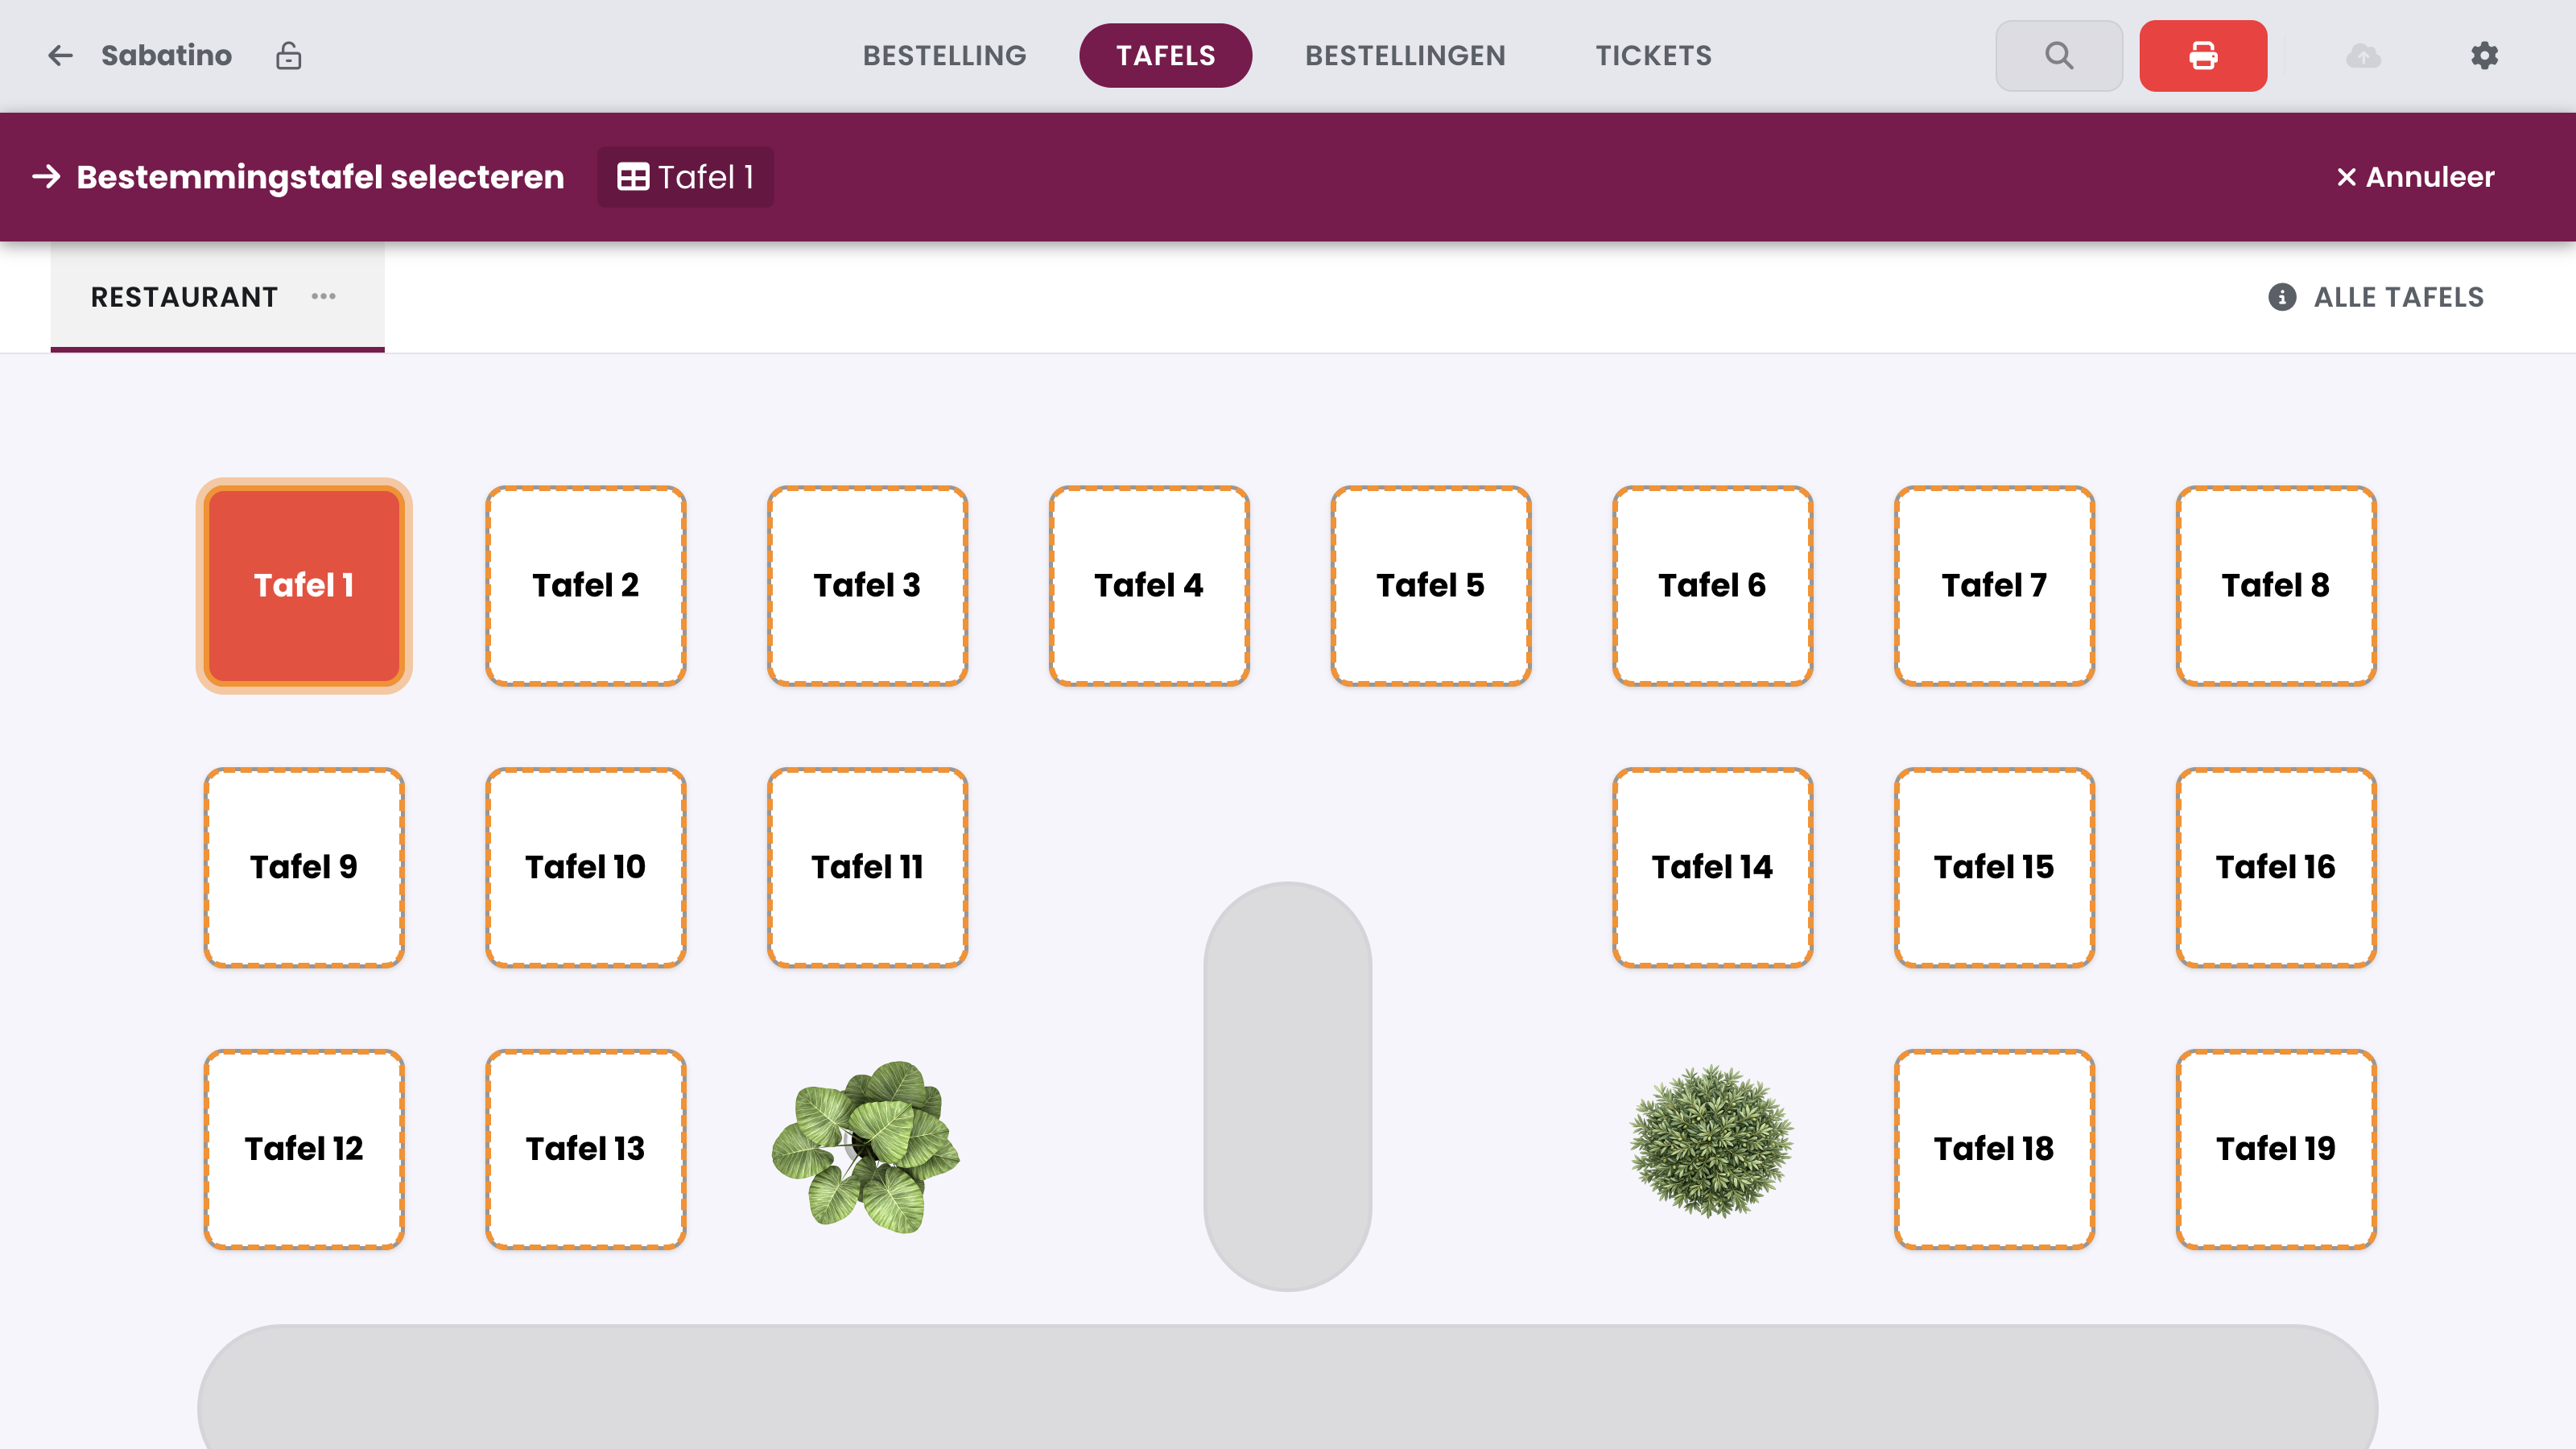
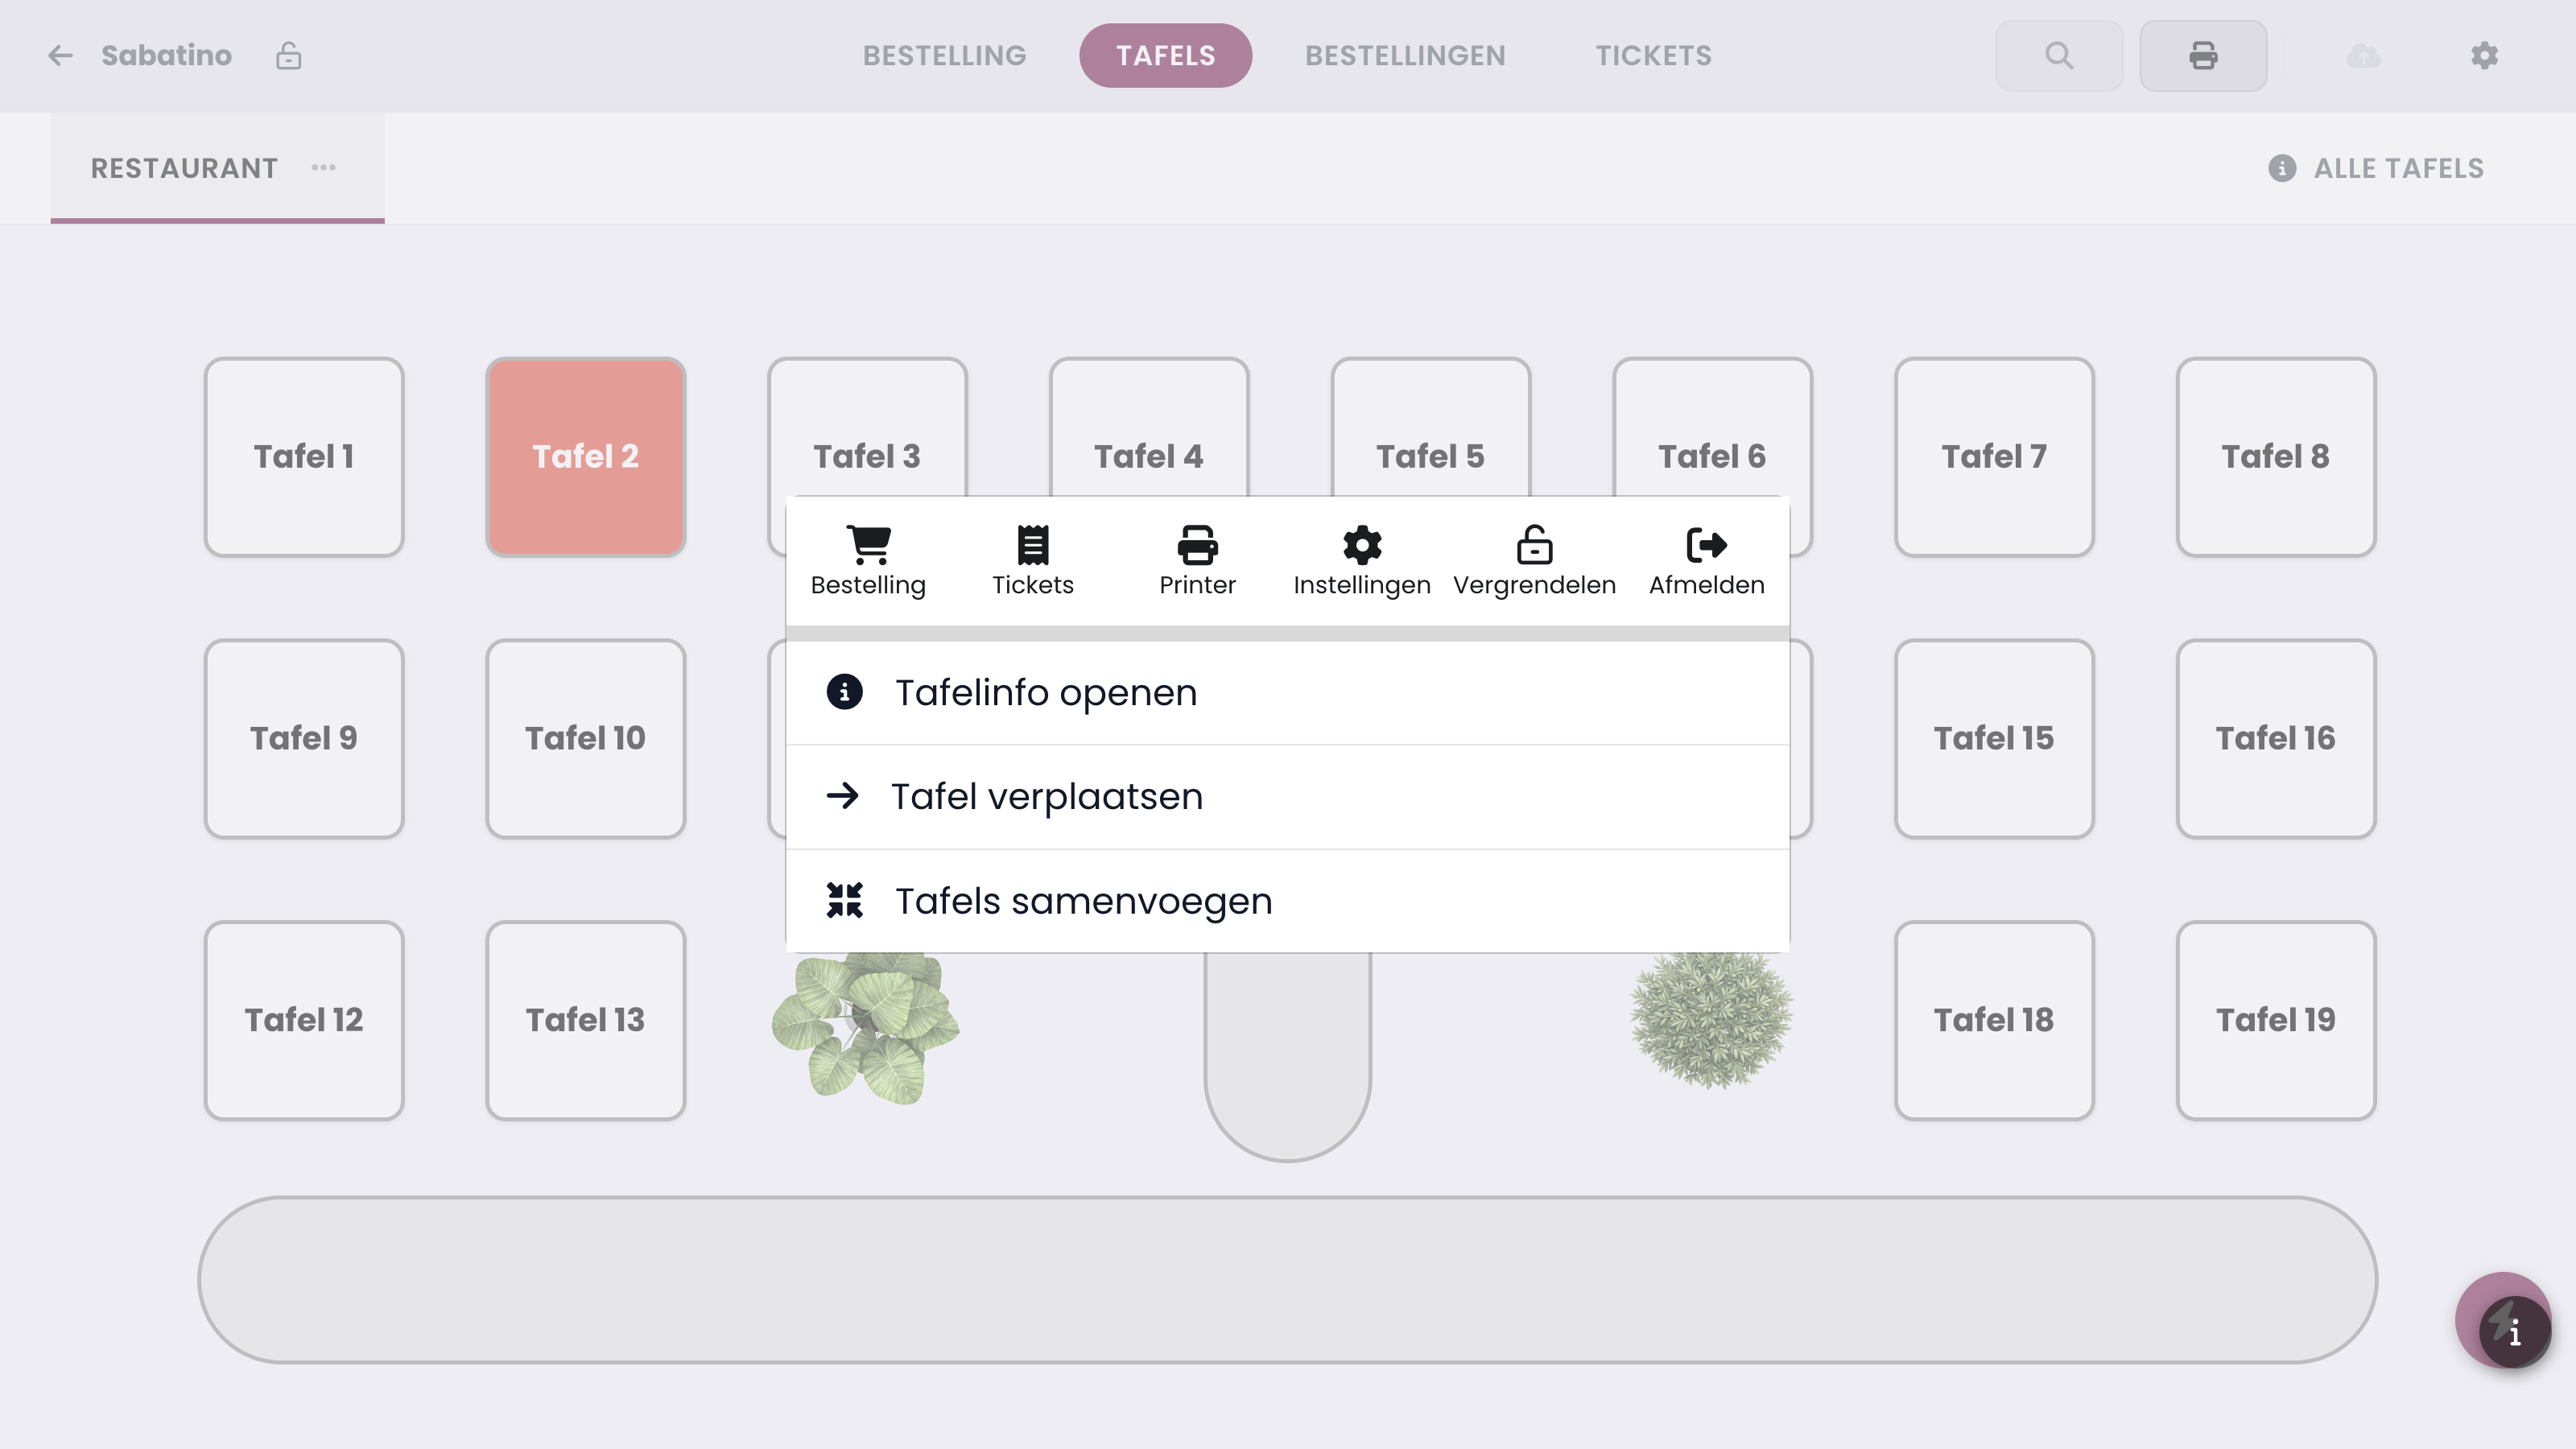
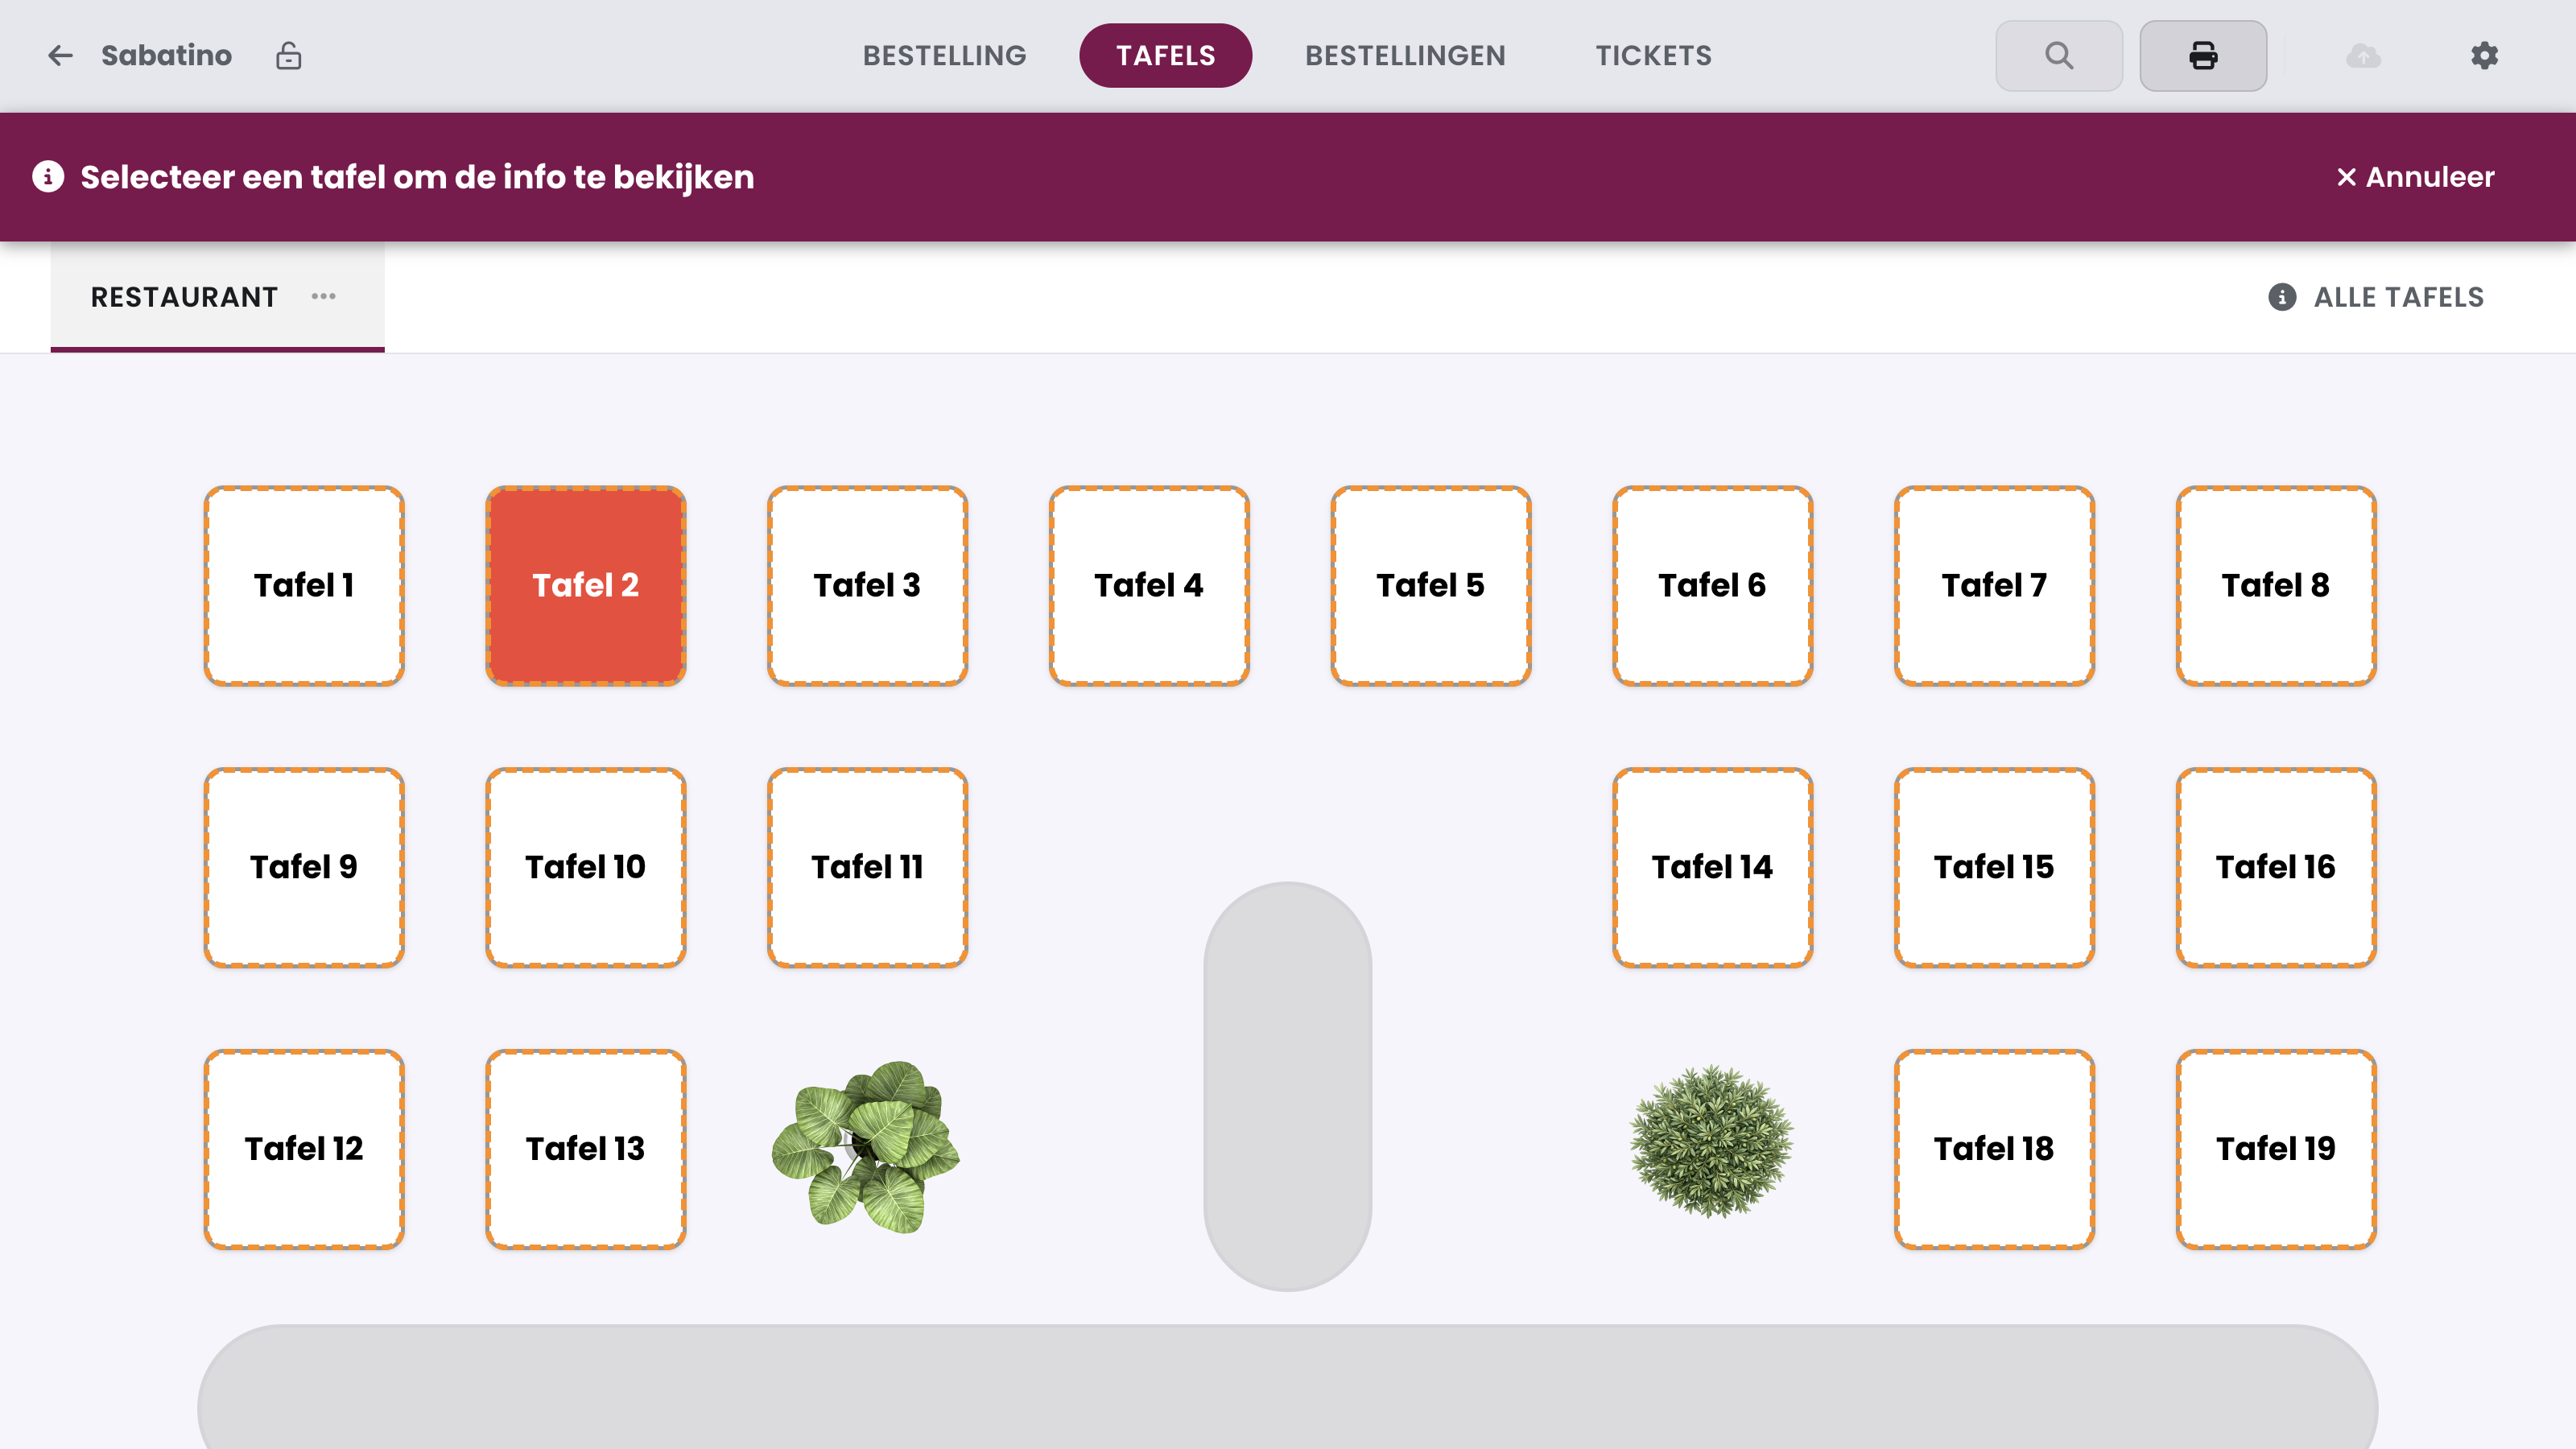
At the bottom right of the table overview is a round button with a lightning bolt: the quick actions. There you choose Open table info, Transfer table or Merge tables. The POS then shows a purple bar at the top that tells you what it expects from you. You can stop at any time with Cancel. You can't select tables that are in use on another device.
Transfer table#
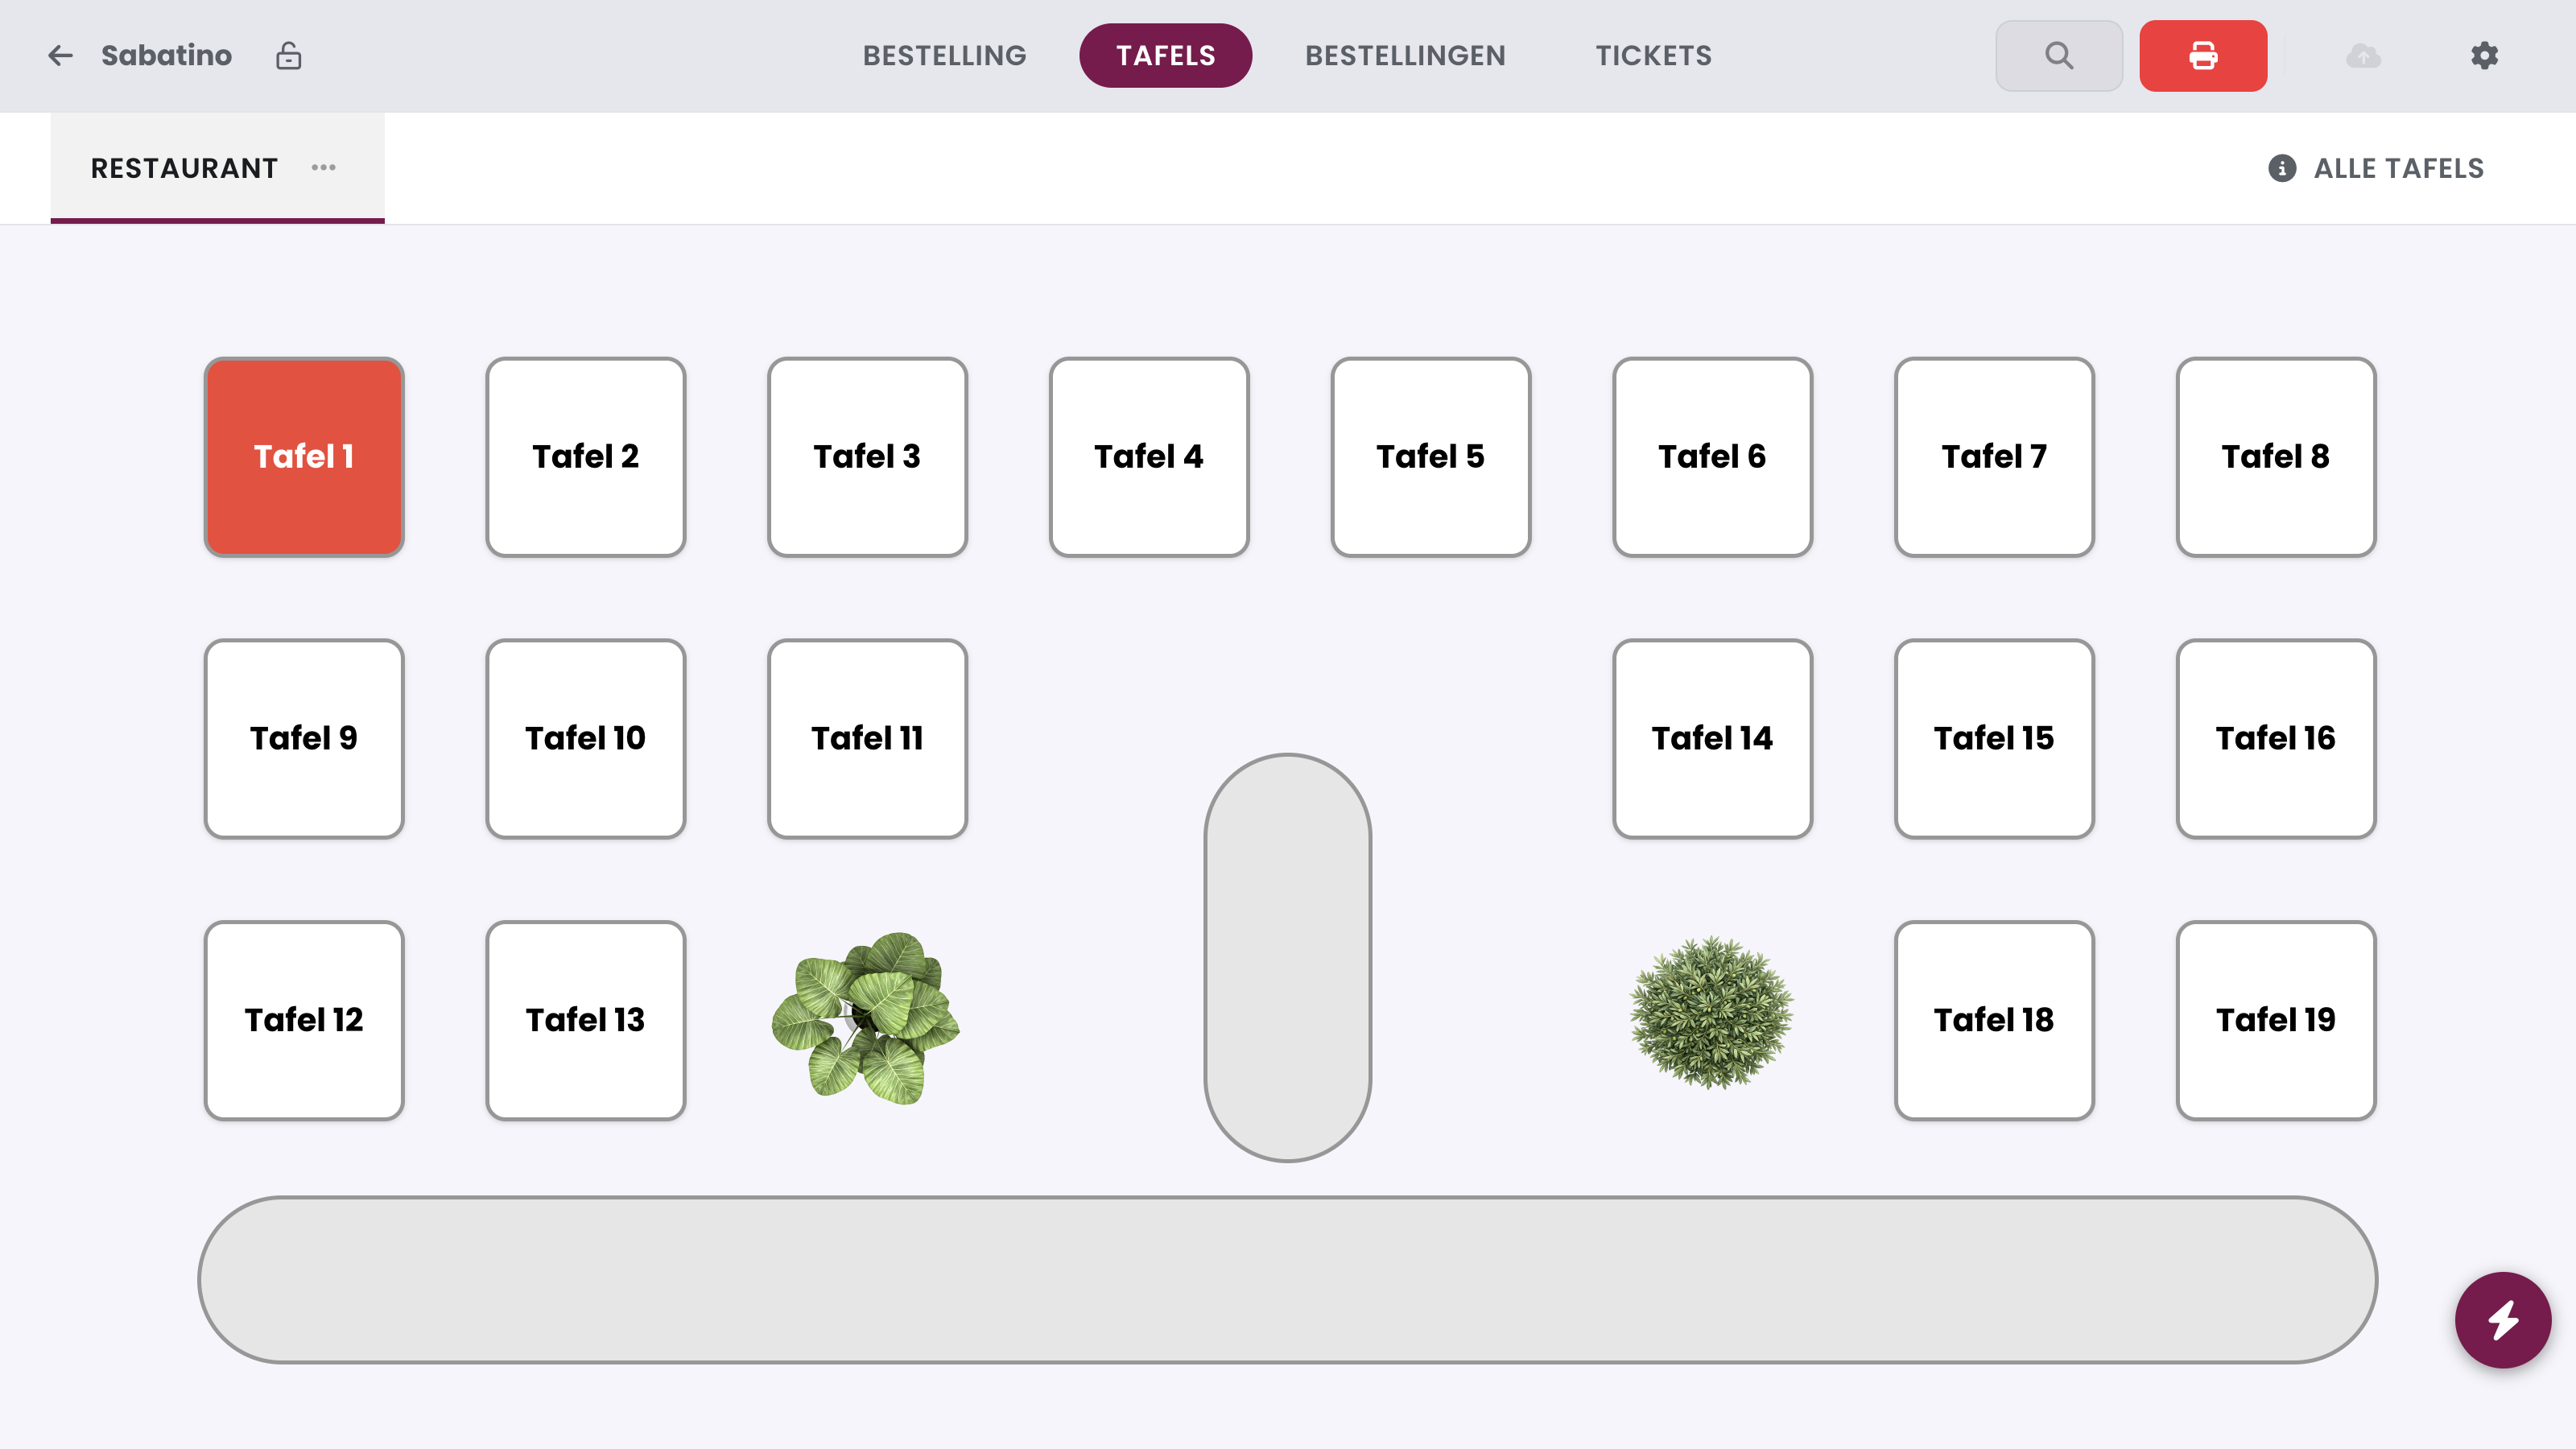
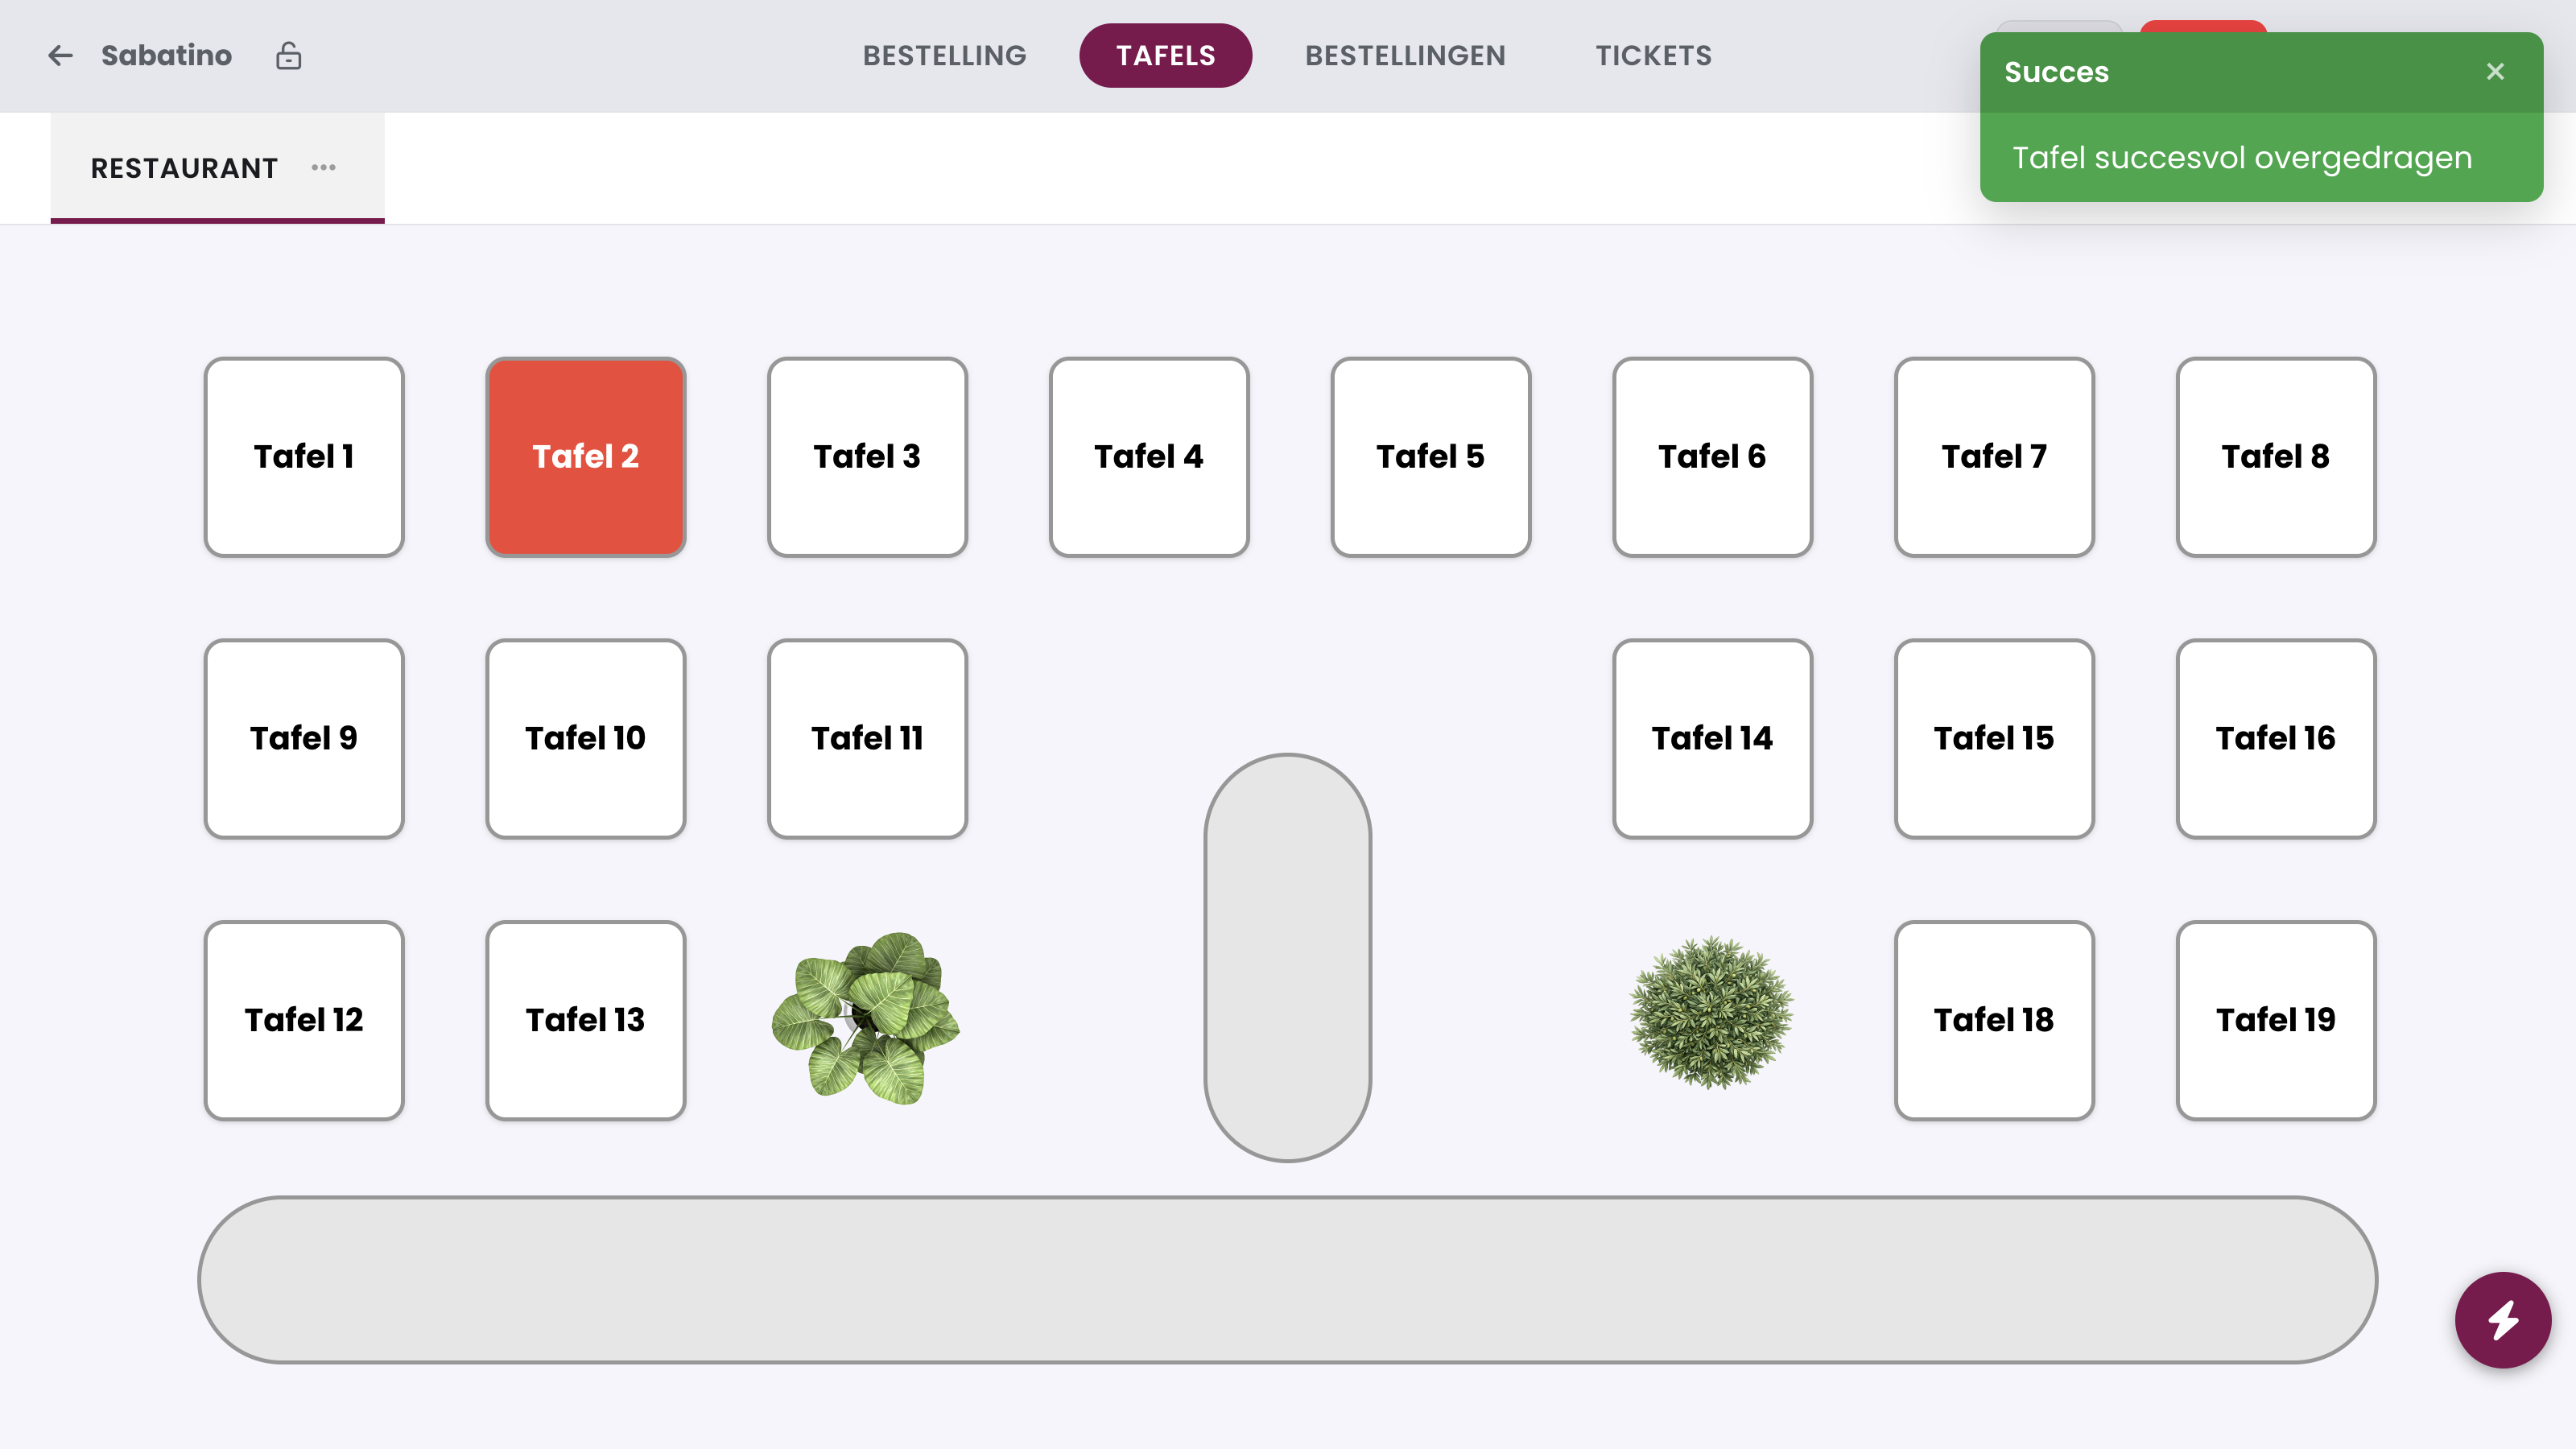
Is a party moving to another table? Choose Transfer table, tap the table where the order is now (the source table), then tap a free table (the destination). The whole order moves along, the source table becomes free and you get the message Table transferred successfully.
Merge tables#
Are two parties sitting together on one bill? Choose Merge tables, tap the source table, then the target table. Both tables must have an open order. In the Merge tables window you see Customer, Order type and Chairs. If these differ between the two tables, you choose which value the merged table gets. Tap Confirm merge: all lines are now on the target table and the source table becomes free.
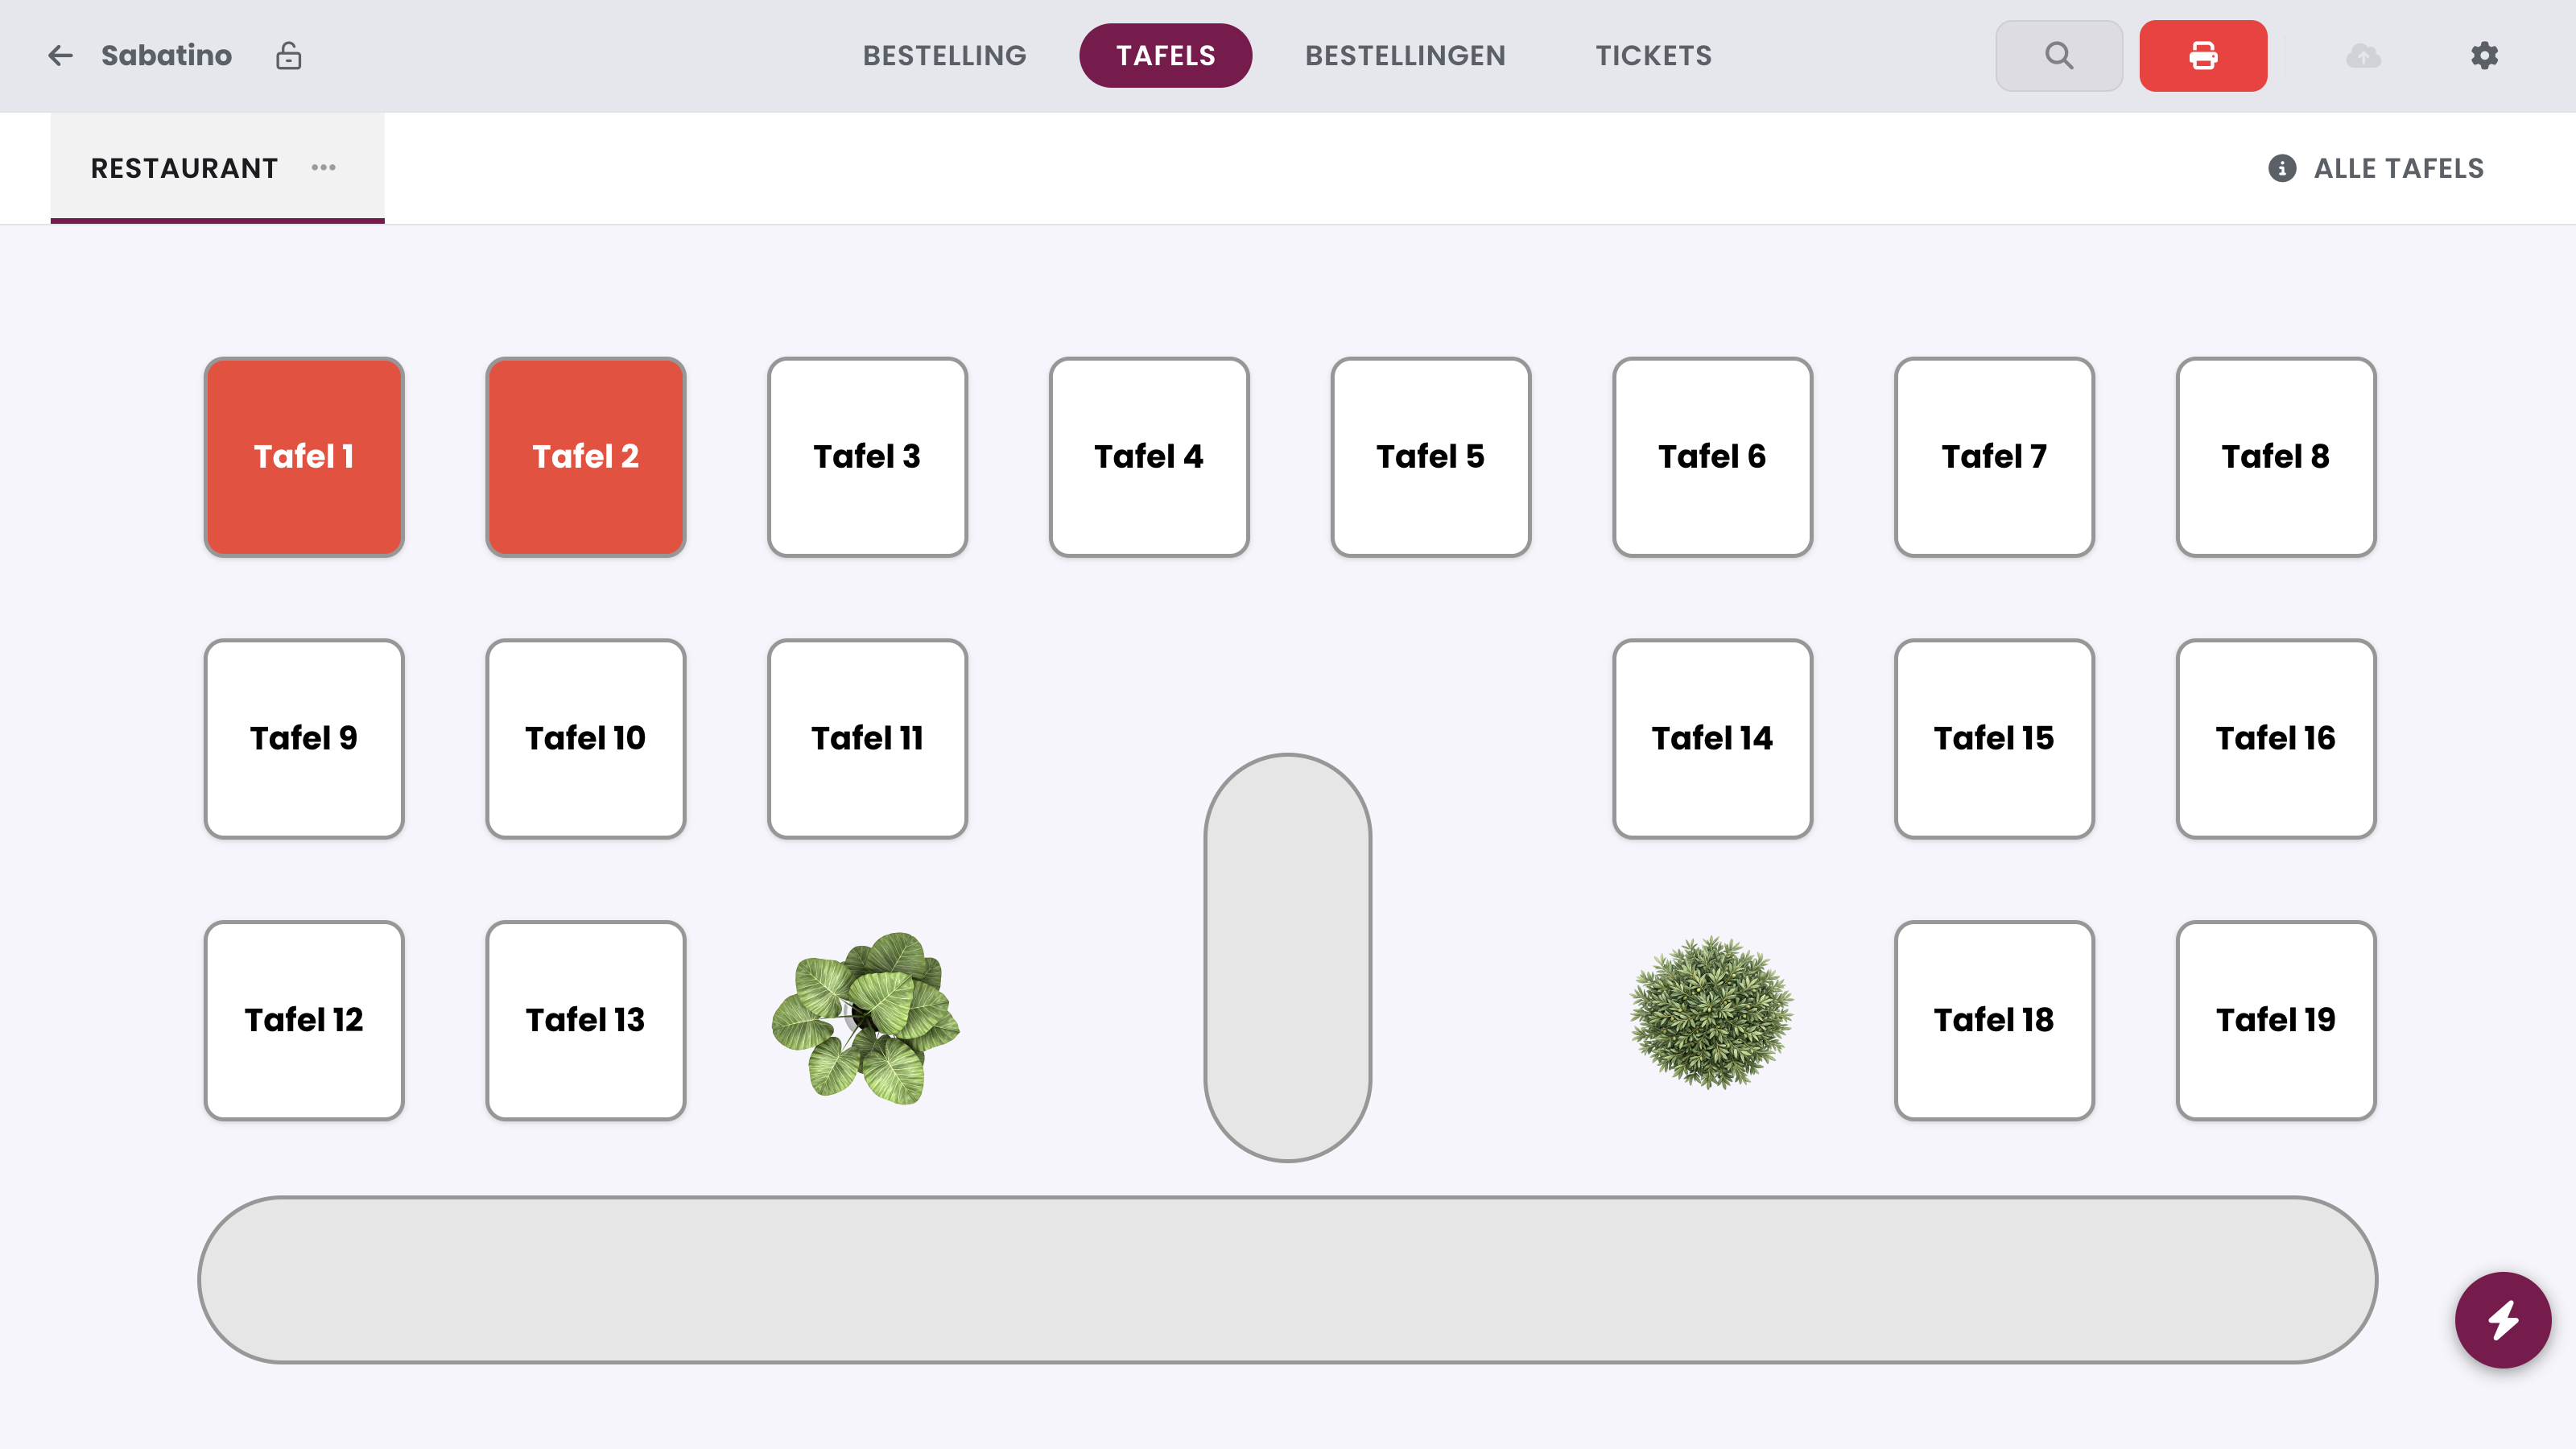
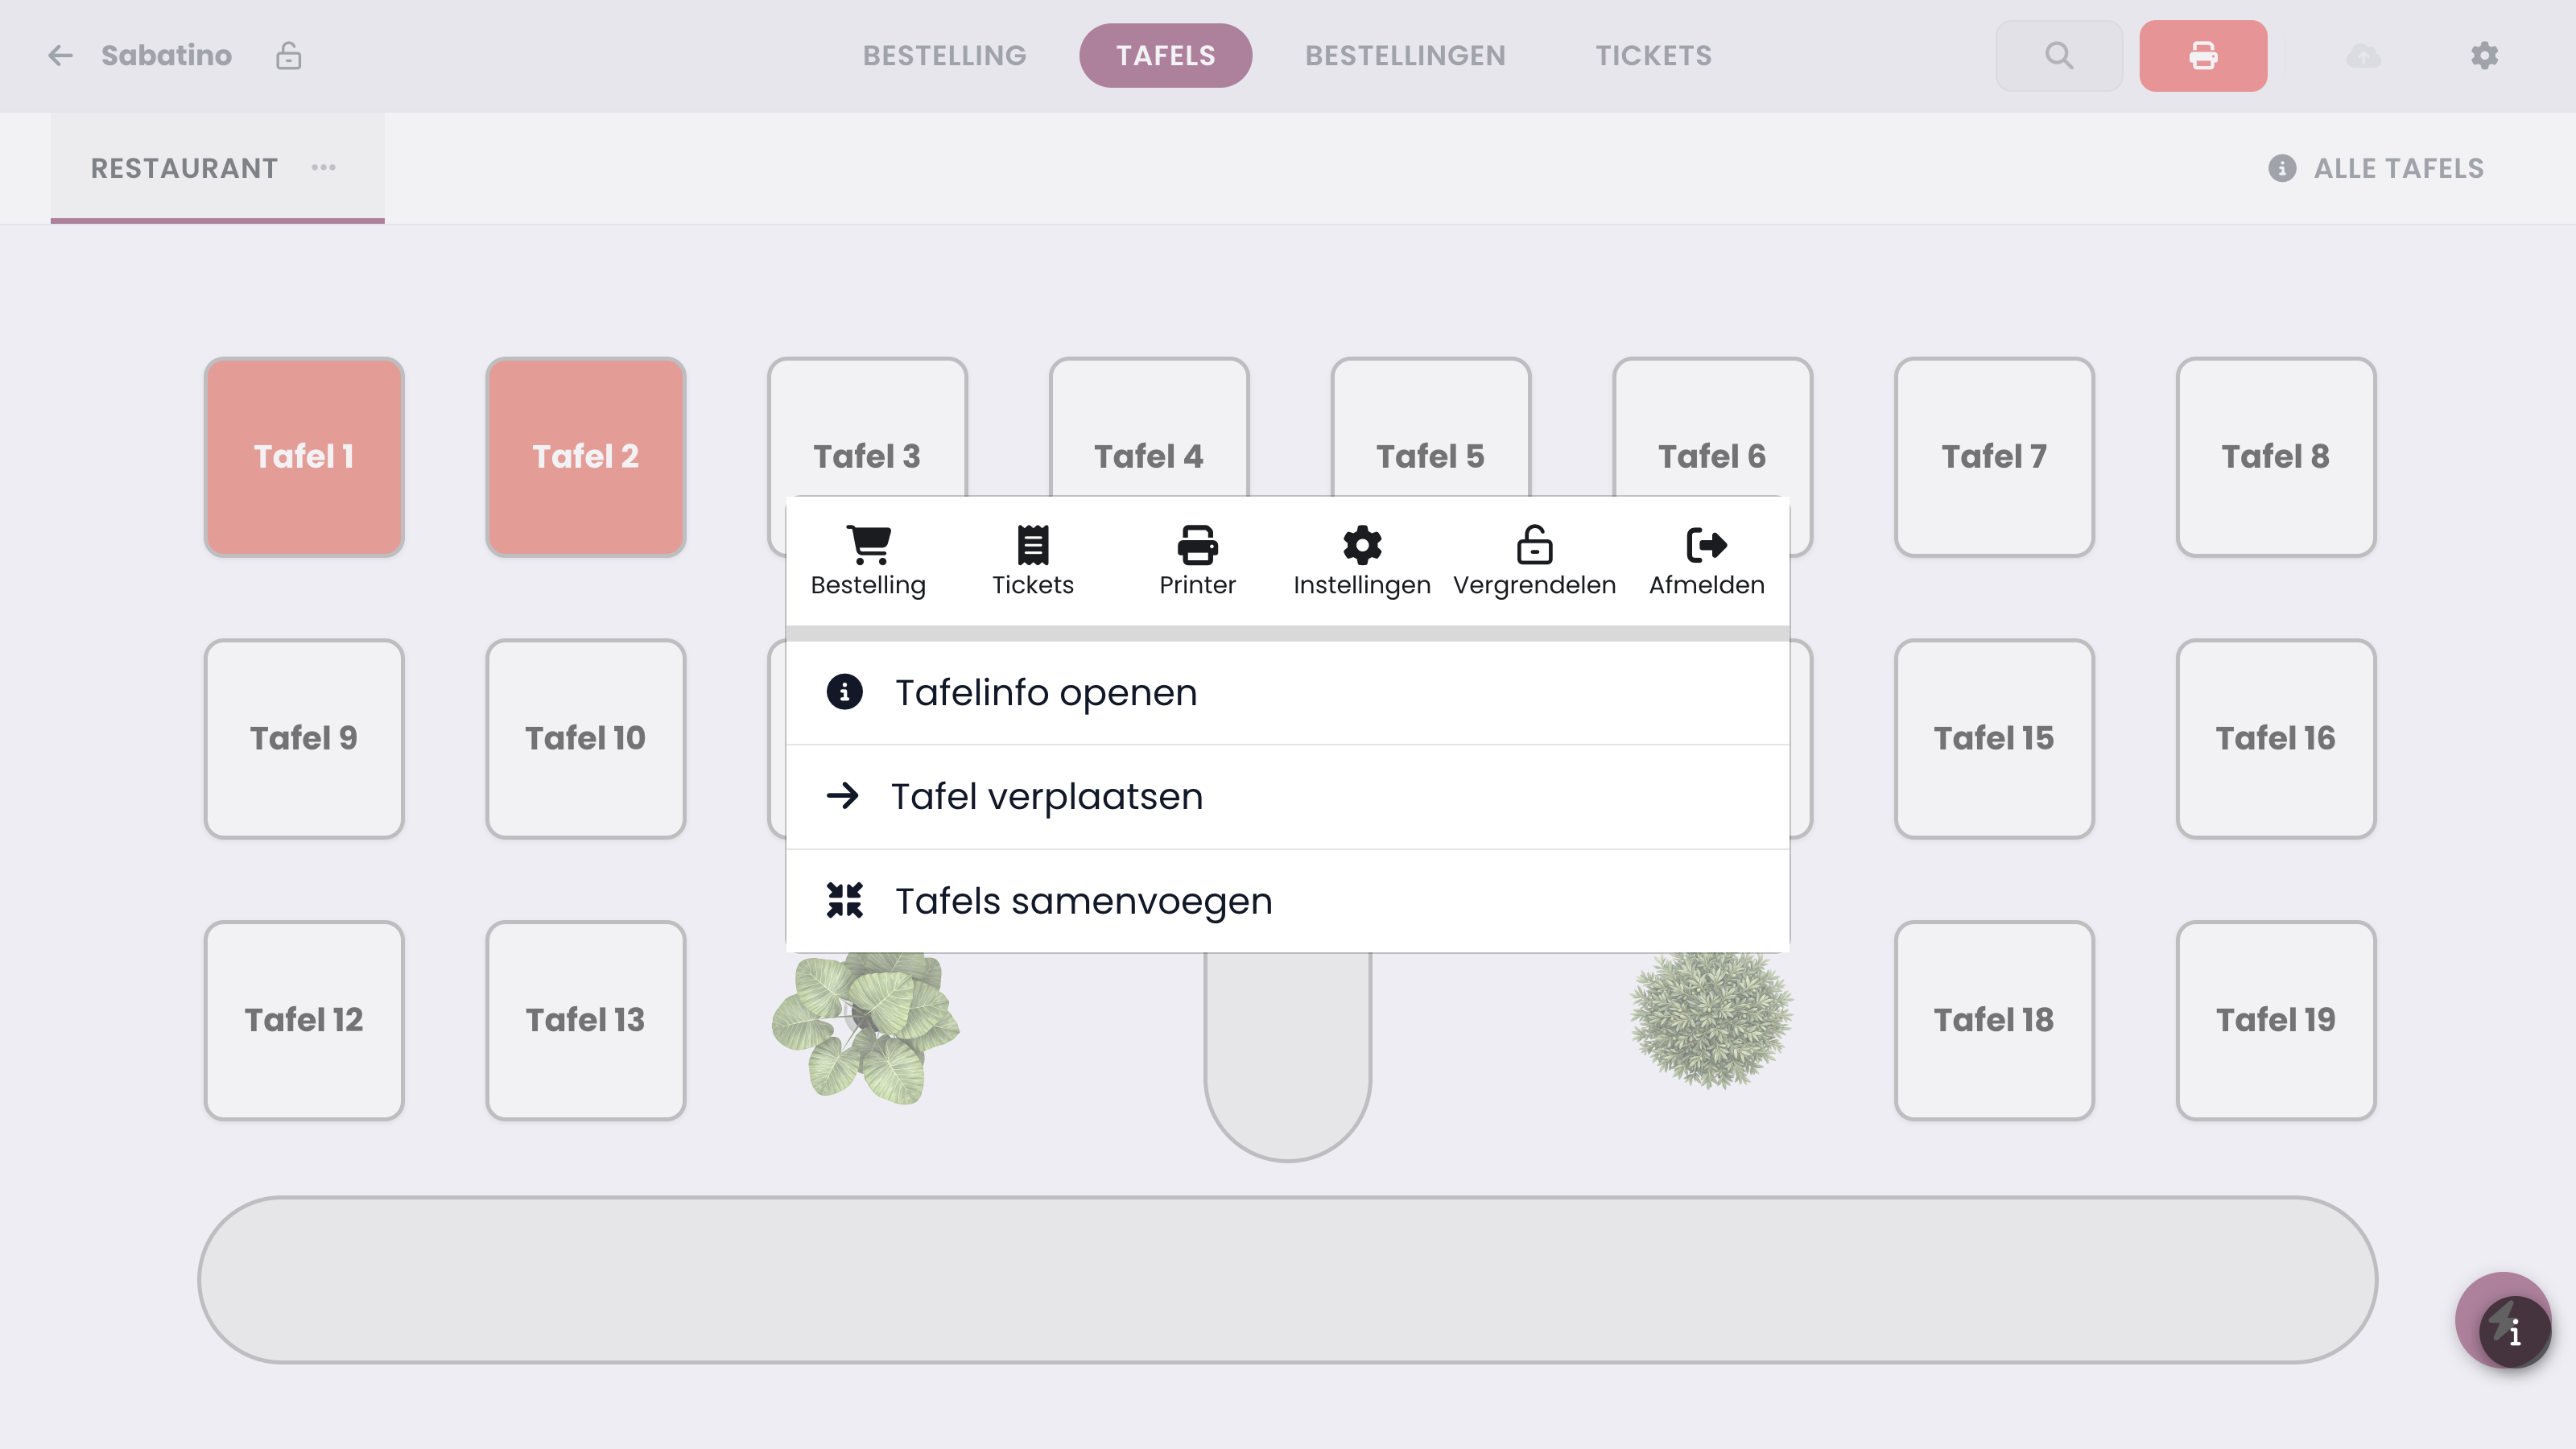
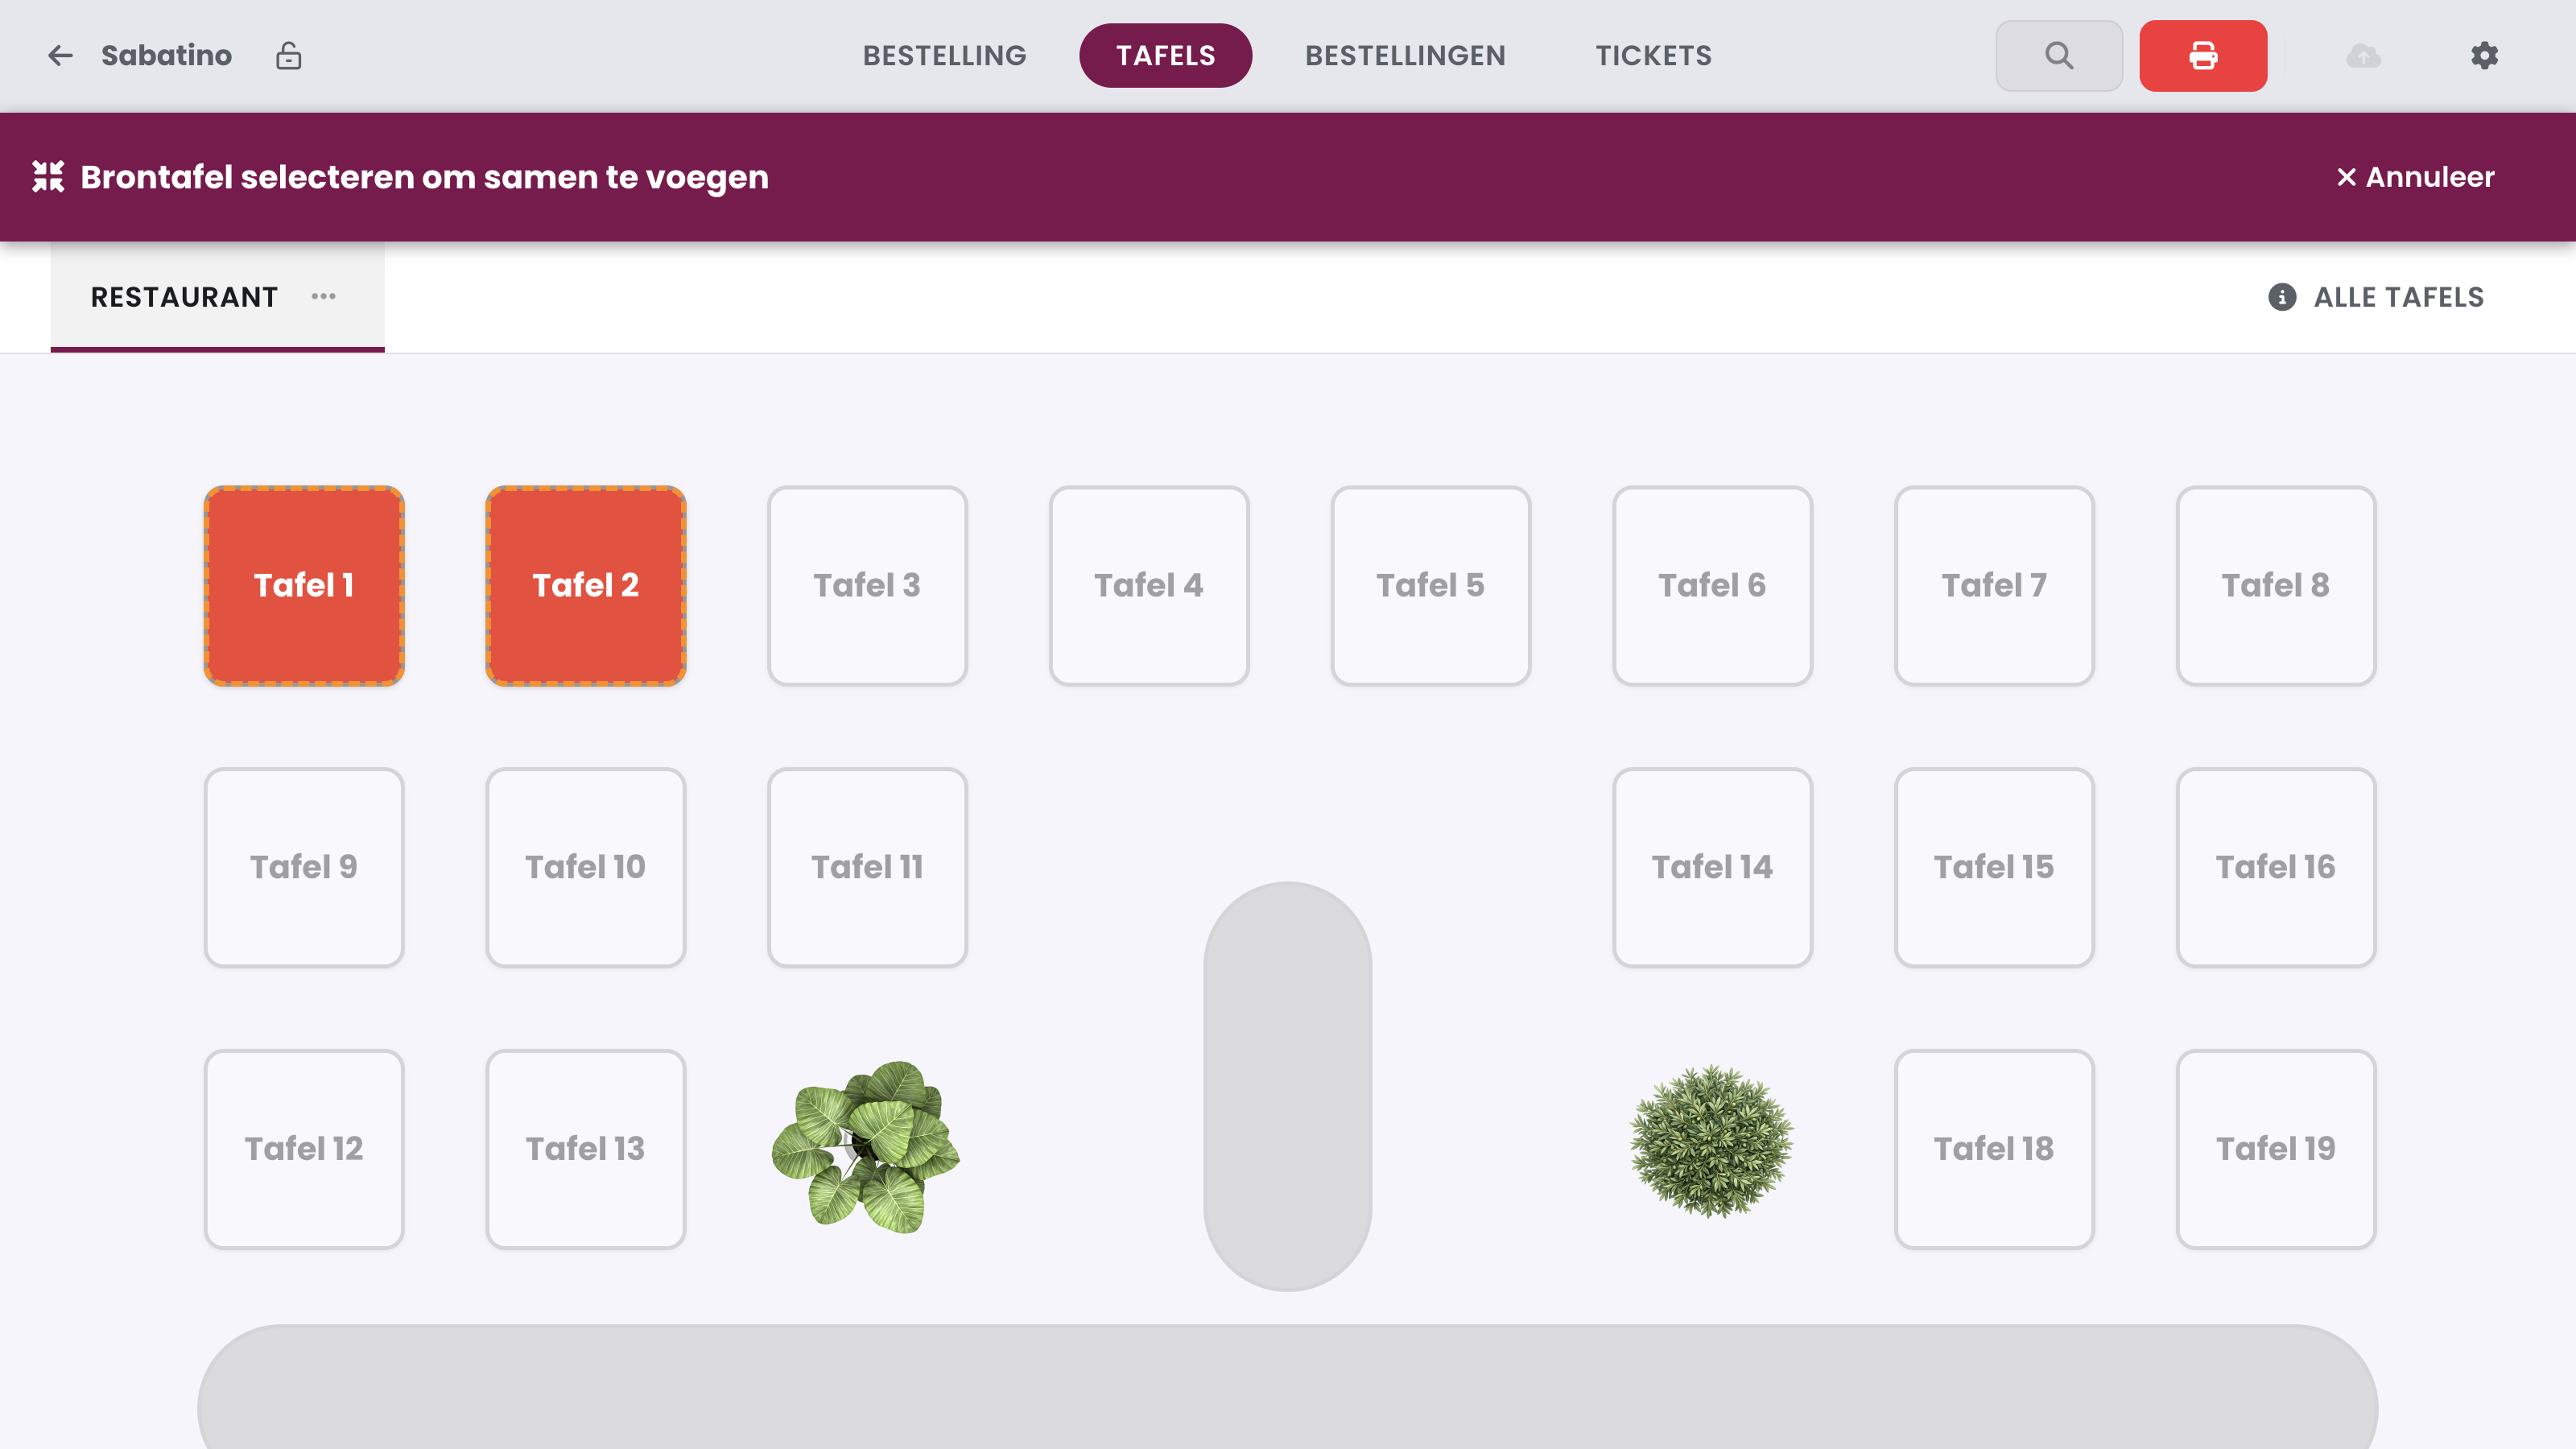
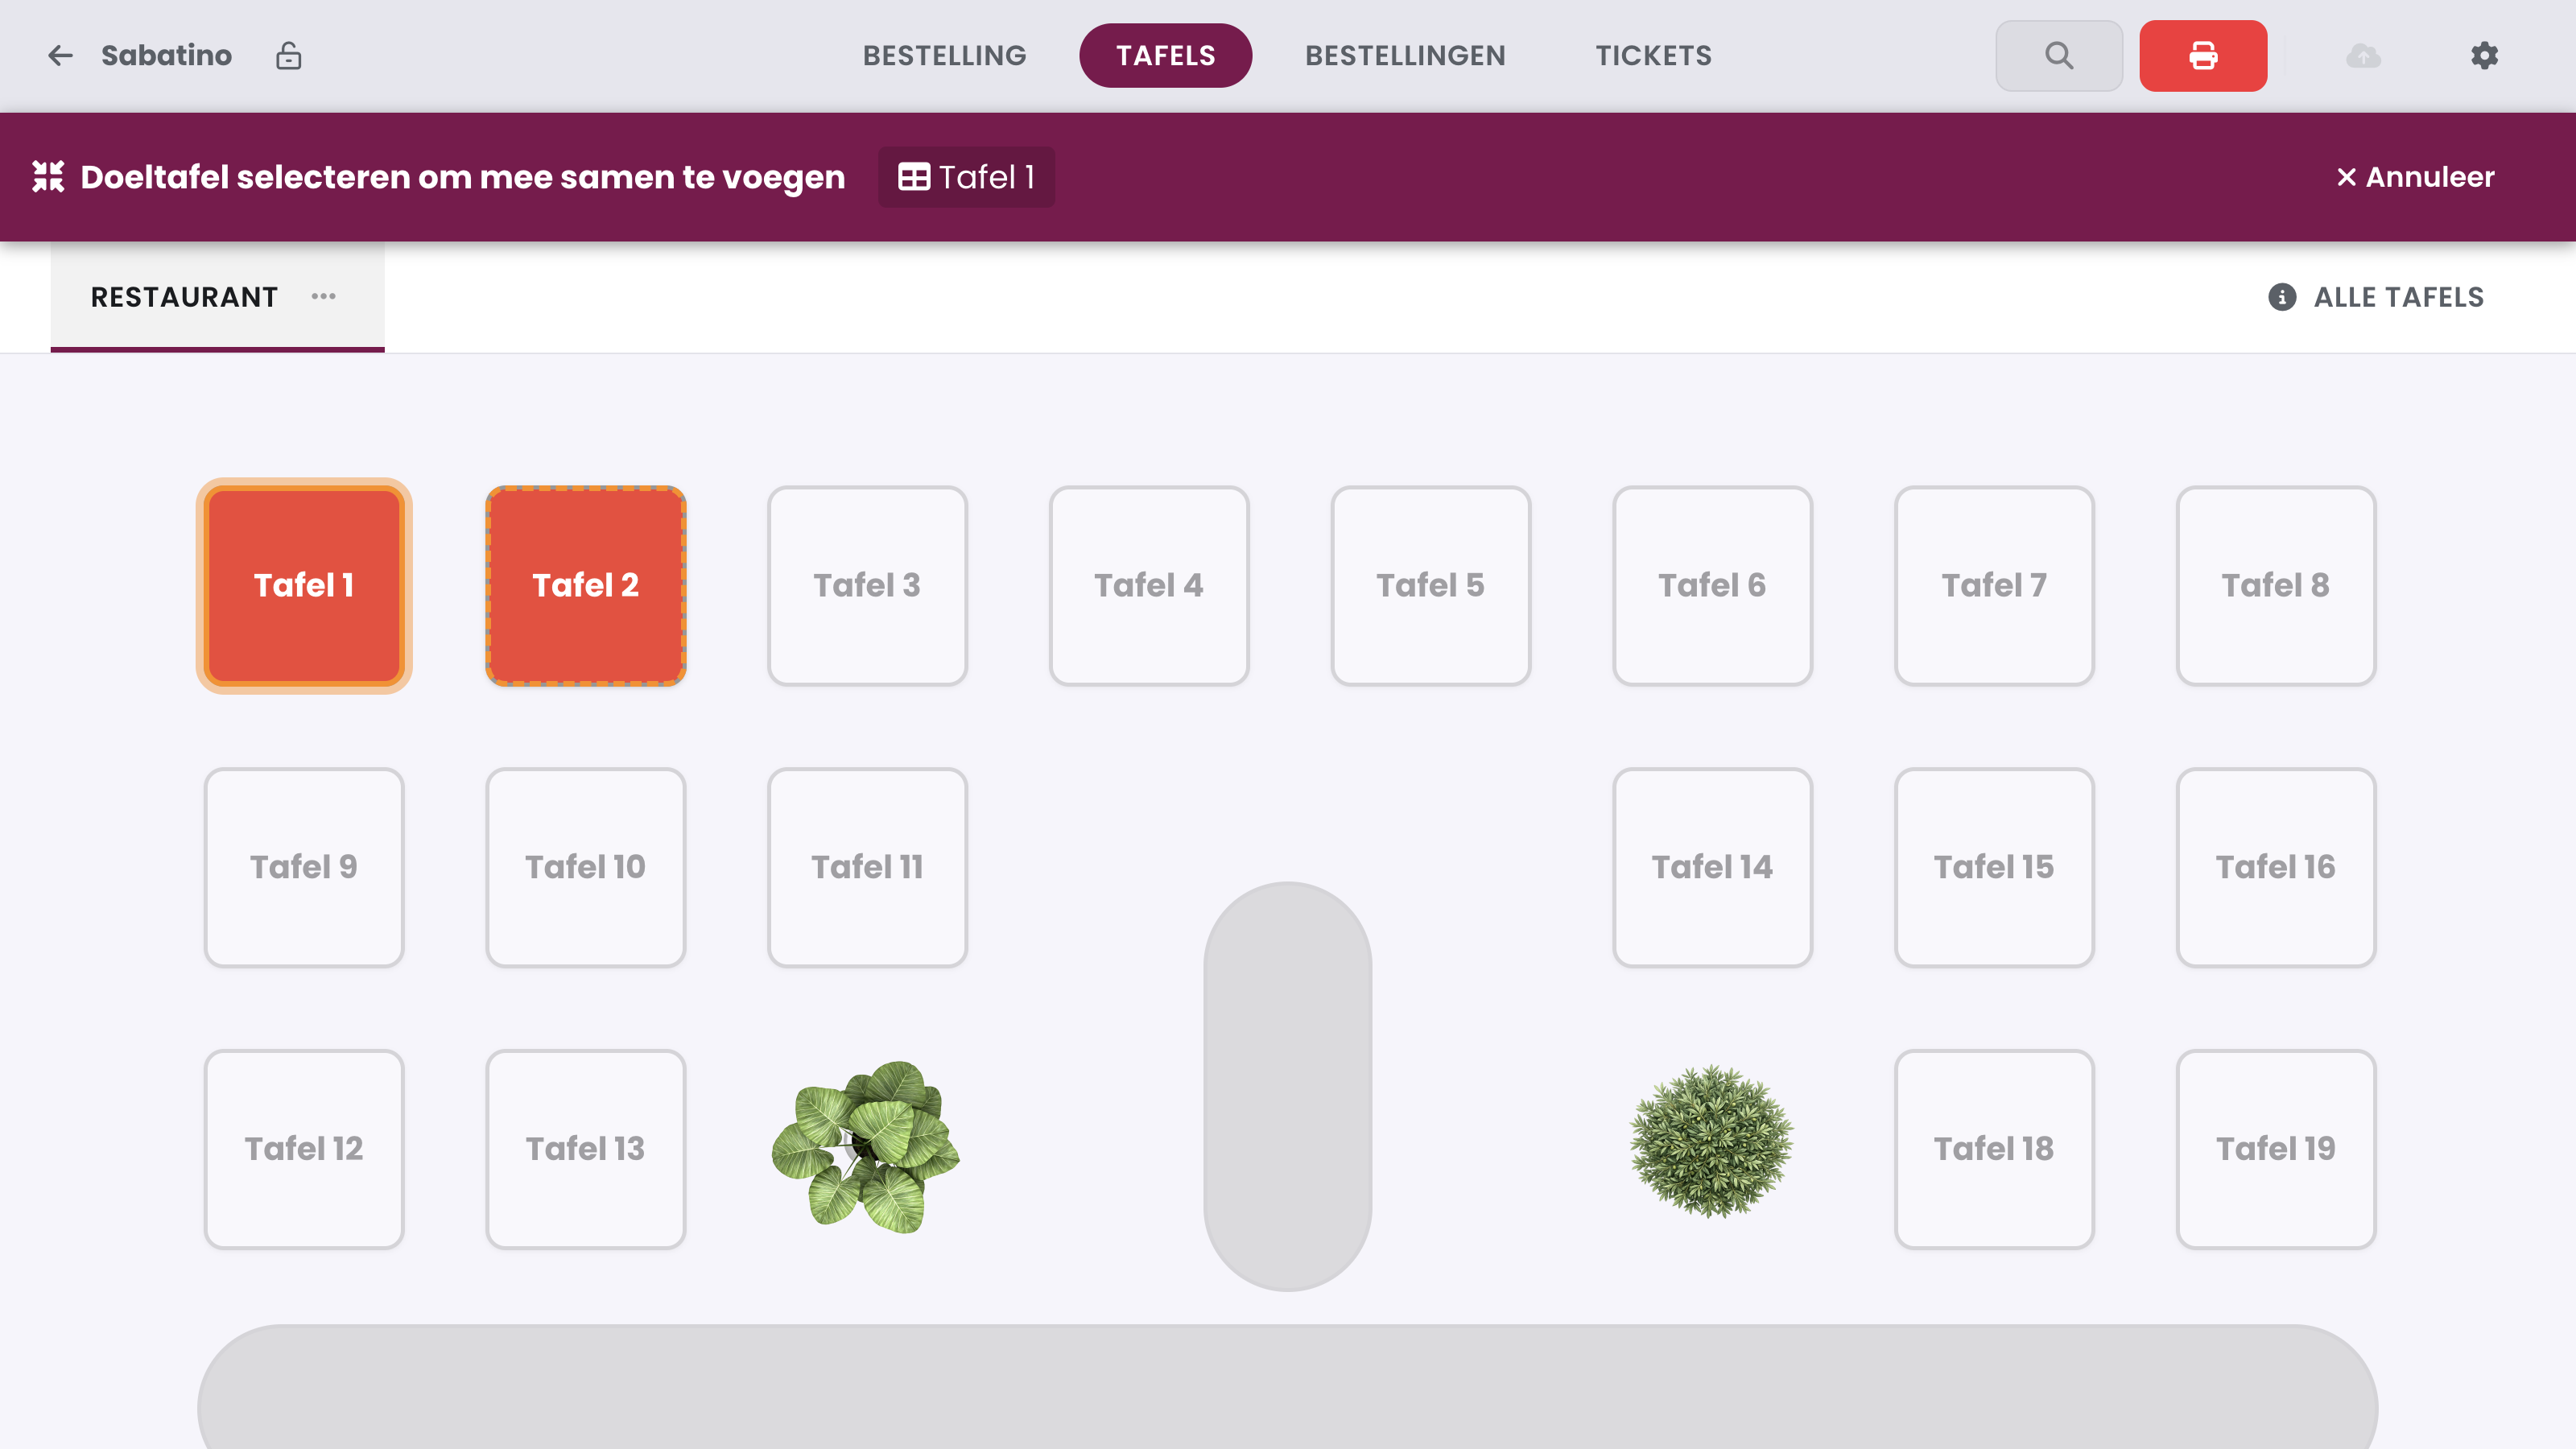
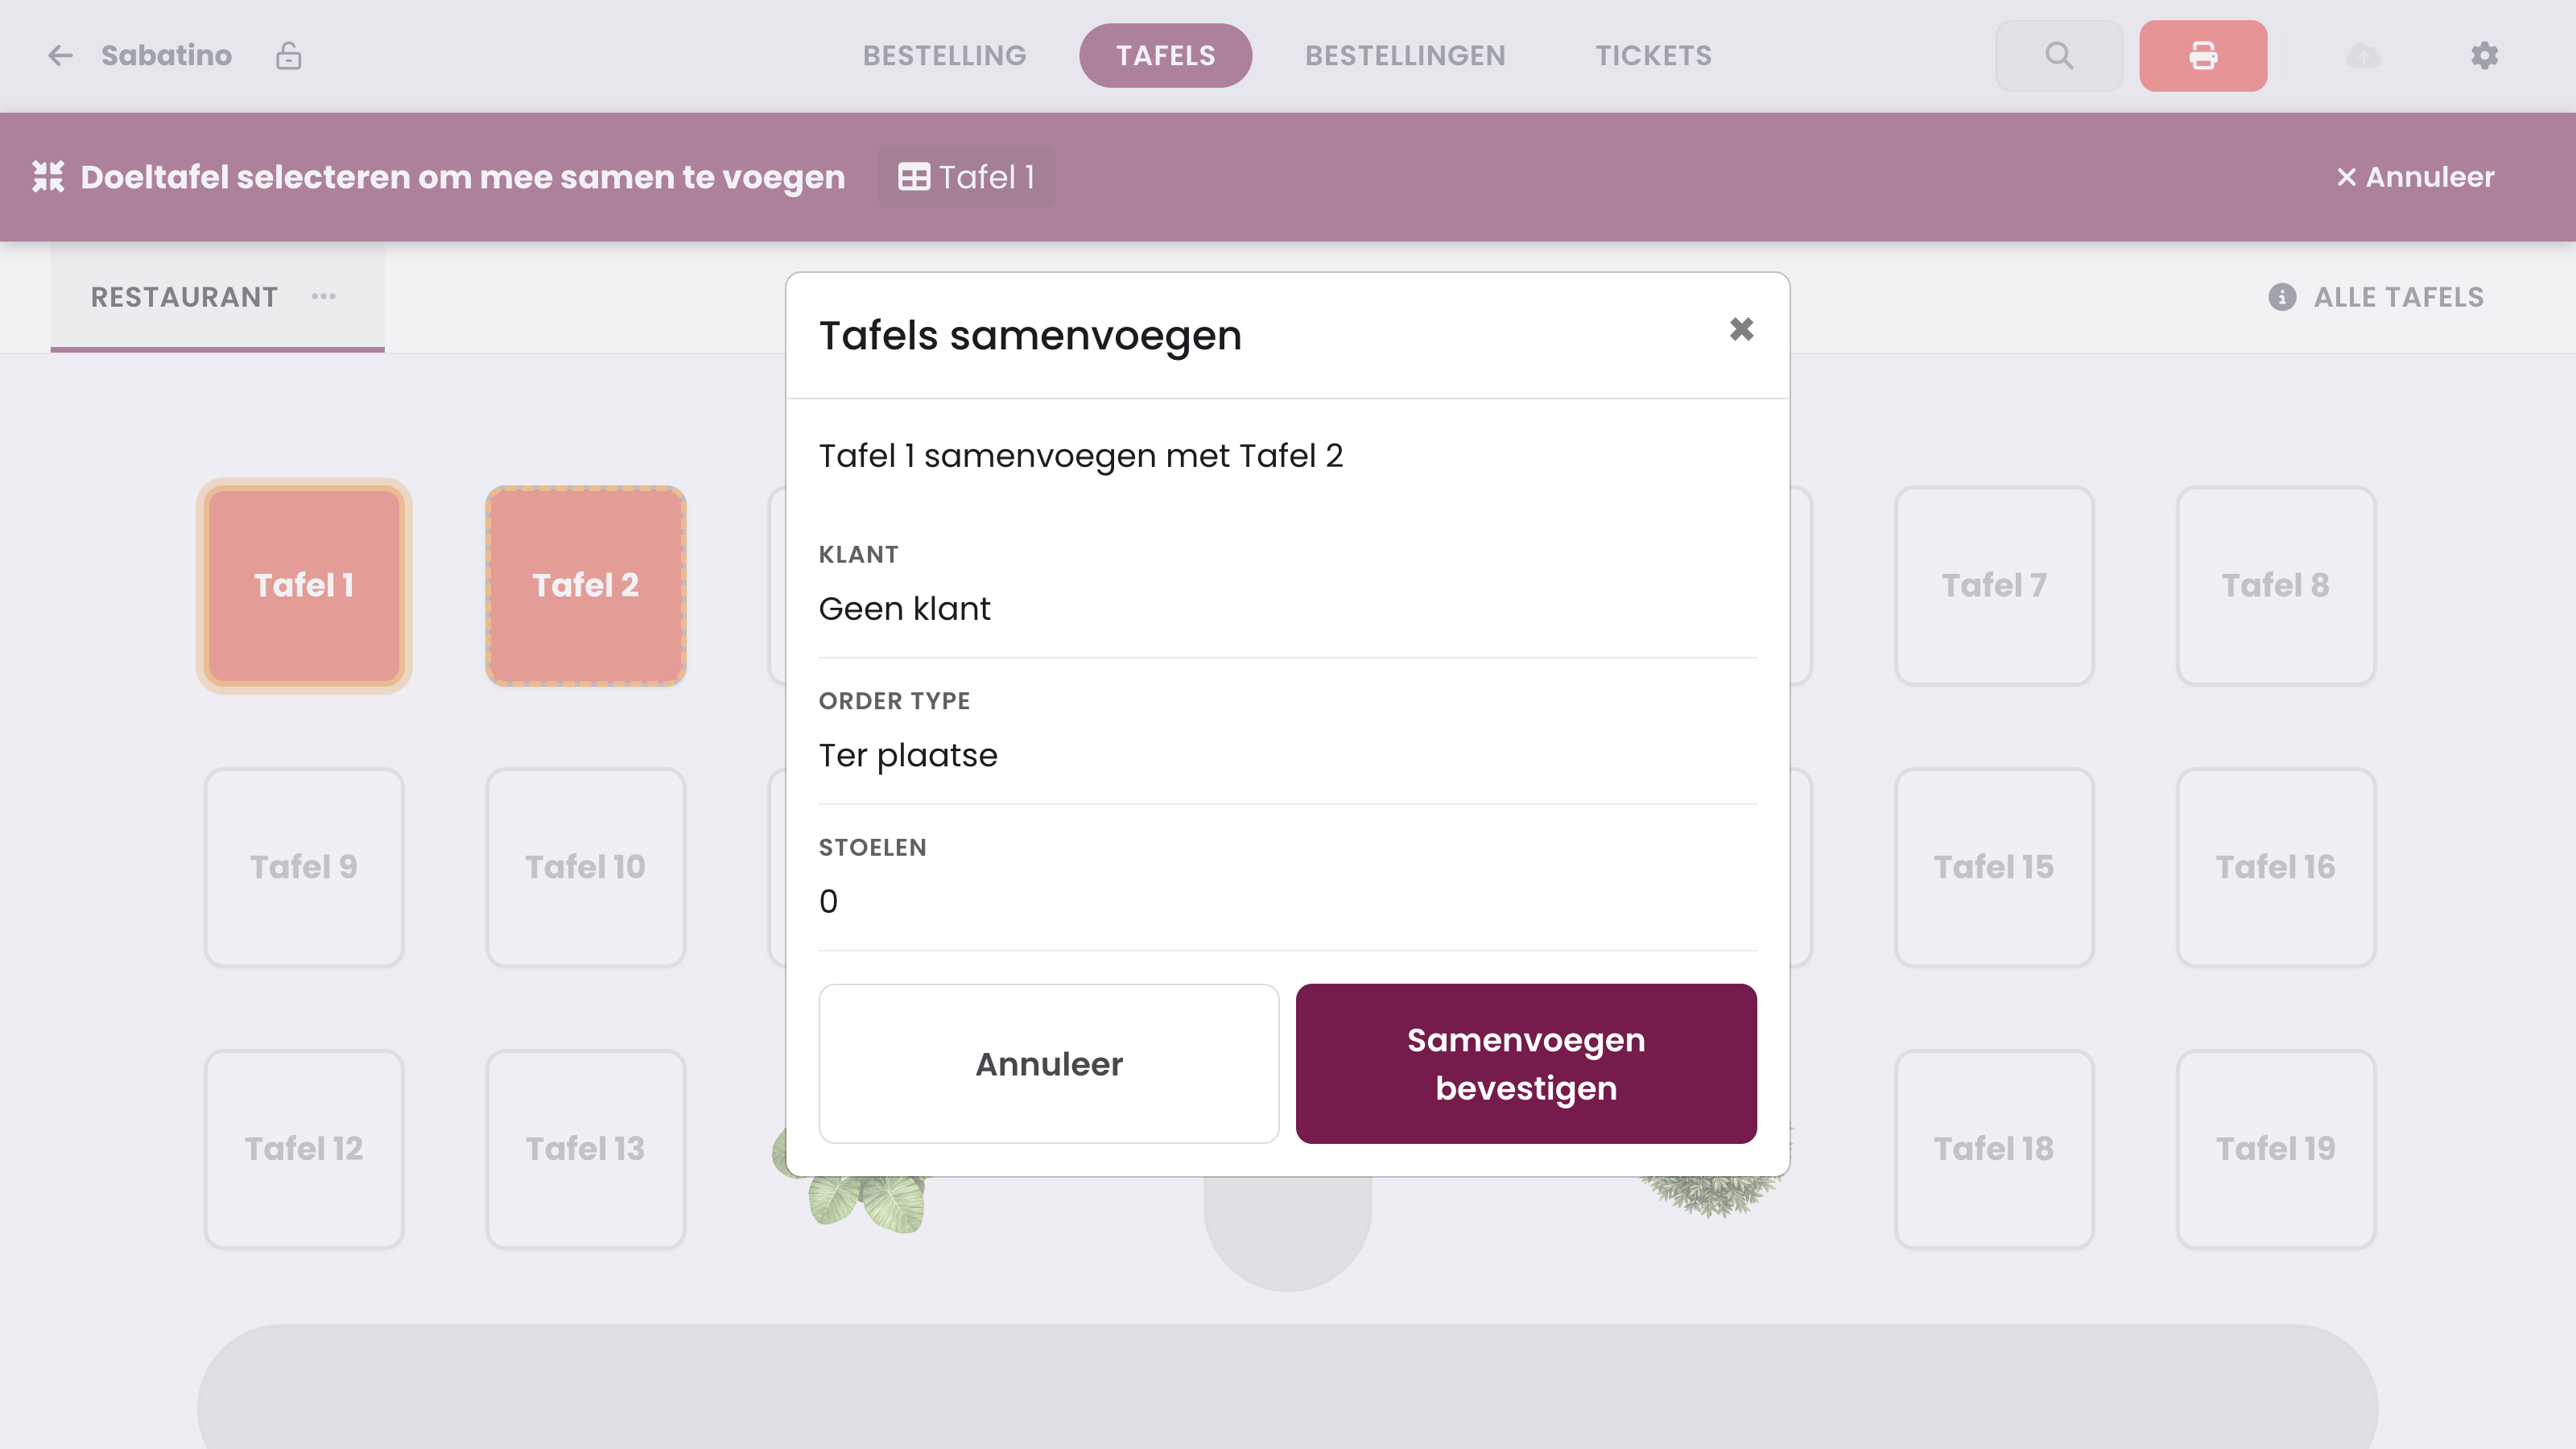
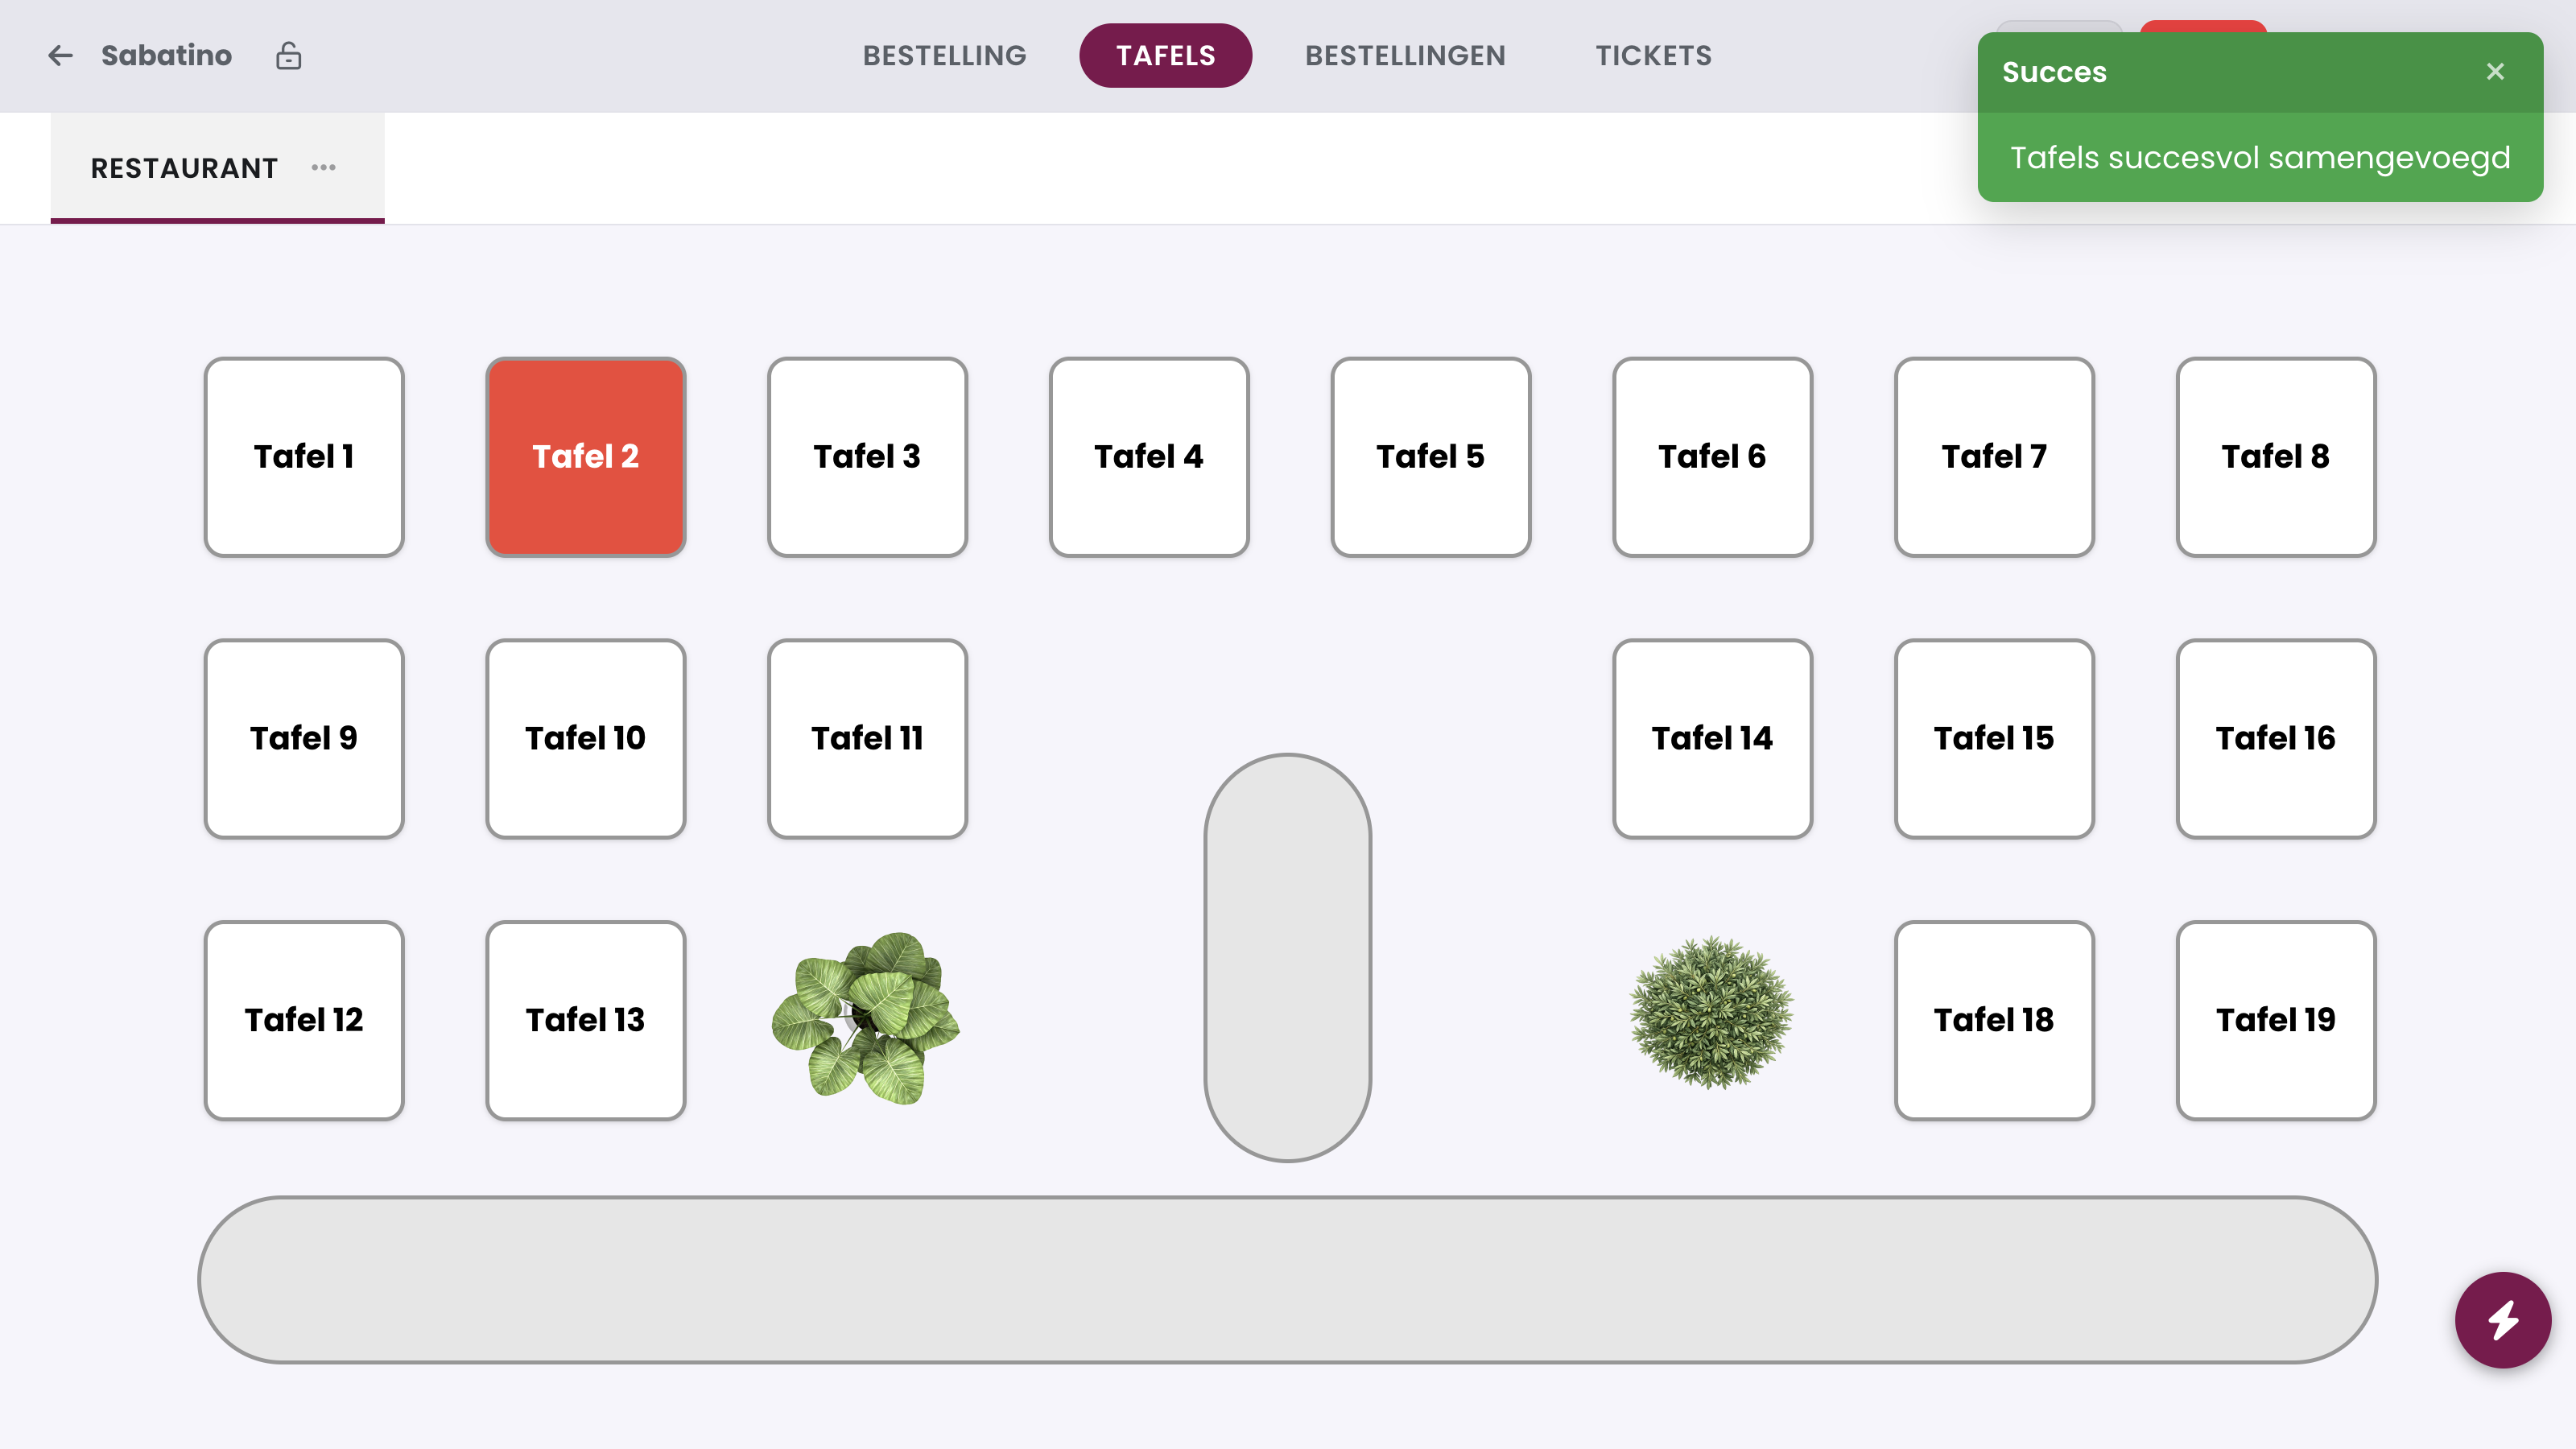
Table info and table status#
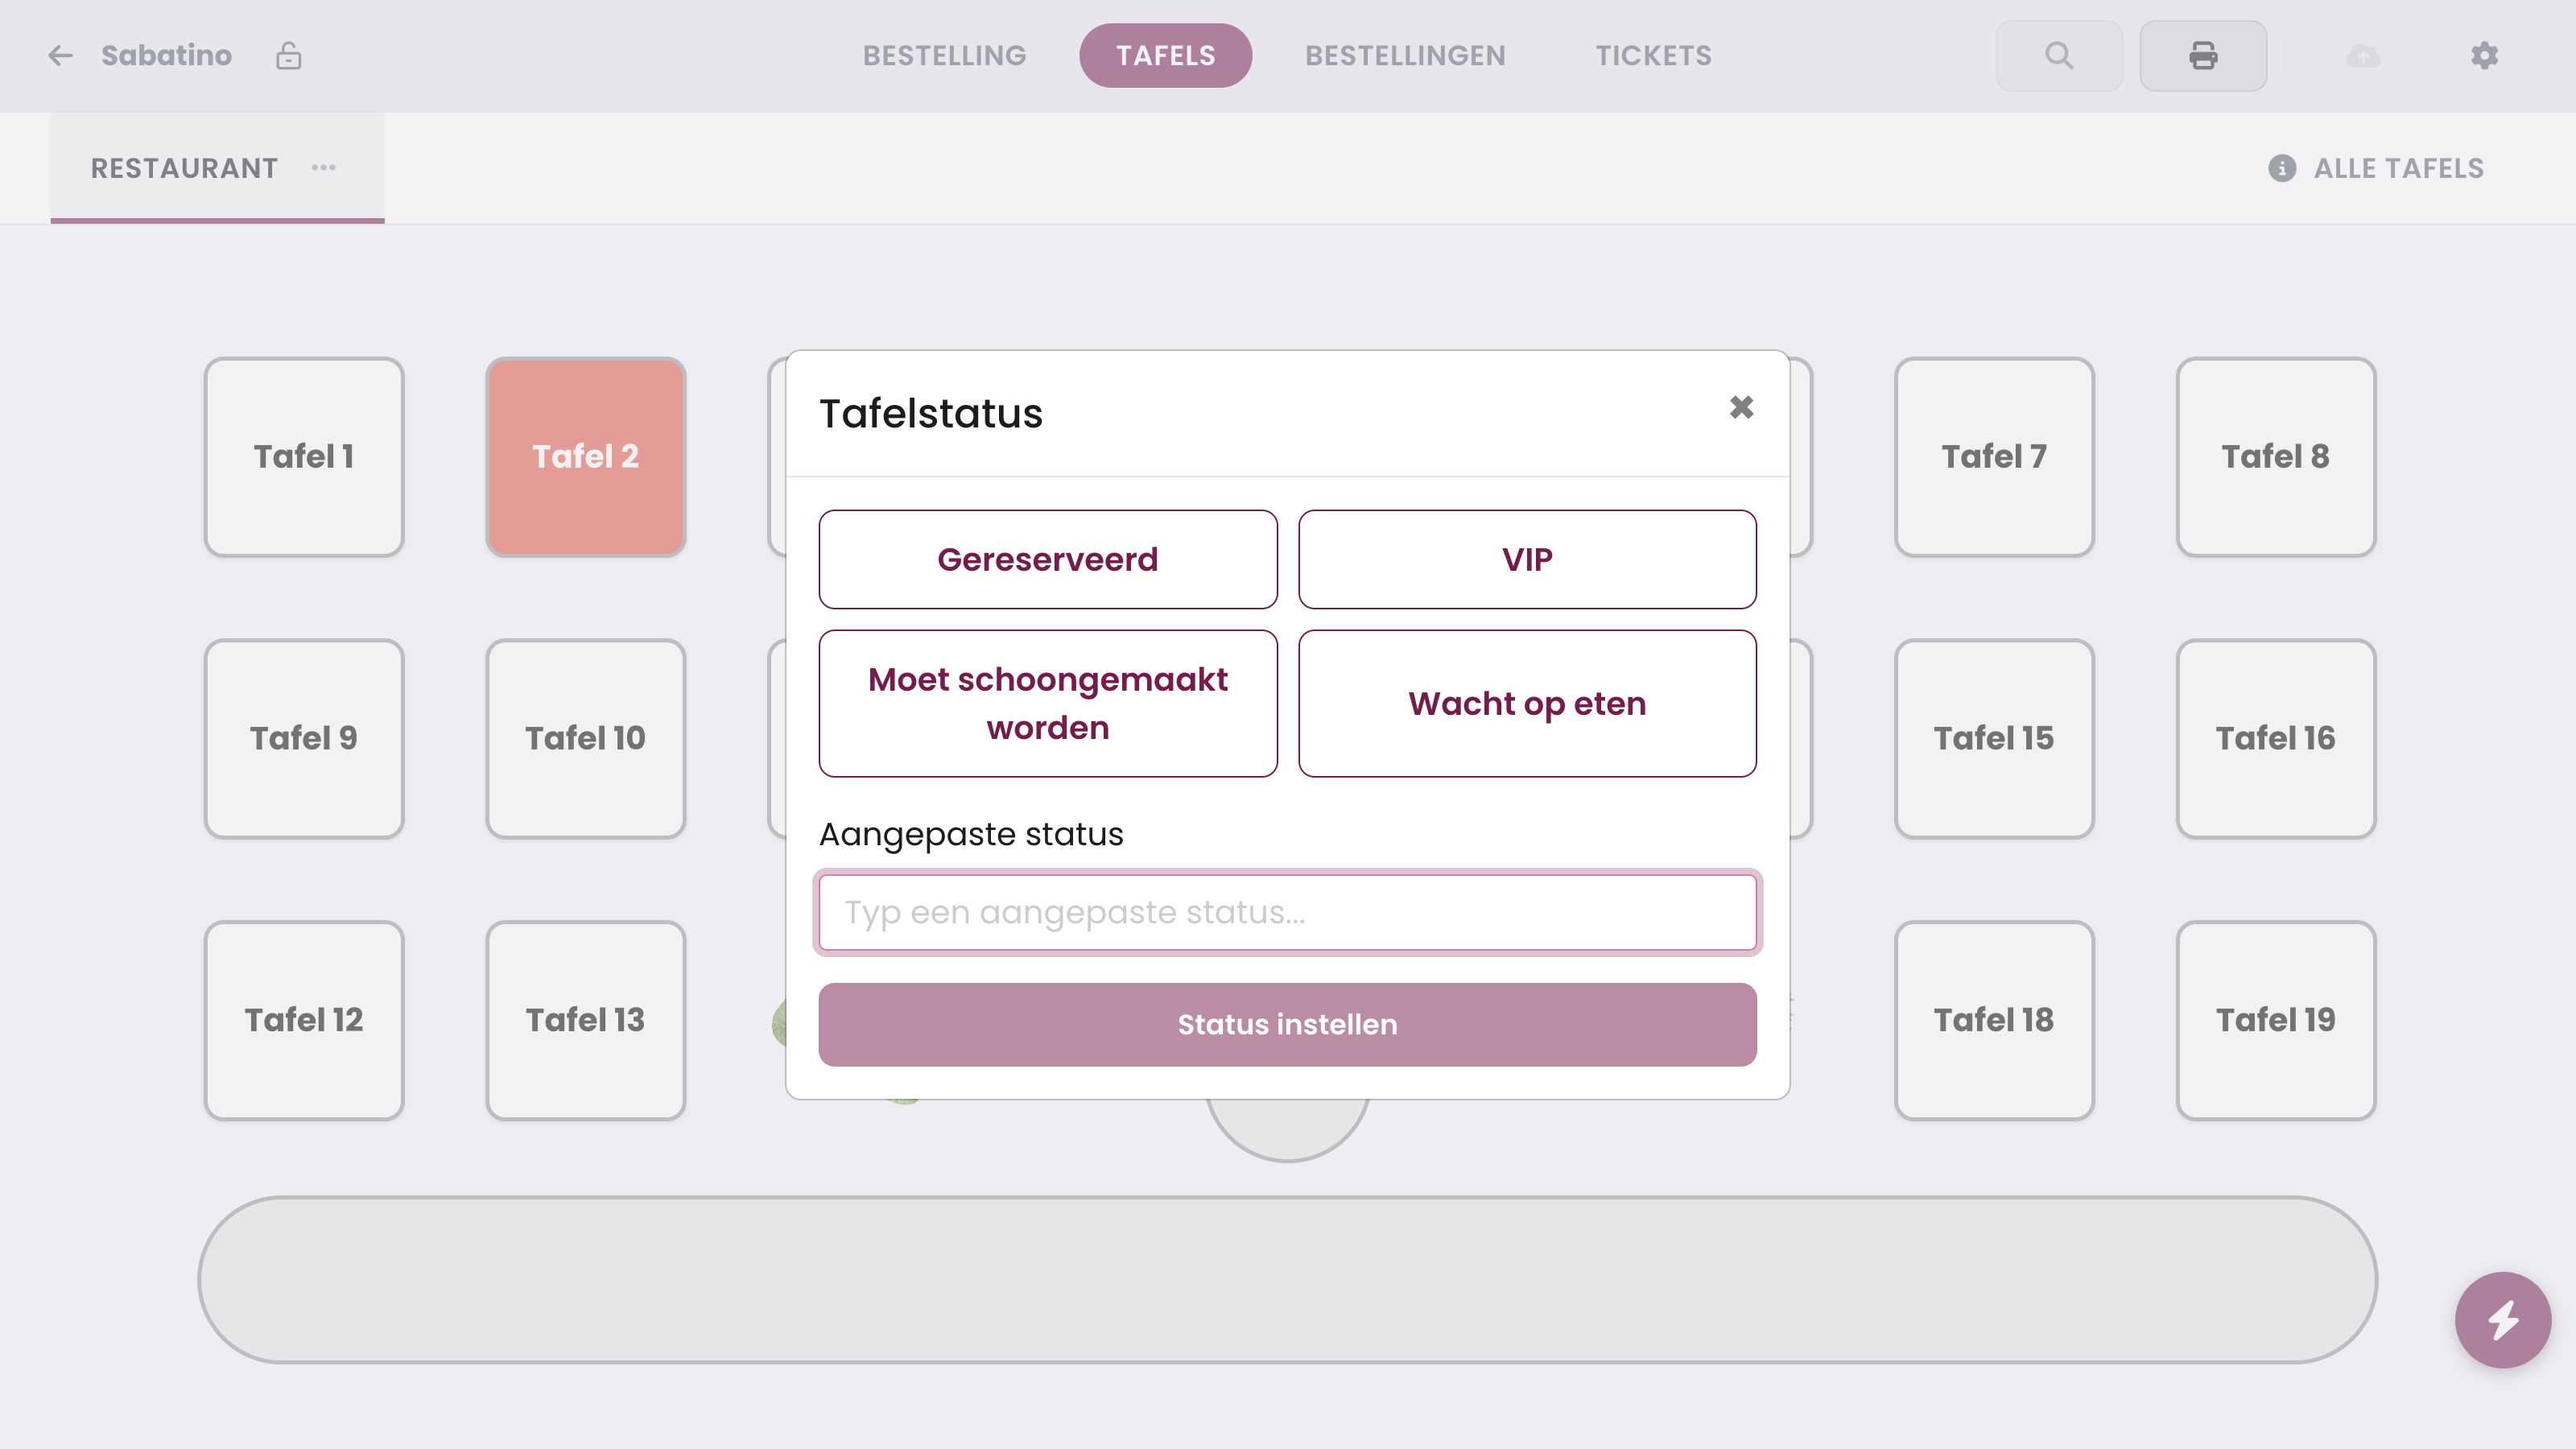
With Open table info, you give a table a status that your team sees in the overview: Reserved, VIP, Needs cleaning or Waiting for food, or your own text of up to 60 characters via Custom status. Tap Set status. If you open the info of that table again later, you can remove the status with Clear status.
To learn how to draw and arrange the table plan yourself, read Managing the table plan.