With the table plan, you lay out your venue digitally. On the POS, your team can see at a glance which tables are free or occupied and where there is still room for walk-ins. The reservation module uses the same plan to assign a table to each party. You build the plan once in the management page, and the POS then picks it up automatically.
Where do you find the table plan?#
In the navigation bar of the management page, click Tafelplan (Table plan) and choose Areas (Gebieden) on the left. You will see the list of your areas. Click the name of an area (or Details) to open its table plan.
Areas: dining room, terrace, bar#
An area is a zone of your venue with its own plan, for example the indoor dining room, the terrace or the veranda. On the POS, your team switches between areas. In the reservation module, the area also determines which tables are available.
Creating an area: click the button with the plus sign (in the overview or at the top of the editor). Give it a name, such as restaurant or terrace, and choose the Resolution (Resolutie) of the POS screen on which this plan will be shown. The POS bar (Kassabalk) is the top strip of the screen that sits behind the POS bar. In the editor, you see this zone as a grey band with the text Not visible on the POS, so do not place any tables there.
Open for reservations: with the switch next to each area (and next to Savein the editor), you decide whether the reservation module may assign tables from this area. A closed area gets the label Closed for reservations and does not count towards availability. This is handy for a terrace that you only open in nice weather.
Order: drag the areas in the overview into the order you want.
More actions: with the cogwheel at the top right of the editor, you can rename an area, export it, delete all tables at once or delete the whole area. With the upload button in the overview, you import a table plan that you exported earlier.
Placing tables on the plan#
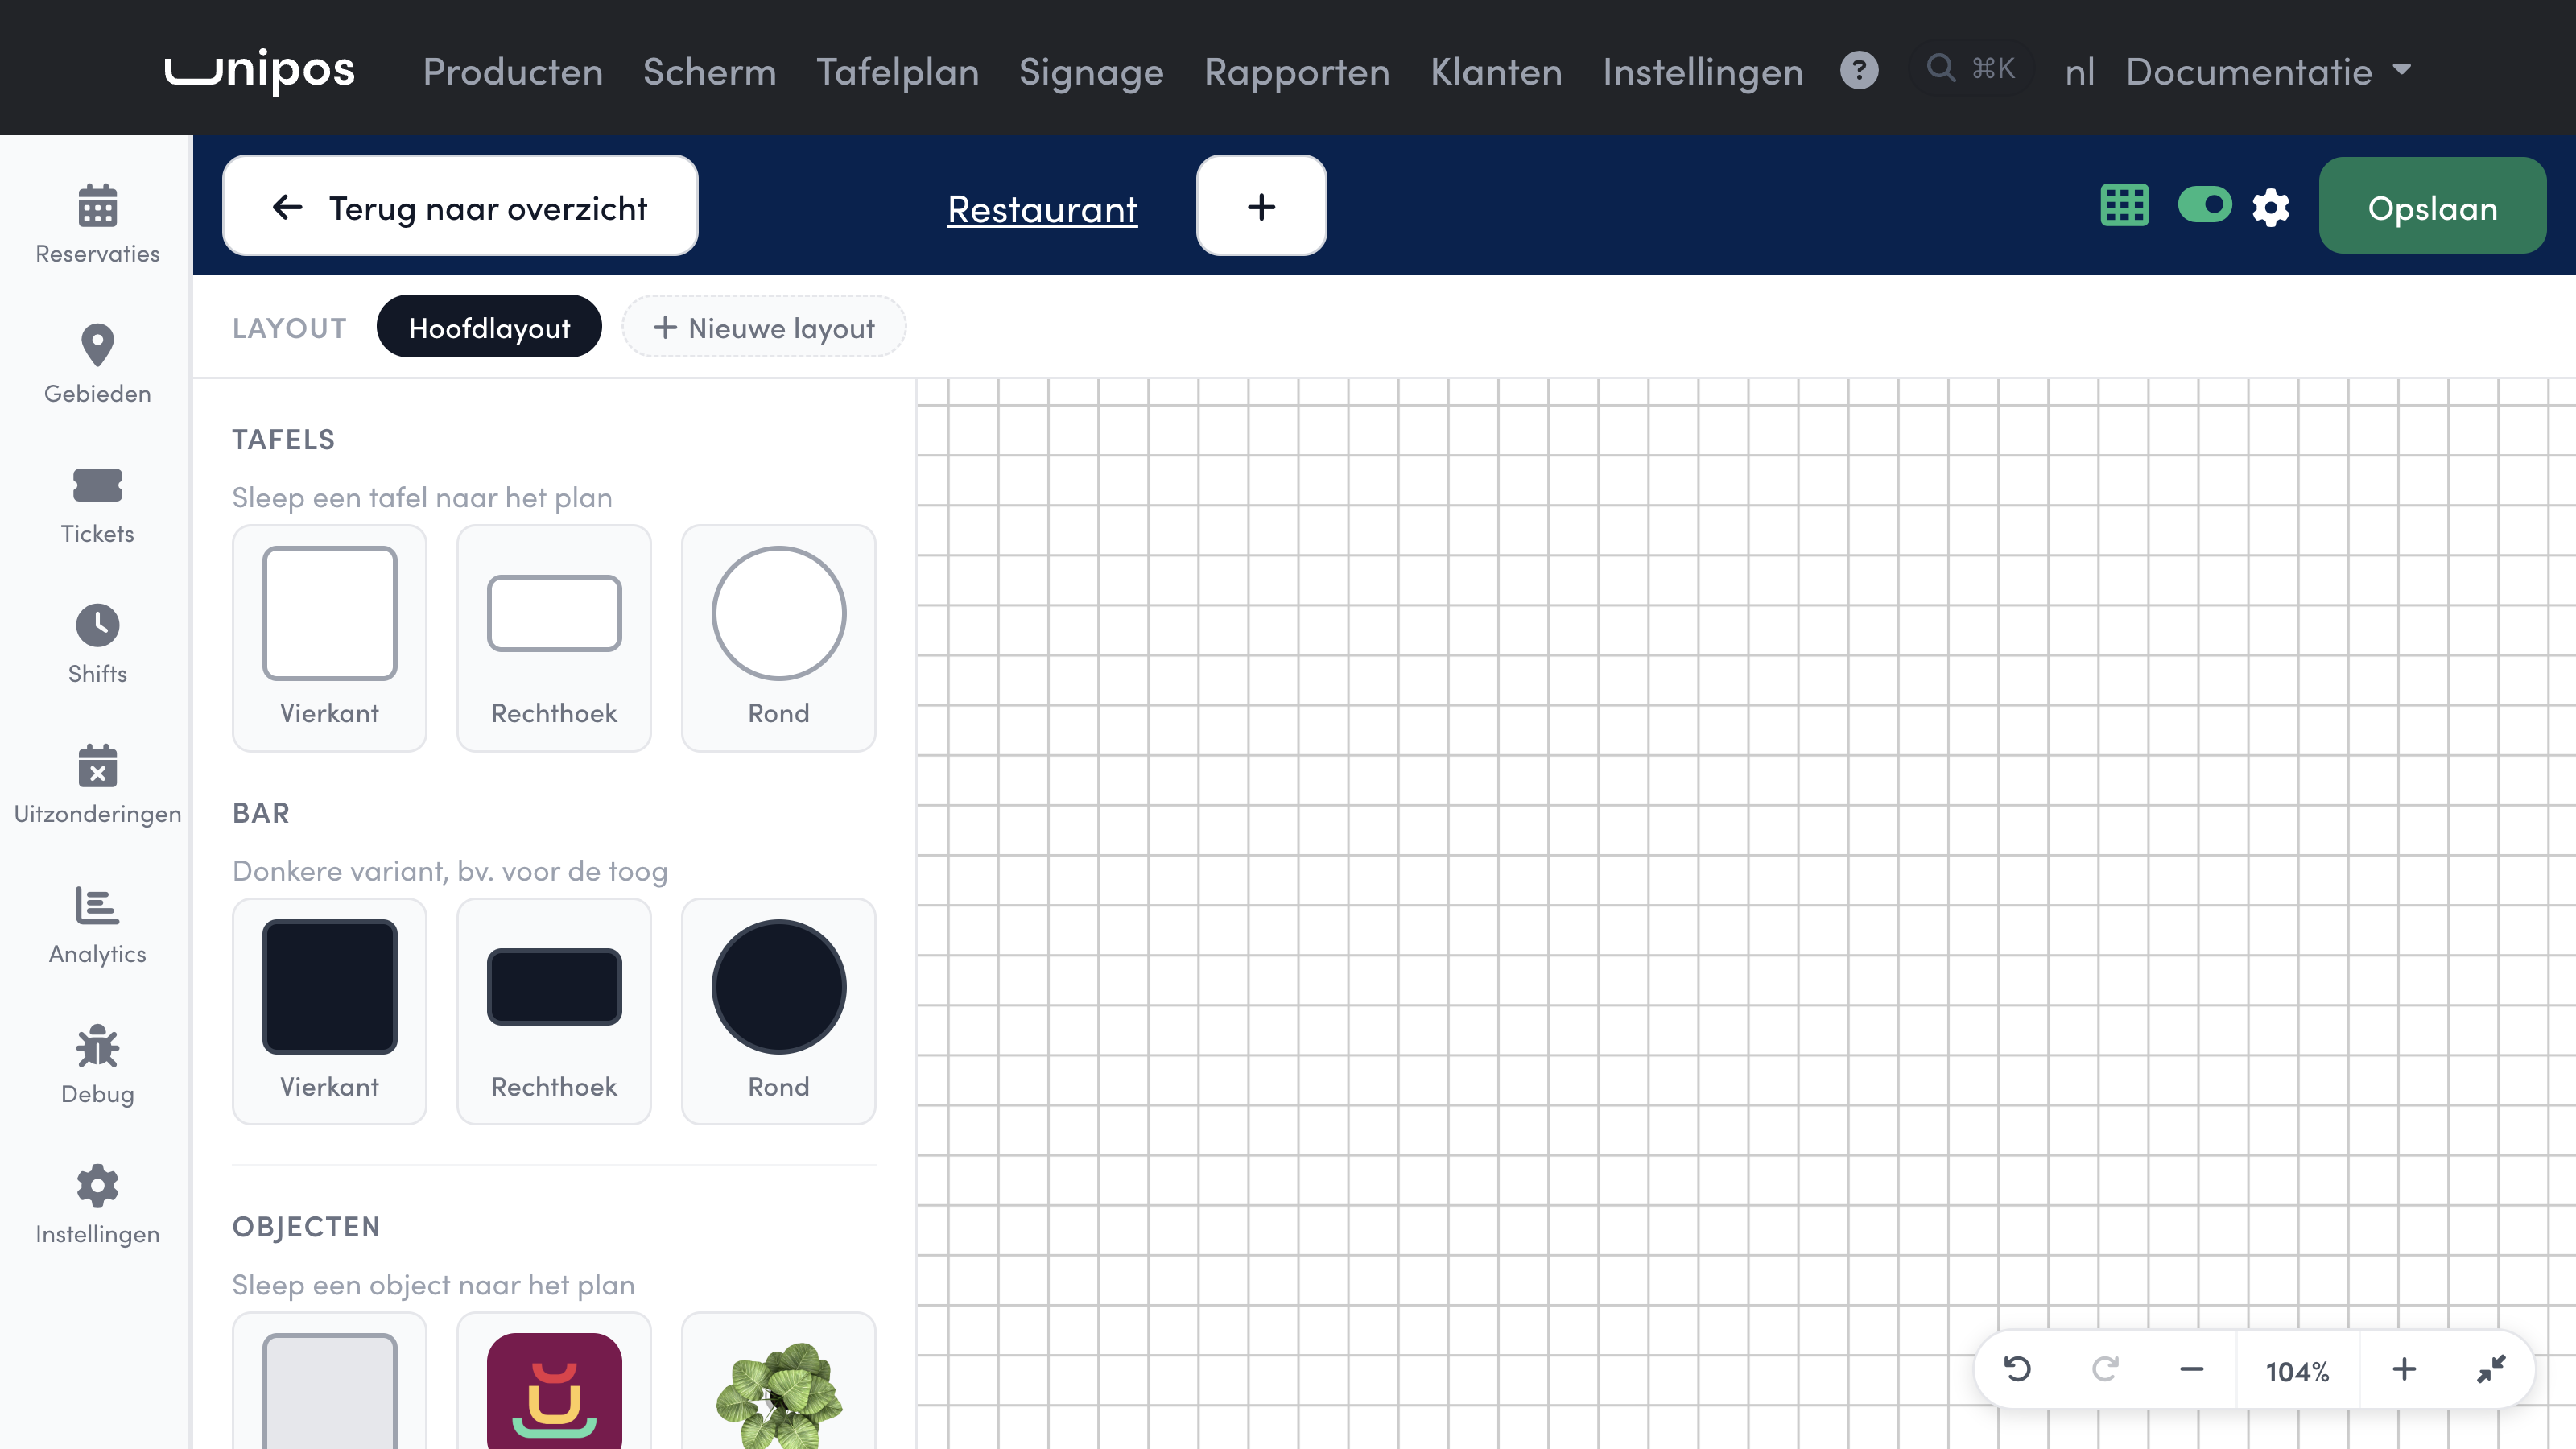
Open an area. On the left, you see the panel with all the building blocks, and on the right, the plan with a grid. Everything you place on the plan, you drag from that left panel.
Dragging tables#
Under Tables you find three shapes: Square, Rectangle and Round. Drag a shape to the spot on the plan where the table stands in your venue.
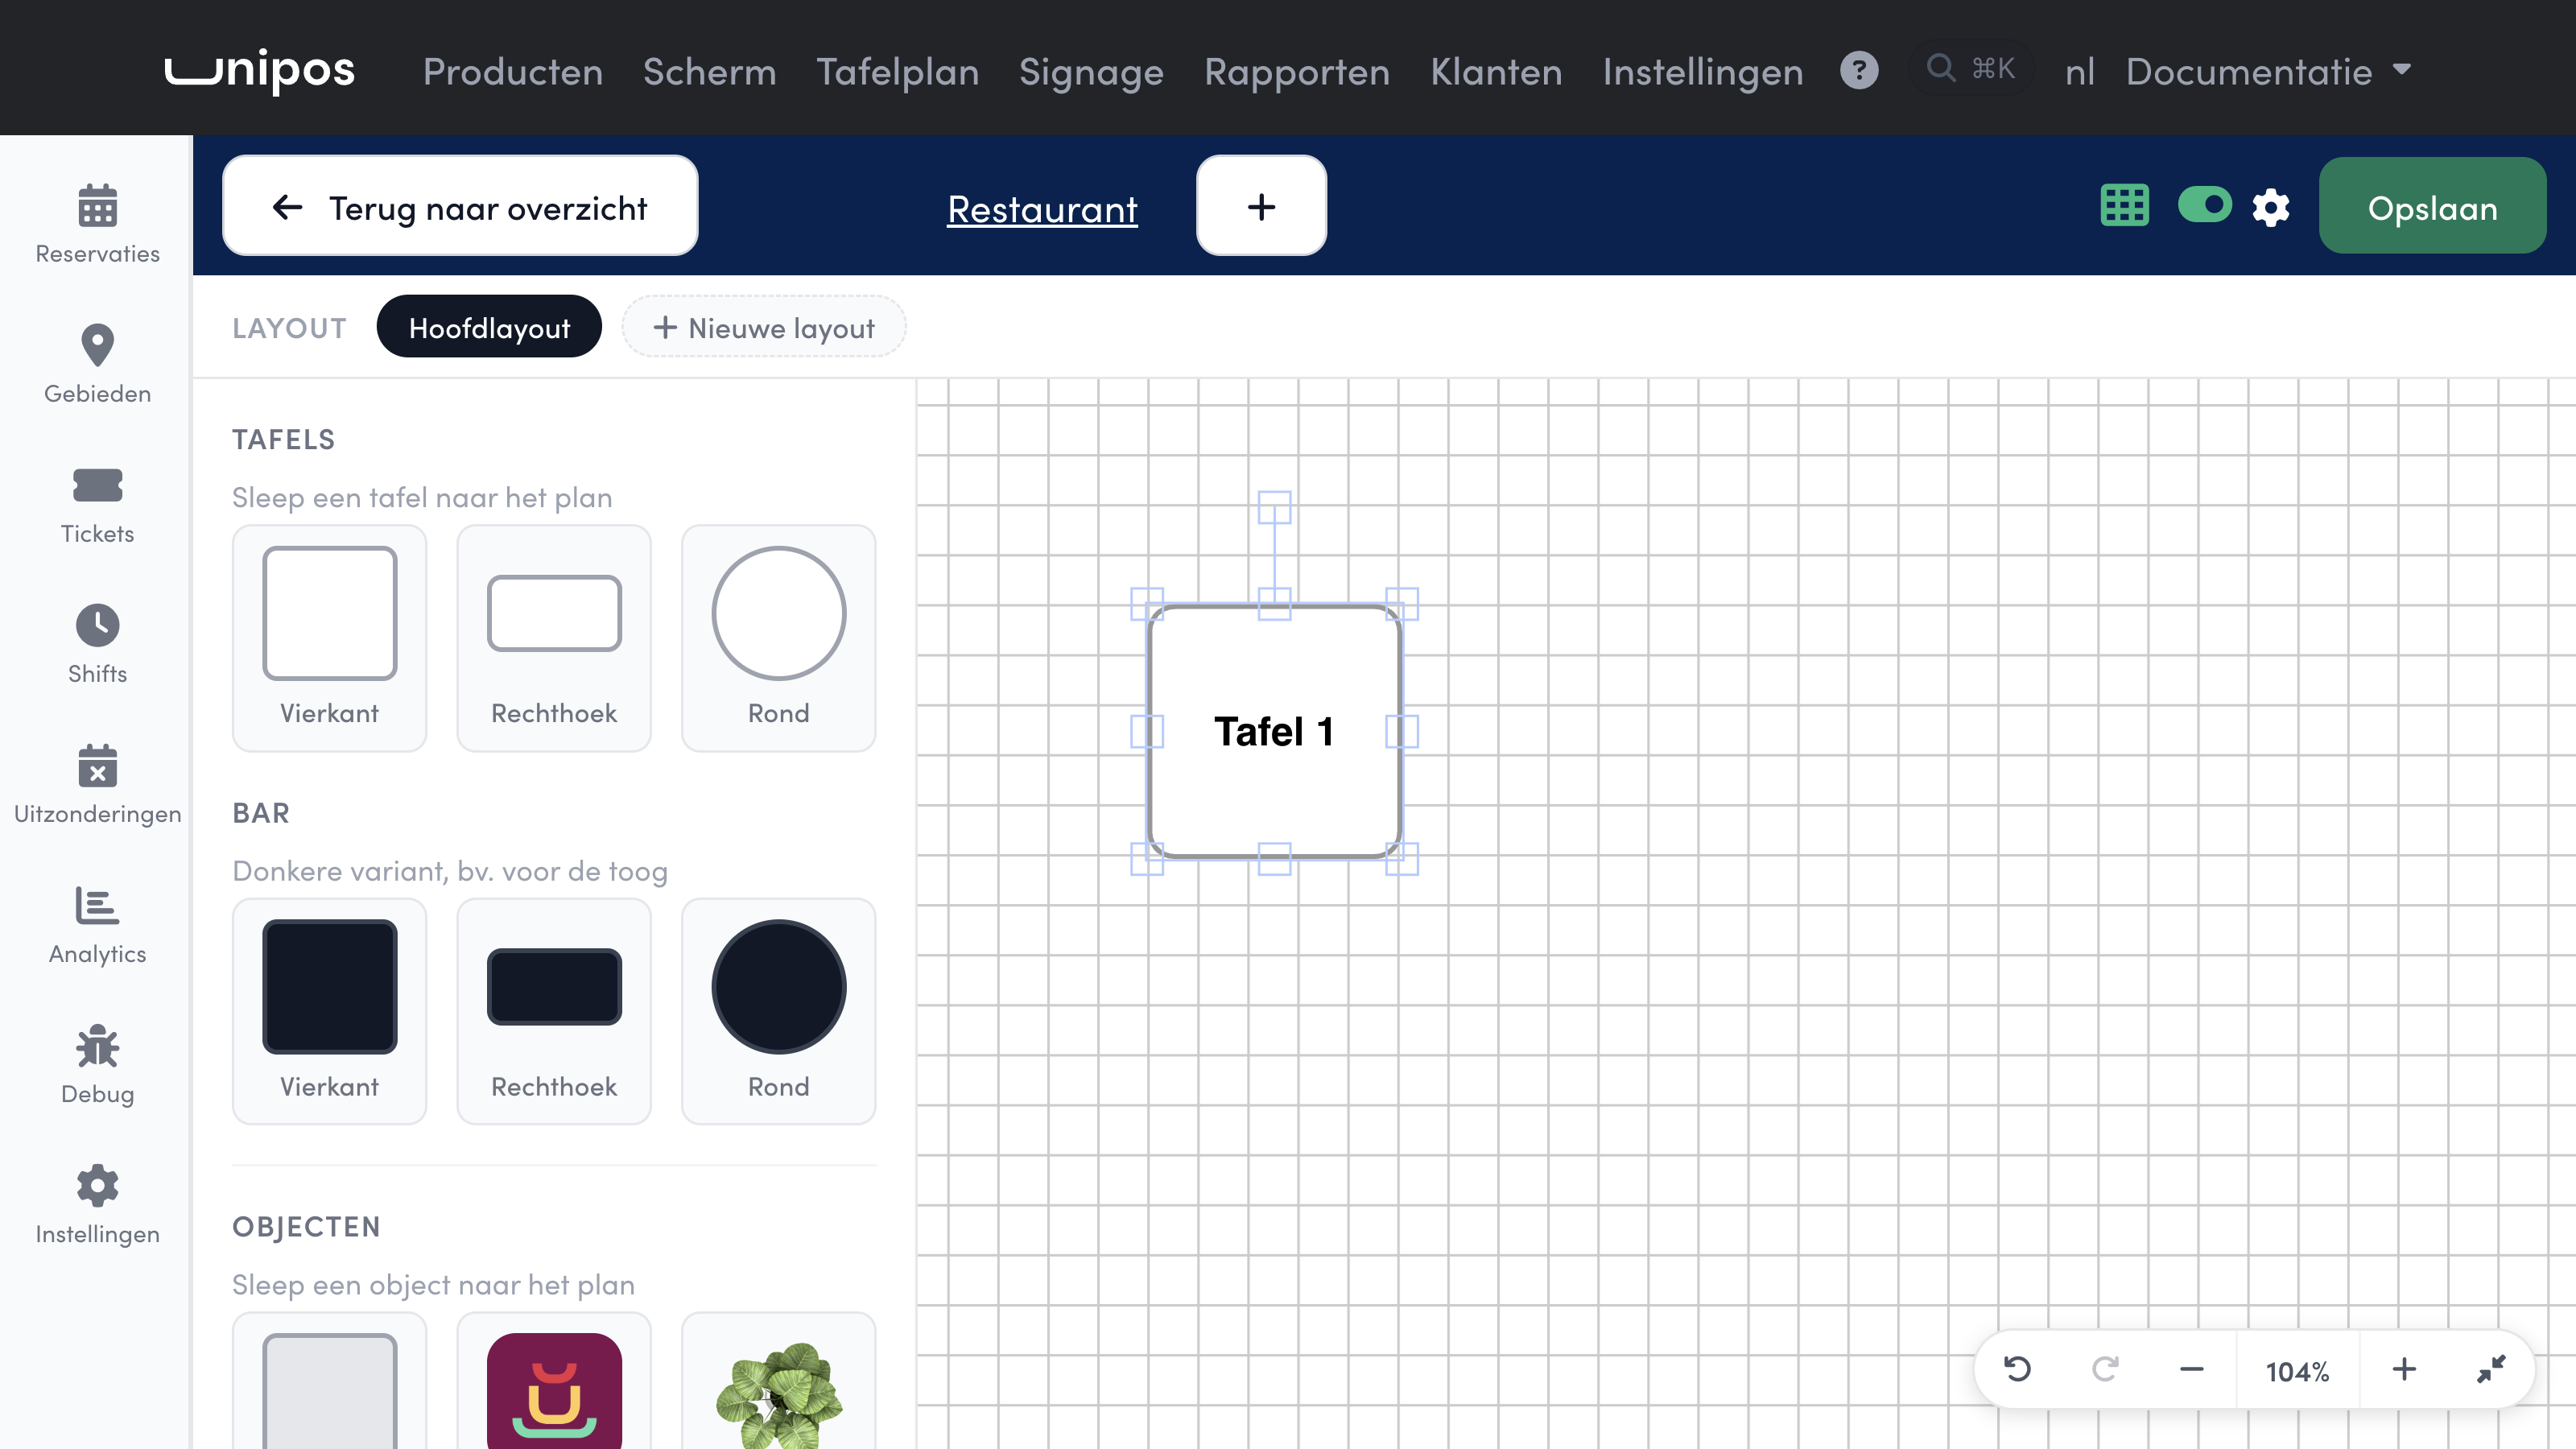
Each new table automatically gets a name (Table 1, Table 2, ...) and is selected straight away. You can then drag it freely, resize it with the corners and rotate it with the dot at the top. The grid helps you line up tables neatly. Drag all the tables in your dining room onto the plan this way. You set the names and the number of guests in the next step.
The bar#
Under Bar you find the same three shapes in a dark variant, meant for the counter or a high bar table. They are ordinary tables with a dark background colour: your team opens orders on them just like on any other table.

The dark colour makes the bar instantly recognisable on the POS. Give the bar table a clear name, such as Counter or Bar 1, and set the number of guests if you also want to allow reservations on it. You can always change the background colour afterwards in the table's panel, so the choice between an ordinary table and a bar table is never fixed.
A table's settings#
Click a table on the plan and the Edit table (Tafel bewerken) panel appears on the left. What you set here applies across the whole venue: the table's name and position are what your team sees on the POS and taps to open an order, and the number of guests determines which table the reservation module assigns to a party. If someone books for four, only tables where four falls between the minimum and the maximum are considered, and only in areas that are open for reservations. You can read more about this in Reservations.
 1Name2Position & size3Rotation4Min and max guests5Online: link QR code
Name: the name or number your team sees on the POS, for example Table 1 or Terrace 4.
Position & size: X and Y are the spot on the plan, Width and Height are the dimensions (for a round table: Diameter). You can also simply drag the table and pull the corners.
Rotation (degrees): rotates a square or rectangular table so that it lies on the plan as it does in the dining room.
Min guests and Max guests: how many people the table is meant for. Reservations use this to pick a table that suits the party.
Online: with Link QR code you link a table QR code, so guests at this table can order and pay themselves via their phone, see Table QR codes.
If you scroll further down in the panel, you can also adjust:
Background: the colour of the table, for example dark for the counter.
Chairs: the number of chair indicators around the table (the dot next to it chooses their colour). They distribute themselves automatically according to the shape and size of the table.
Text: the font size and, with a switch each, Background behind name, Border around name and Text colour for this one table. This overrides the plan's table text style. With Reset (Herstel), the table follows the plan again.
Delete: removes the table from the plan.
You see every change on the plan straight away. Then click Save, otherwise it is lost.
Objects on the plan#
Besides tables, you can also place fixed elements on the plan: walls, the POS and plants. They help your team find their way around (where is the entrance, where is the counter), but you cannot open an order on them and reservations do not take them into account.
The Objects panel#
At the bottom of the left panel, you find Objects. Like a table, you drag an object onto the plan.
 1Wall2POS3Plants
Wall: a light grey block. Adjust the width, height and rotation to turn it into a wall, pillar or partition.
POS: the Unipos logo marks where the POS device stands.
Plants: open the drop-down list and choose an Alocasia, Monstera, Fiddle-leaf fig, Olive tree or Strelitzia. Drag the corners to make the plant bigger or smaller.
Click an object and the Edit object (Object bewerken) panel appears on the left. There you give it a name, adjust its position and size (for a wall, also the rotation and colour) and delete it with the Delete button at the bottom.
Drawing walls#
A wall block is awkward for long or diagonal walls. With Draw wall (Muur tekenen), the button below the objects, you draw walls as lines from point to point.
 Draw a wall with your mouseSet the thickness of the
drawn wall
Click Draw wall. The button changes to Stop drawing and the Thickness (px) field appears below it.
Click on the plan for the start point and click again for the end point. Each following click draws a new wall onwards from the last point, so you can draw a whole partition with corners in one go.
Hold down Shift for right angles.
Press Esc or click Stop drawing to stop.
Once drawn, a wall is an ordinary object: click it to move or delete it.
What it looks like on the plan#
With tables, a bar table and a few objects, your team recognises the dining room straight away. This example combines everything from this page.
 1Drawn wall2Wall block3Olive tree4POS
The drawn wall (1) divides the dining room into two parts, the wall block (2) is a pillar, the olive tree (3) is decoration and the Unipos logo (4) shows where the POS stands. Your team can only open an order on the tables and on the dark bar table Counter.
Multiple layouts for different screens#
If you work with POS devices that have a different screen, for example a large POS at the counter and a handheld on the terrace, you create extra layouts per area. Each layout is its own arrangement of the same tables, tailored to the size and orientation of that screen.
Click New layout (Nieuwe layout) above the plan. In the window that opens, you choose a name and the screen the layout is meant for.
 1Name2Start from main layout3Resolution4POS bar5Create layout
Name: what the layout is called in the editor and on the POS, for example Sunmi handheld or Small screen.
Start from main layout: switch this on to copy all tables and objects from the main layout. You then only need to rearrange them instead of starting from scratch.
Resolution: choose Landscape or Portrait and click one of the standard sizes, or choose a device such as Sunmi handheld or iPad Pro 11". A device fills in the width, height and POS bar correctly straight away. You can also type the values yourself.
POS bar (px): the top strip of the screen that sits behind the POS bar. This zone is shown dark in the editor and does not count as usable space.
Create layout: the new layout appears as an extra button next to Main layout above the plan. Click it to edit it. With Rename and Delete layout next to it, you can change it later.
An extra layout brings two building blocks to the left panel:
Unplaced tables: tables from the main layout that are not yet on this layout. Drag them onto the plan to show them here too. They remain the same tables, with the same orders.
Link (under Navigation): a button that opens another layout on the POS, for example from the dining room to the terrace. Drag the button onto the plan and choose in the panel which layout it points to.
On the POS, you choose per device which layout is shown, see Tables.
Grid, background and table text#
Via the grid icon at the top right, you open the Grid settings (Raster instellingen) of the plan:
Snap to grid (Magnetisch raster) and Grid size (Rastergrootte): tables snap to the grid so they are neatly aligned. Switch it off if you want to place them freely.
Canvas size and POS bar (Kassabalk): the screen resolution of the POS and the height of the bar that covers the top of the plan. Use Switch portrait/landscape (Wissel staand/liggend) to rotate the plan for an upright screen.
Background (Achtergrond): upload an image, for example a floor plan of your business, as the background of the plan.
Table text (Tafeltekst): the default style of the table names on this plan (font size, background behind the name, border and text colour). You can override this style per table in the Edit table (Tafel bewerken) panel.
Save#
Click Save at the top right (or use Cmd+S on Mac, Ctrl+S on Windows) when you are done. You will see the message Tafelplan werd opgeslaan, and the POS devices will take over the new plan. Use Cmd+Z or Ctrl+Z to undo a step. The buttons at the bottom right do the same and also let you zoom in and out.
Warning
If you switch area or layout, or leave the page with unsaved changes, the editor asks whether you want to continue without saving. If you choose to continue, you will lose those changes.
To read how your team works with the table plan on the POS, see Tables. If you want guests to order at the table themselves, see Table QR codes.